IMAP for Outlook Express - Belize Telemedia Limited
IMAP for Outlook Express - Belize Telemedia Limited
IMAP for Outlook Express - Belize Telemedia Limited

You also want an ePaper? Increase the reach of your titles
YUMPU automatically turns print PDFs into web optimized ePapers that Google loves.
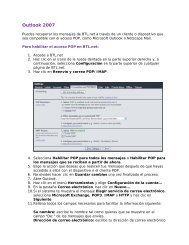
<strong>Outlook</strong> <strong>Express</strong><br />
• Follow the instructions below to set up <strong>IMAP</strong> access in <strong>Outlook</strong> <strong>Express</strong>.<br />
• BTL.NET users, please follow the default instructions unless otherwise noted.<br />
To set up your <strong>Outlook</strong> <strong>Express</strong> client to work with BTL.NET:<br />
1. Log on to BTL.NET online and Enable <strong>IMAP</strong>. (Settings >Forwarding and POP/<strong>IMAP</strong> > Enable<br />
<strong>IMAP</strong>). Don’t <strong>for</strong>get to click Save Changes when you’re done.<br />
2. Open <strong>Outlook</strong> <strong>Express</strong>.<br />
3. Click the Tools menu and select Accounts.<br />
4. Click Add and then click Mail.<br />
5. Enter your name in the ‘Display name’ field and click Next.<br />
6. Enter your full email address (username@btl.net) in the ‘Email address’ field and click Next.<br />
7. For ‘My incoming mail server is an <strong>IMAP</strong> server’, please select <strong>IMAP</strong> in the drop-down menu.<br />
8. Enter ‘imap.gmail.com” in the ‘Incoming mail (POP3, <strong>IMAP</strong> or HTTP) server’ field. Enter<br />
‘smtp.gmail.com in the ‘Outgoing mail (SMTP) server’ field.<br />
9. Click Next.<br />
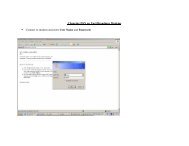
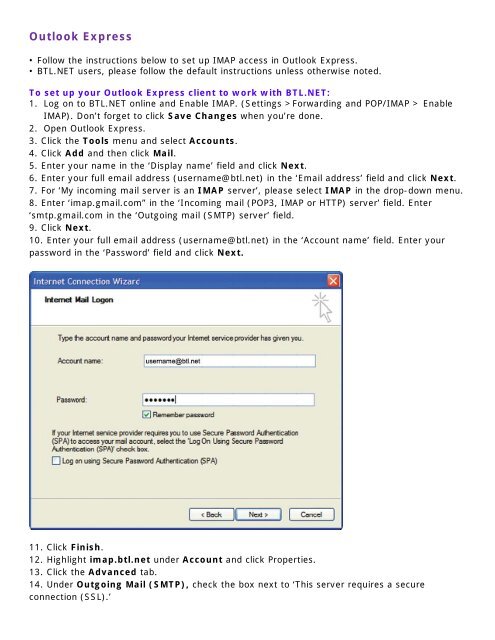
10. Enter your full email address (username@btl.net) in the ‘Account name’ field. Enter your<br />
password in the ‘Password’ field and click Next.<br />
11. Click Finish.<br />
12. Highlight imap.btl.net under Account and click Properties.<br />
13. Click the Advanced tab.<br />
14. Under Outgoing Mail (SMTP), check the box next to ‘This server requires a secure<br />
connection (SSL).’
15. Enter ‘465’ in the ‘Outgoing mail (SMTP)’ field.<br />
16. Under Incoming mail (<strong>IMAP</strong>), check the box next to ‘This server requires a secure<br />
connection (SSL)’. The port will change to ‘993’.<br />
17. Click the Servers tab and check the box next to ‘My server requires authentication.’
18. Click OK.<br />
Congratulations! You’re done configuring your client to send and retrieve BTL.NET<br />
emails.