Creative crafts in quilling style are characterized by elegance. You can make them from paper strips of different widths. In my master class you will learn how to make a quilling butterfly from 5 mm (0,1969 ″) strips.
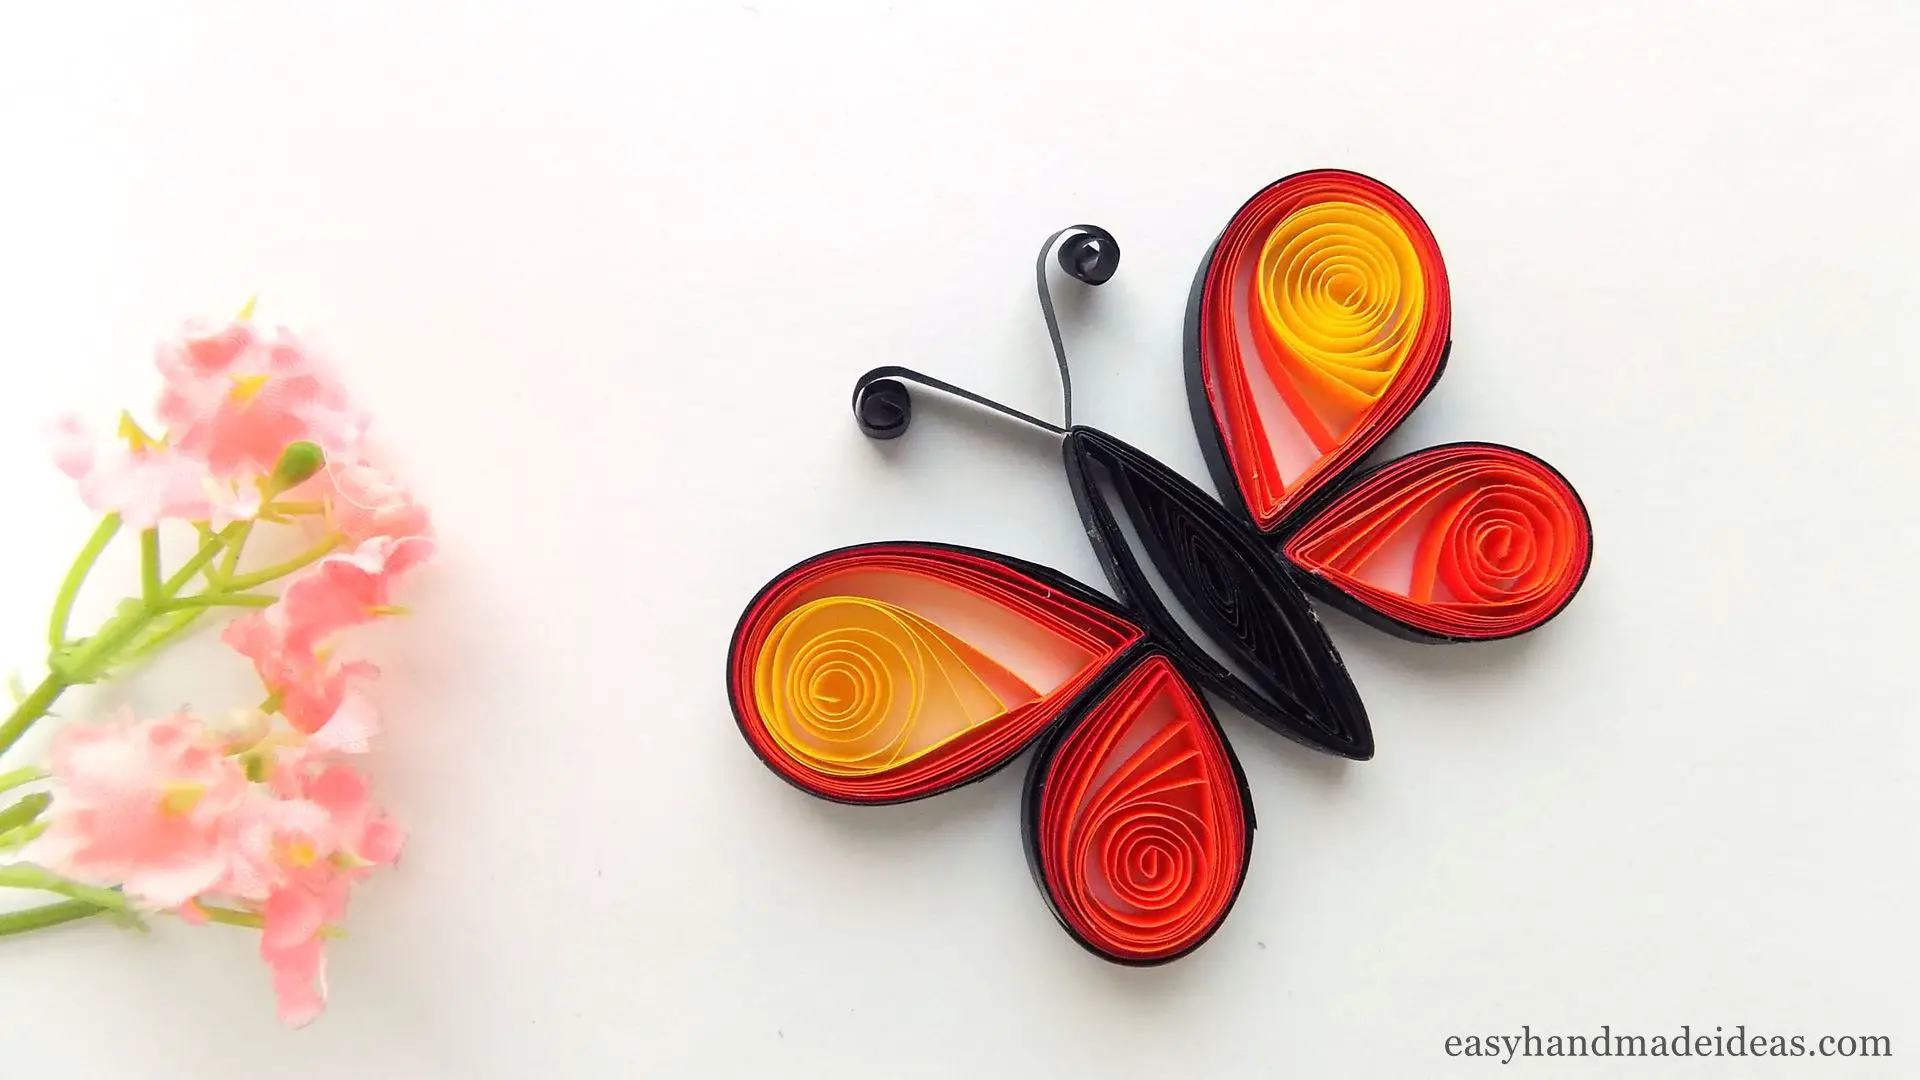
Quilling butterfly
Total Time: 30 minutes
Step 1: Get tools and materials
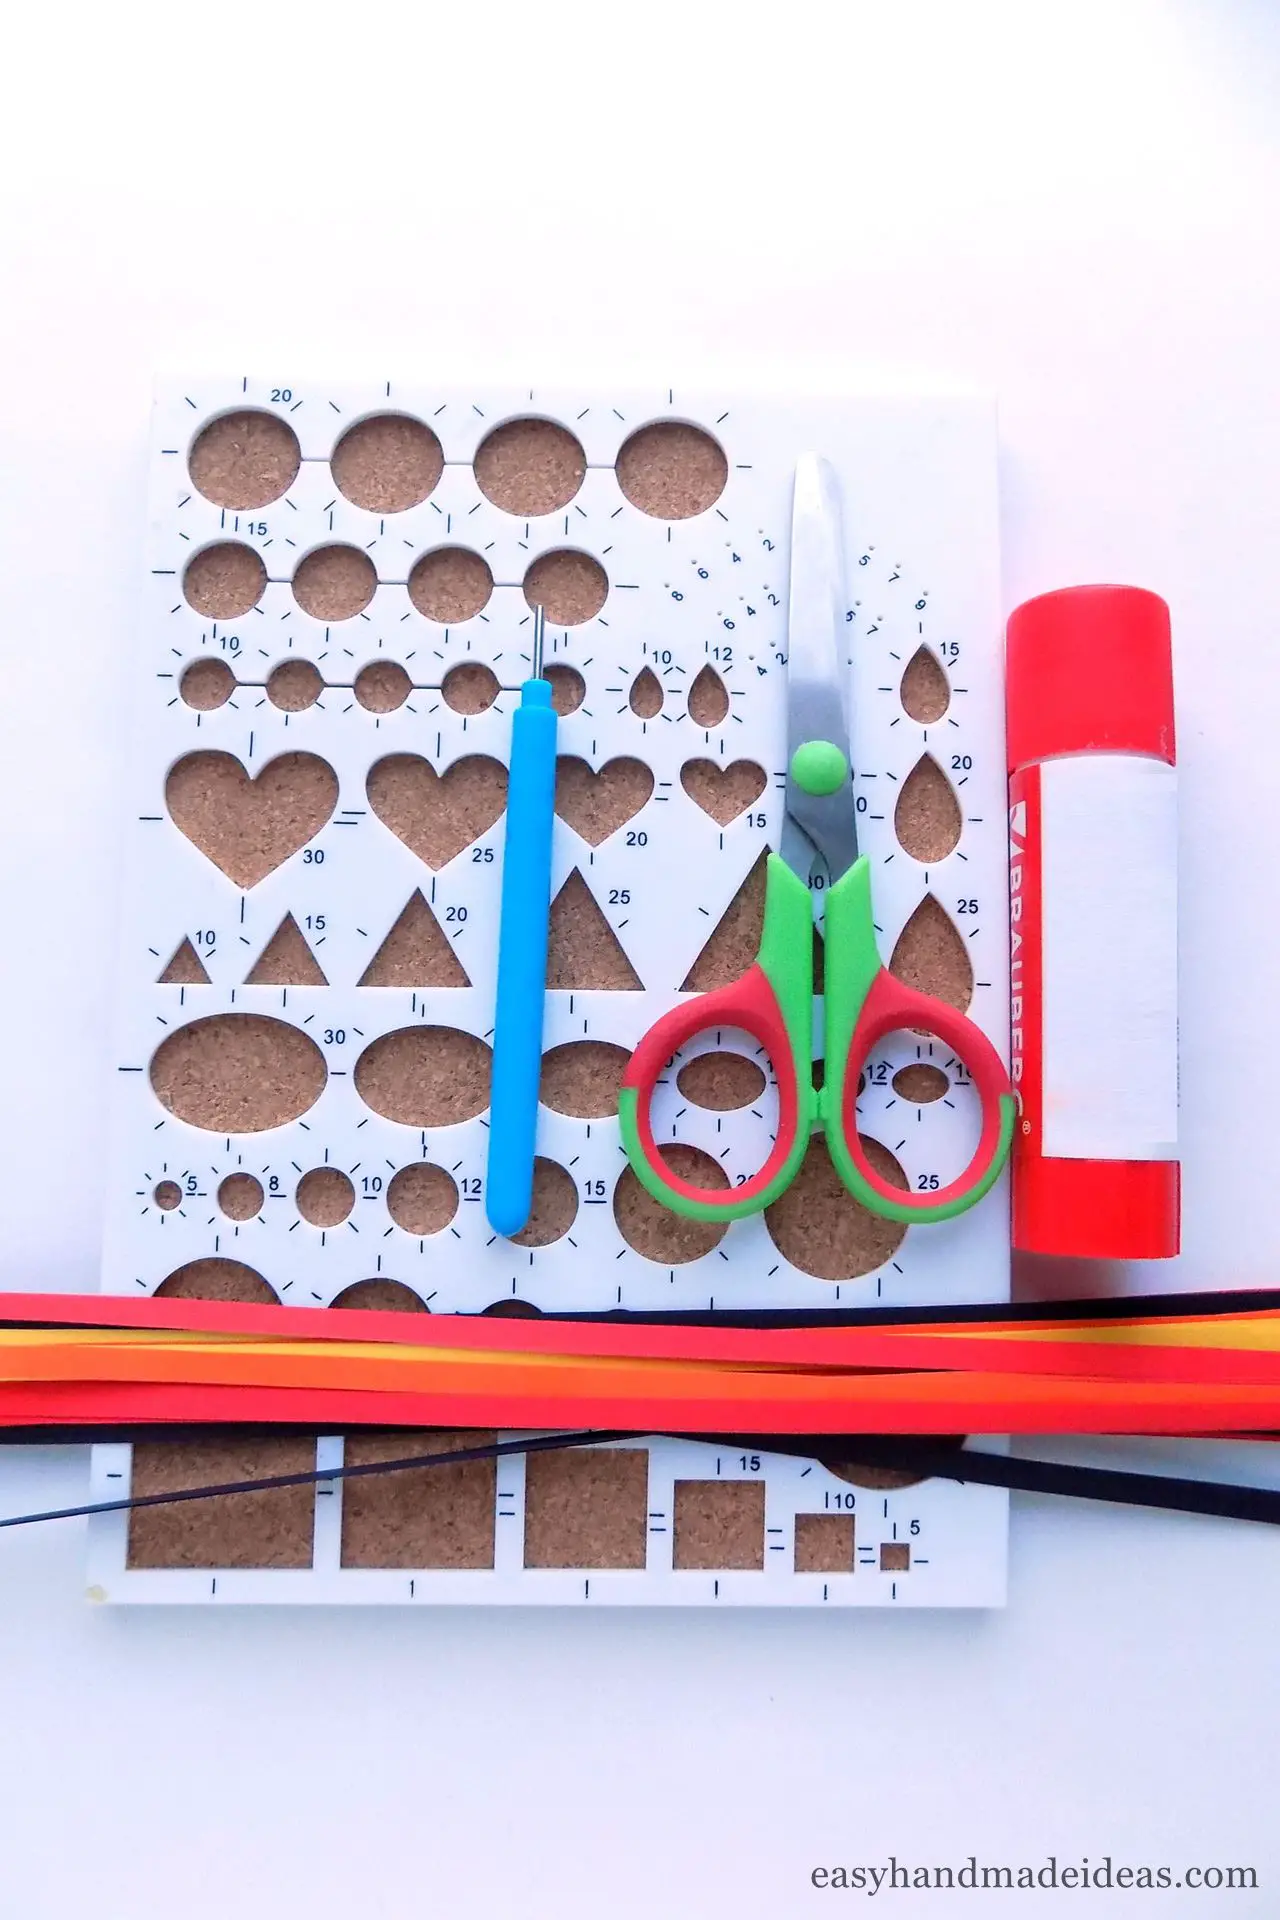
Prepare the colored strips. In my example, I used yellow, red, orange, and black strips, but you can choose absolutely any colors you want.
Step 2: Glue the three strips together
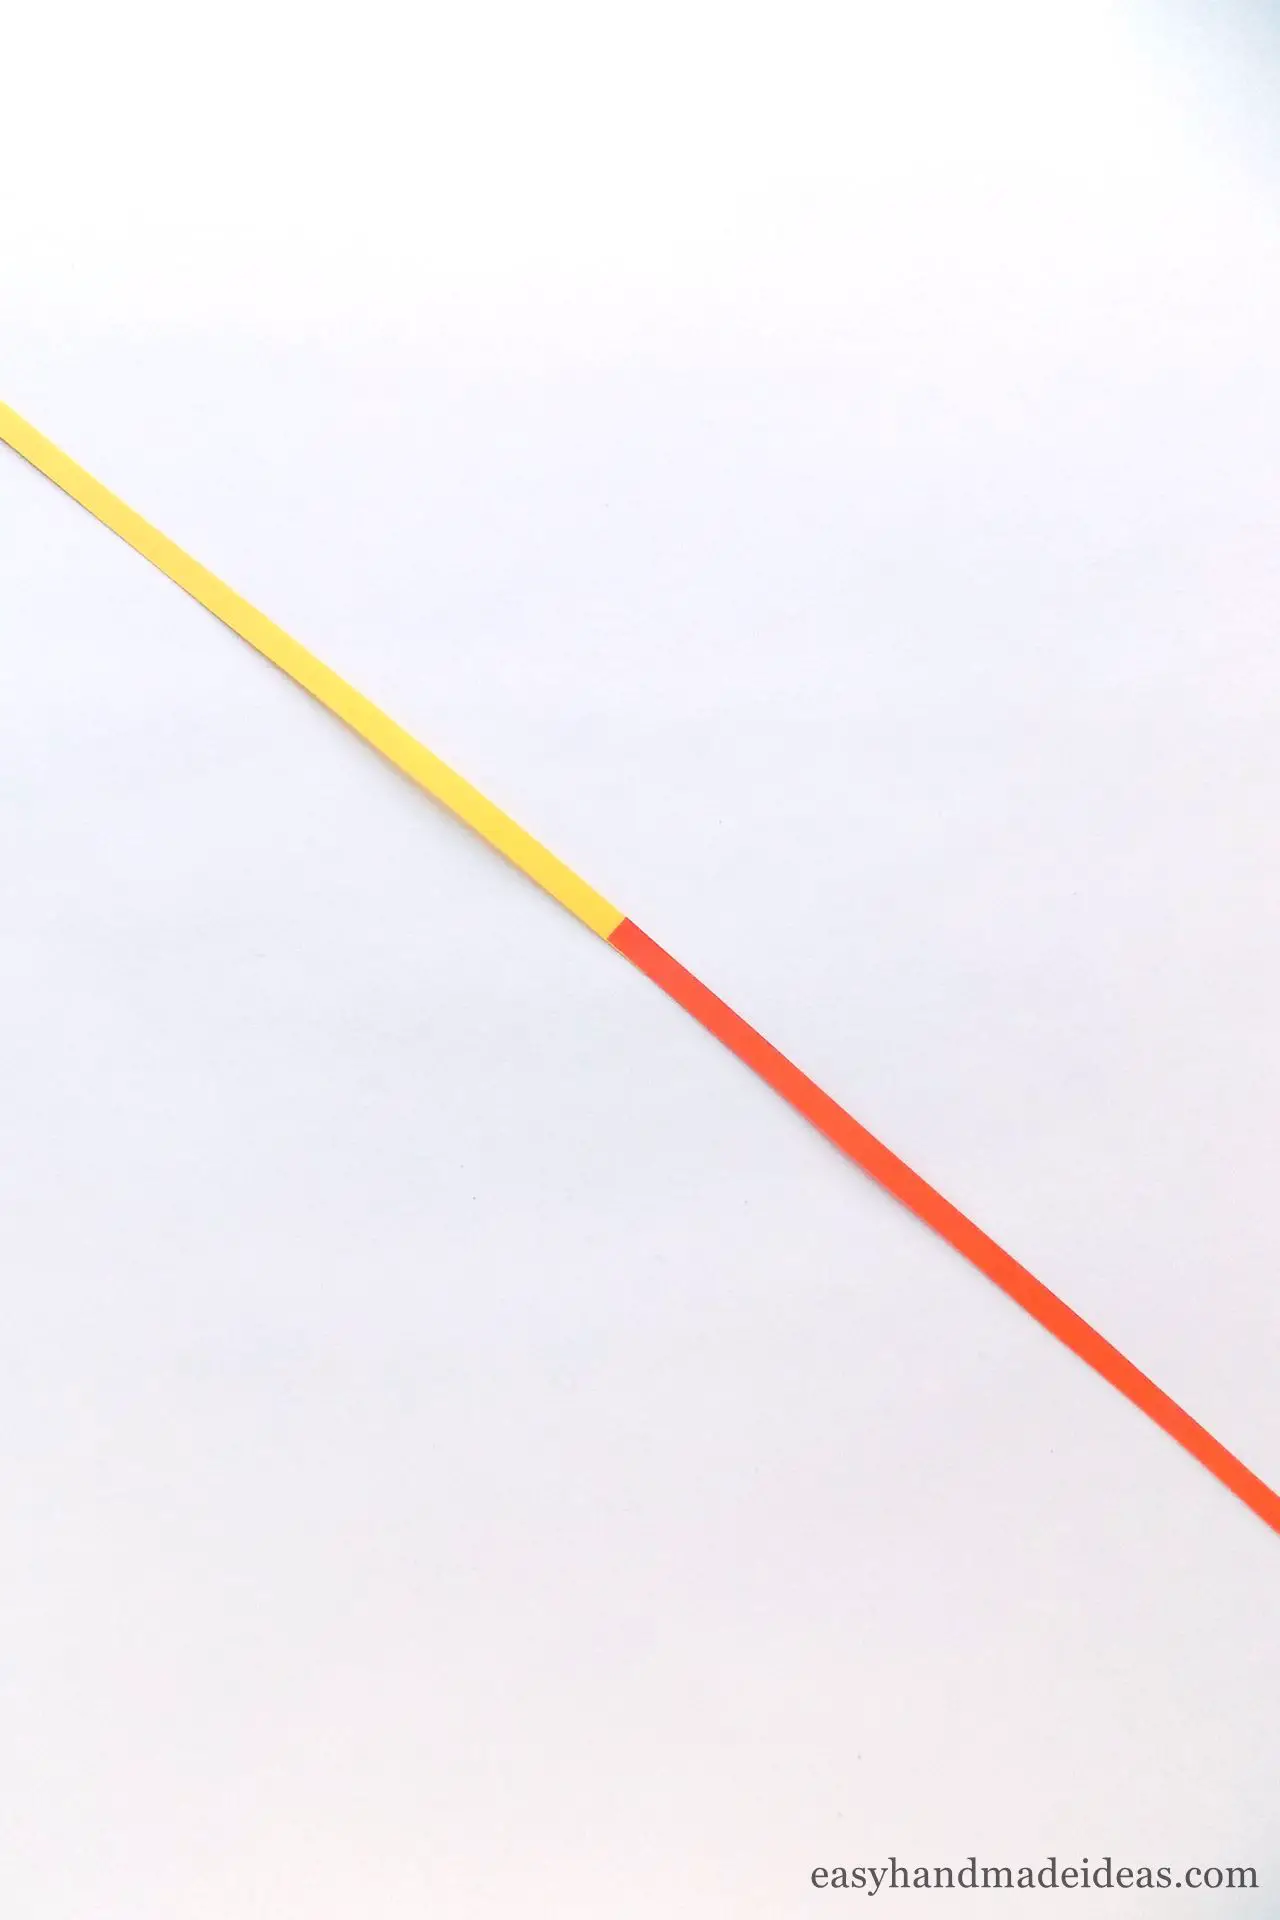
To create one upper butterfly wing, glue together yellow, orange, and red strips in sequence.
Step 3: Create the first loose coil
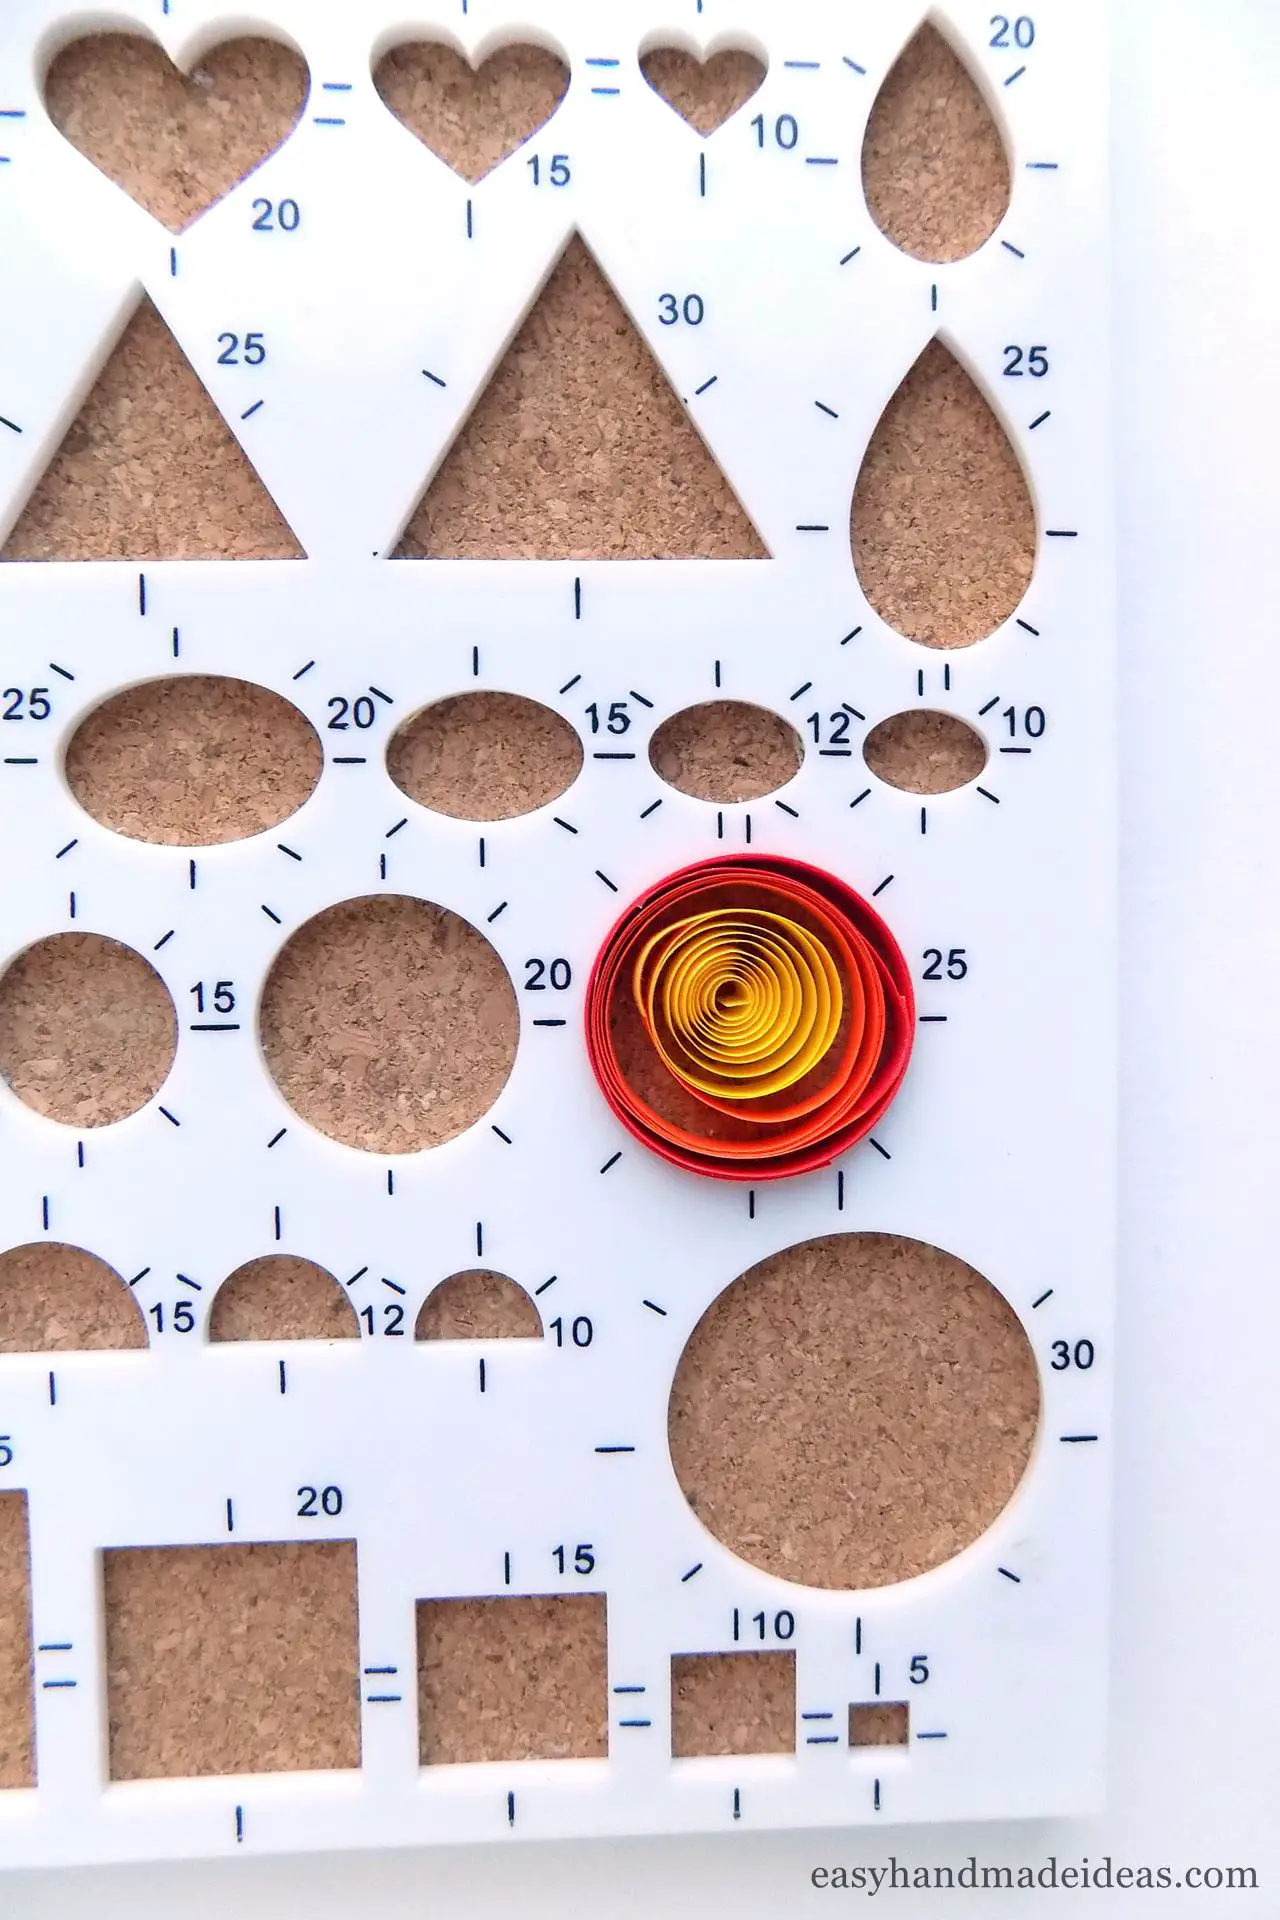
Roll the strips into a loose coil, starting with the yellow piece. Then place this on a 25mm (0,9843 ″) quilling board.
Step 4: Glue the tip of the strip
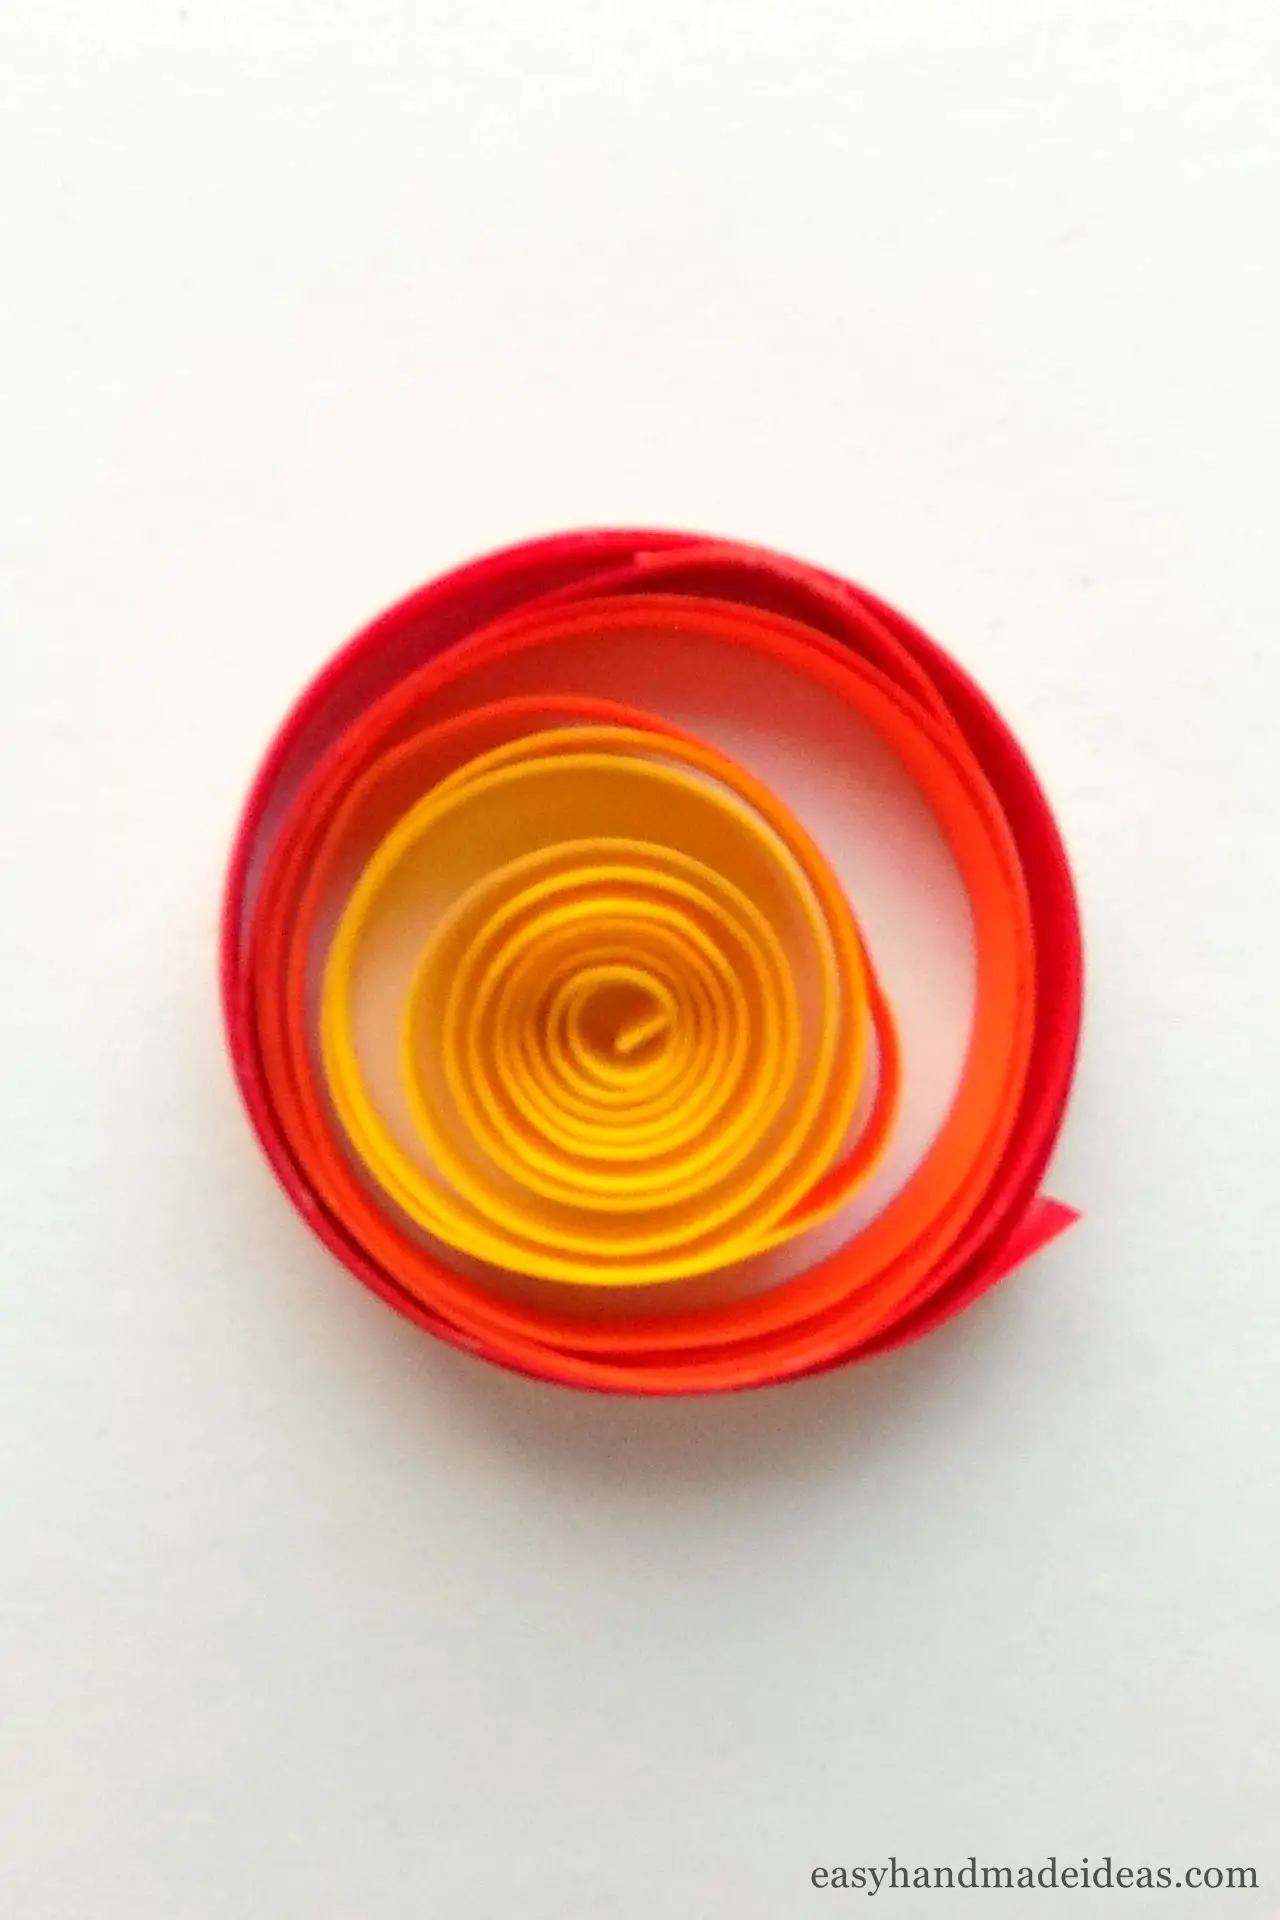
Gently pull out the loose coil and fix the tip with glue.
Step 5: Make a teardrop coil
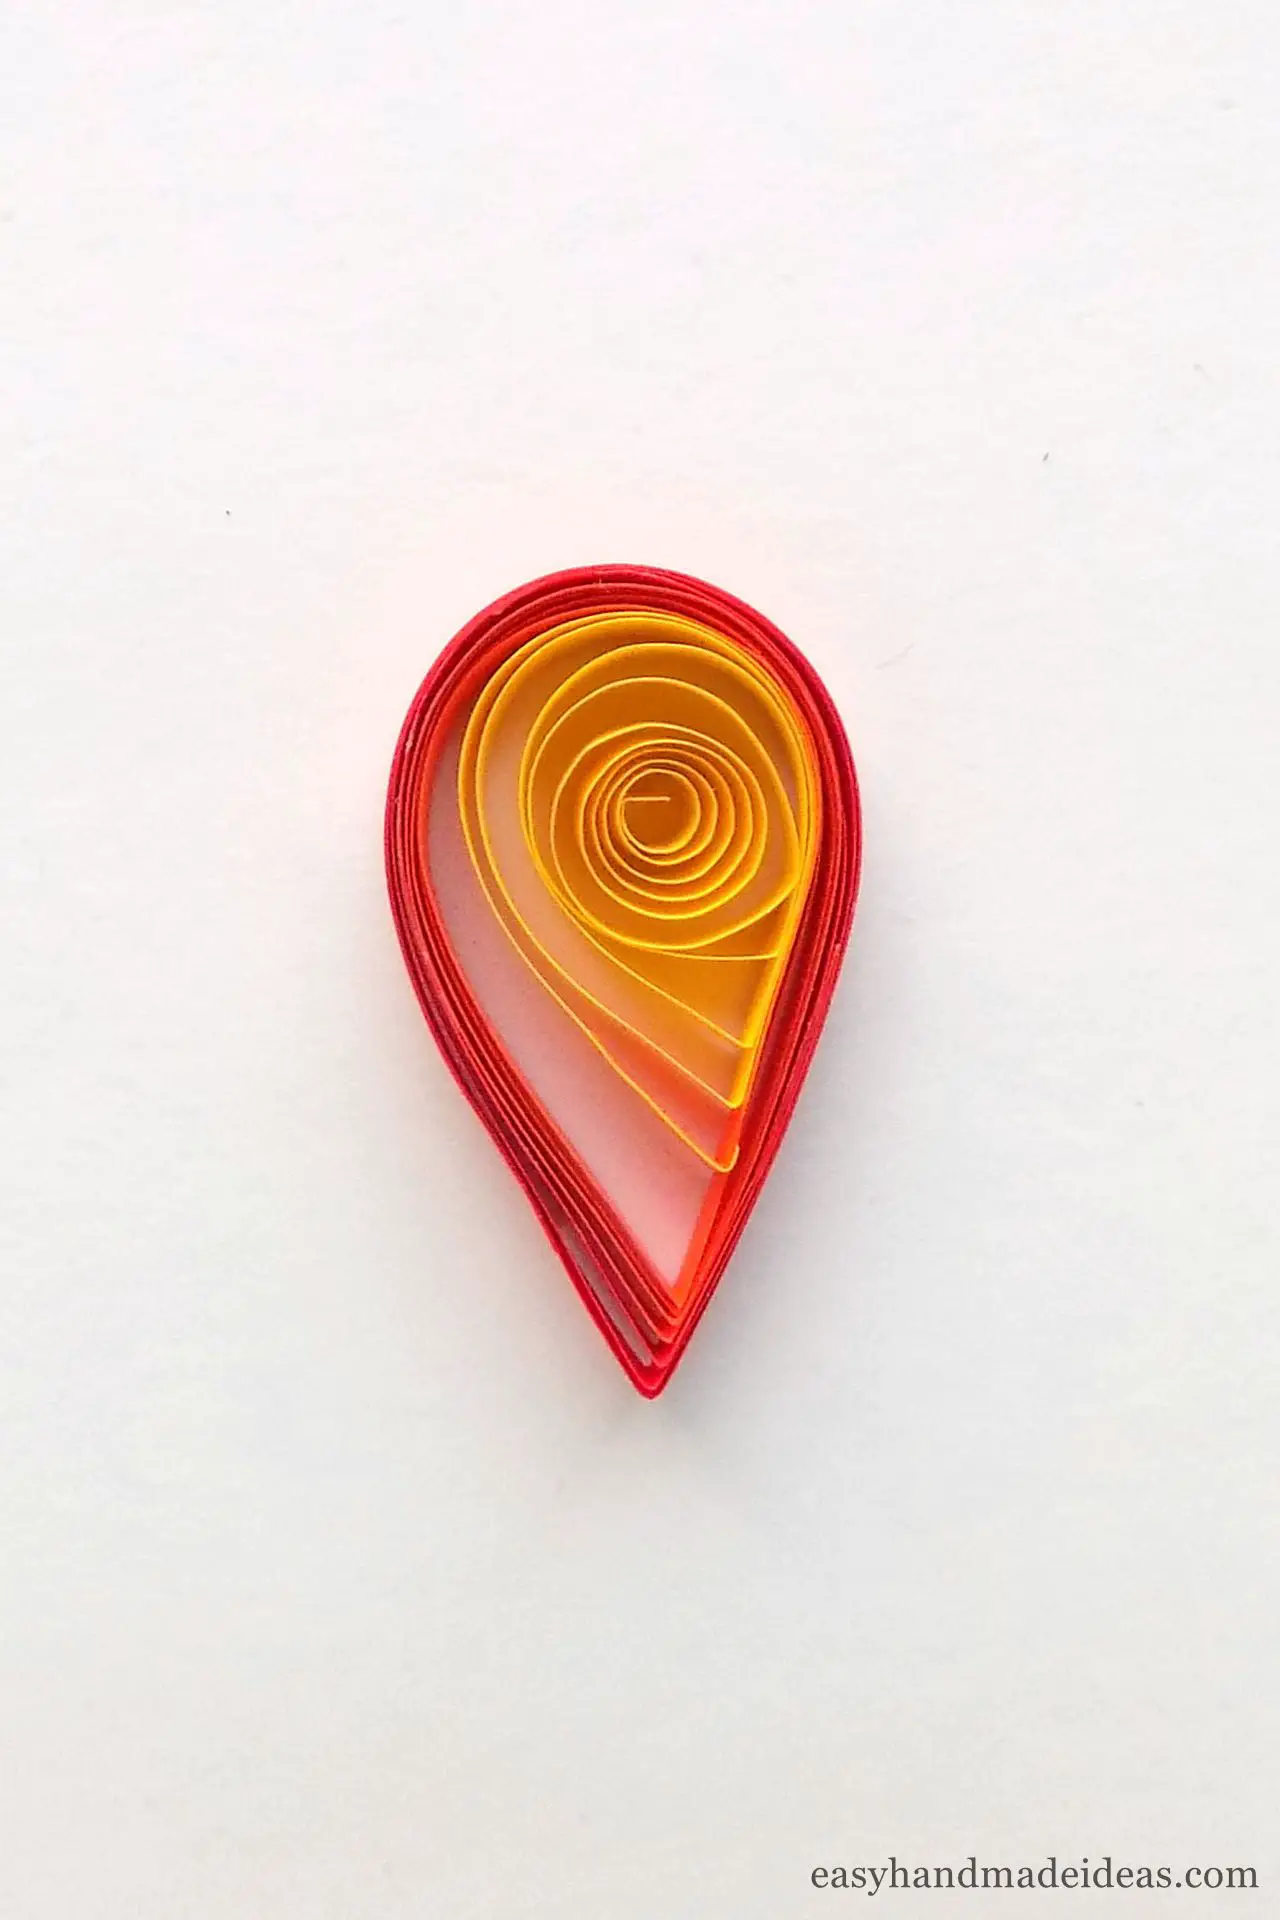
Pinch the loose coil on one side with your fingers so that the center stays to one side. You will create a teardrop coil.
Step 6: Wrap the black strip around the teardrop coil
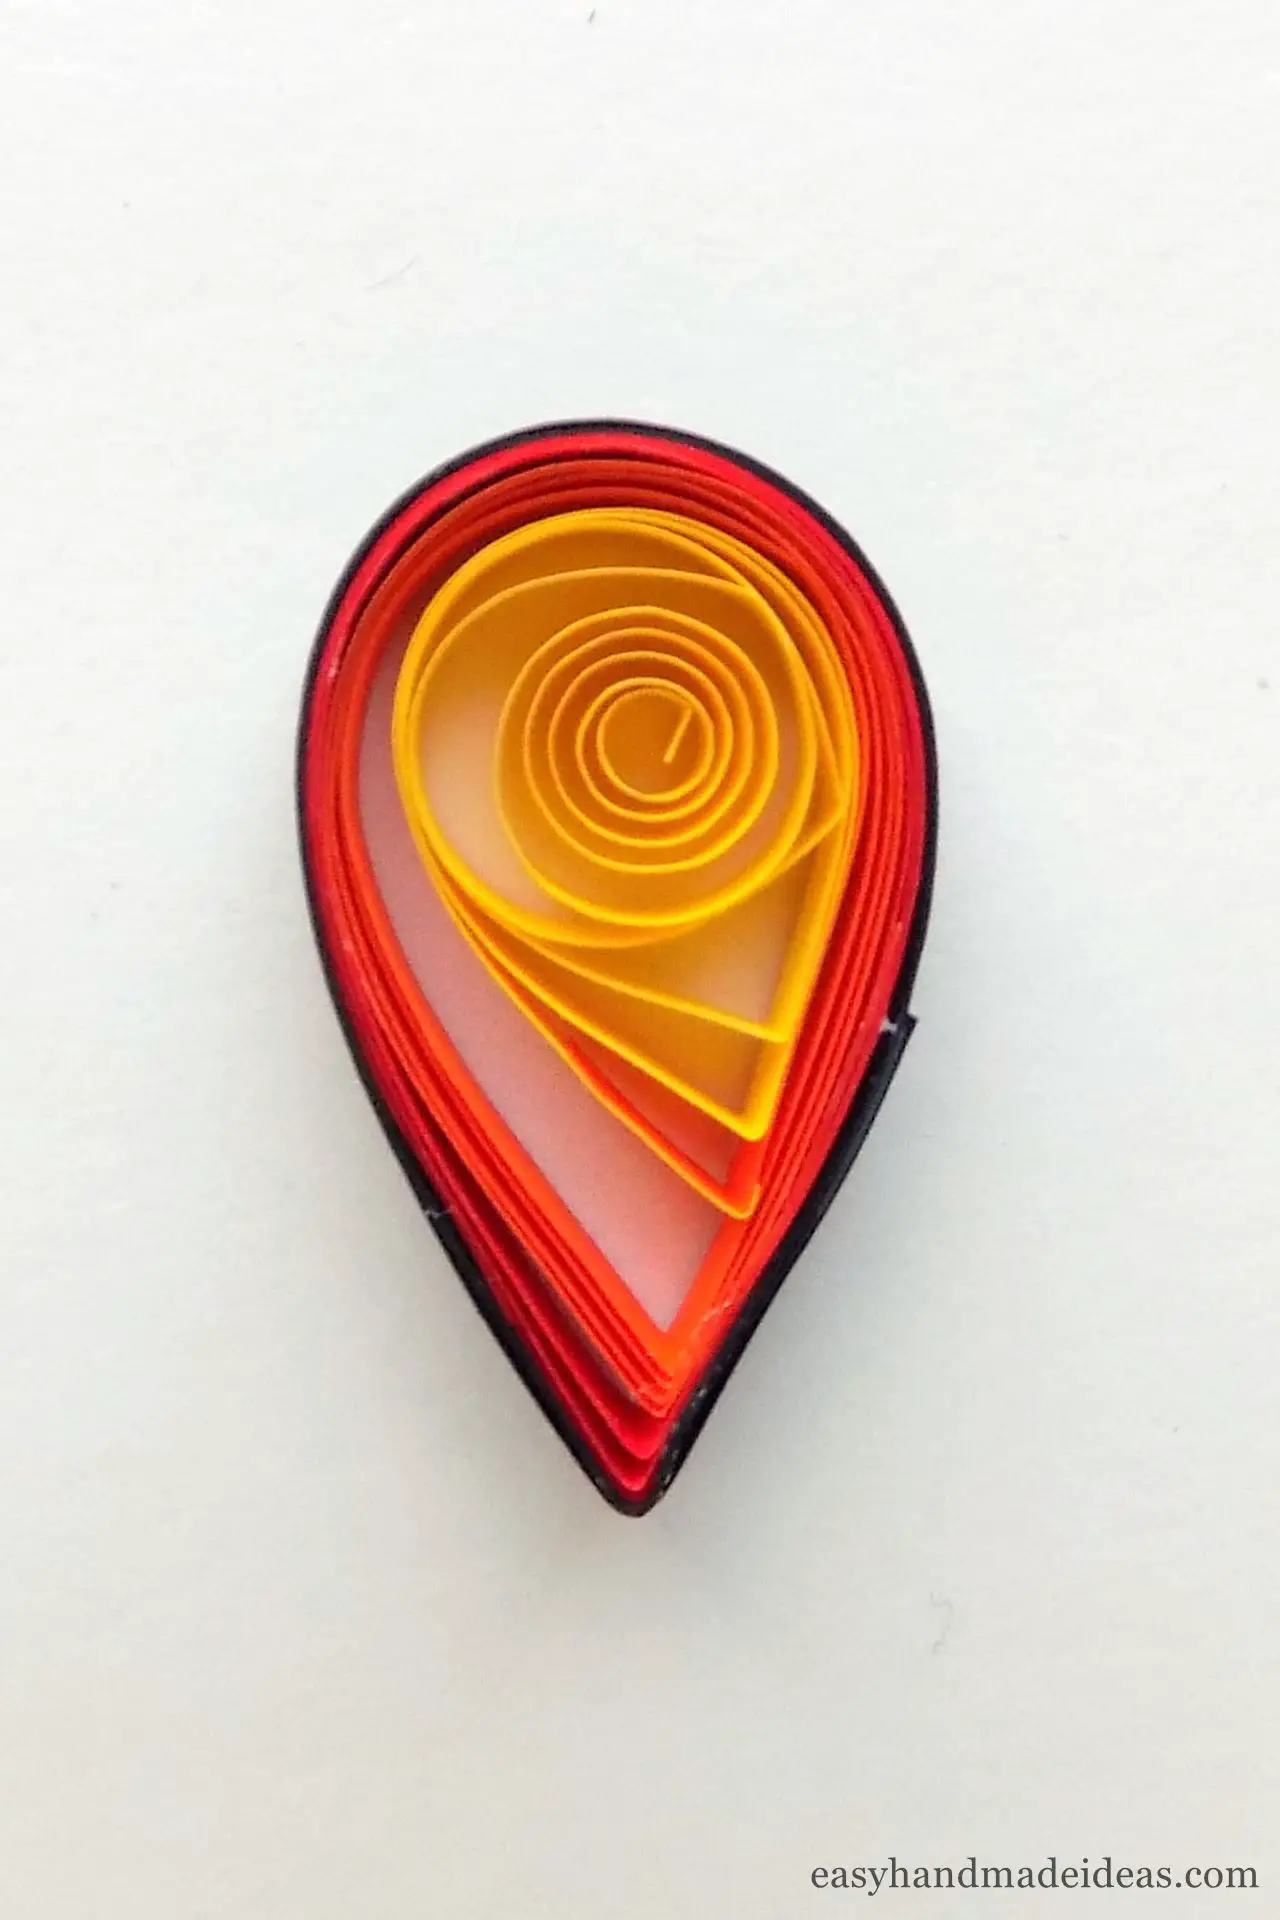
Take the black strip and wrap it around the teardrop coil, remembering to secure it with glue at the beginning and end.
Step 7: Repeat the previous steps for the second upper wing of the butterfly
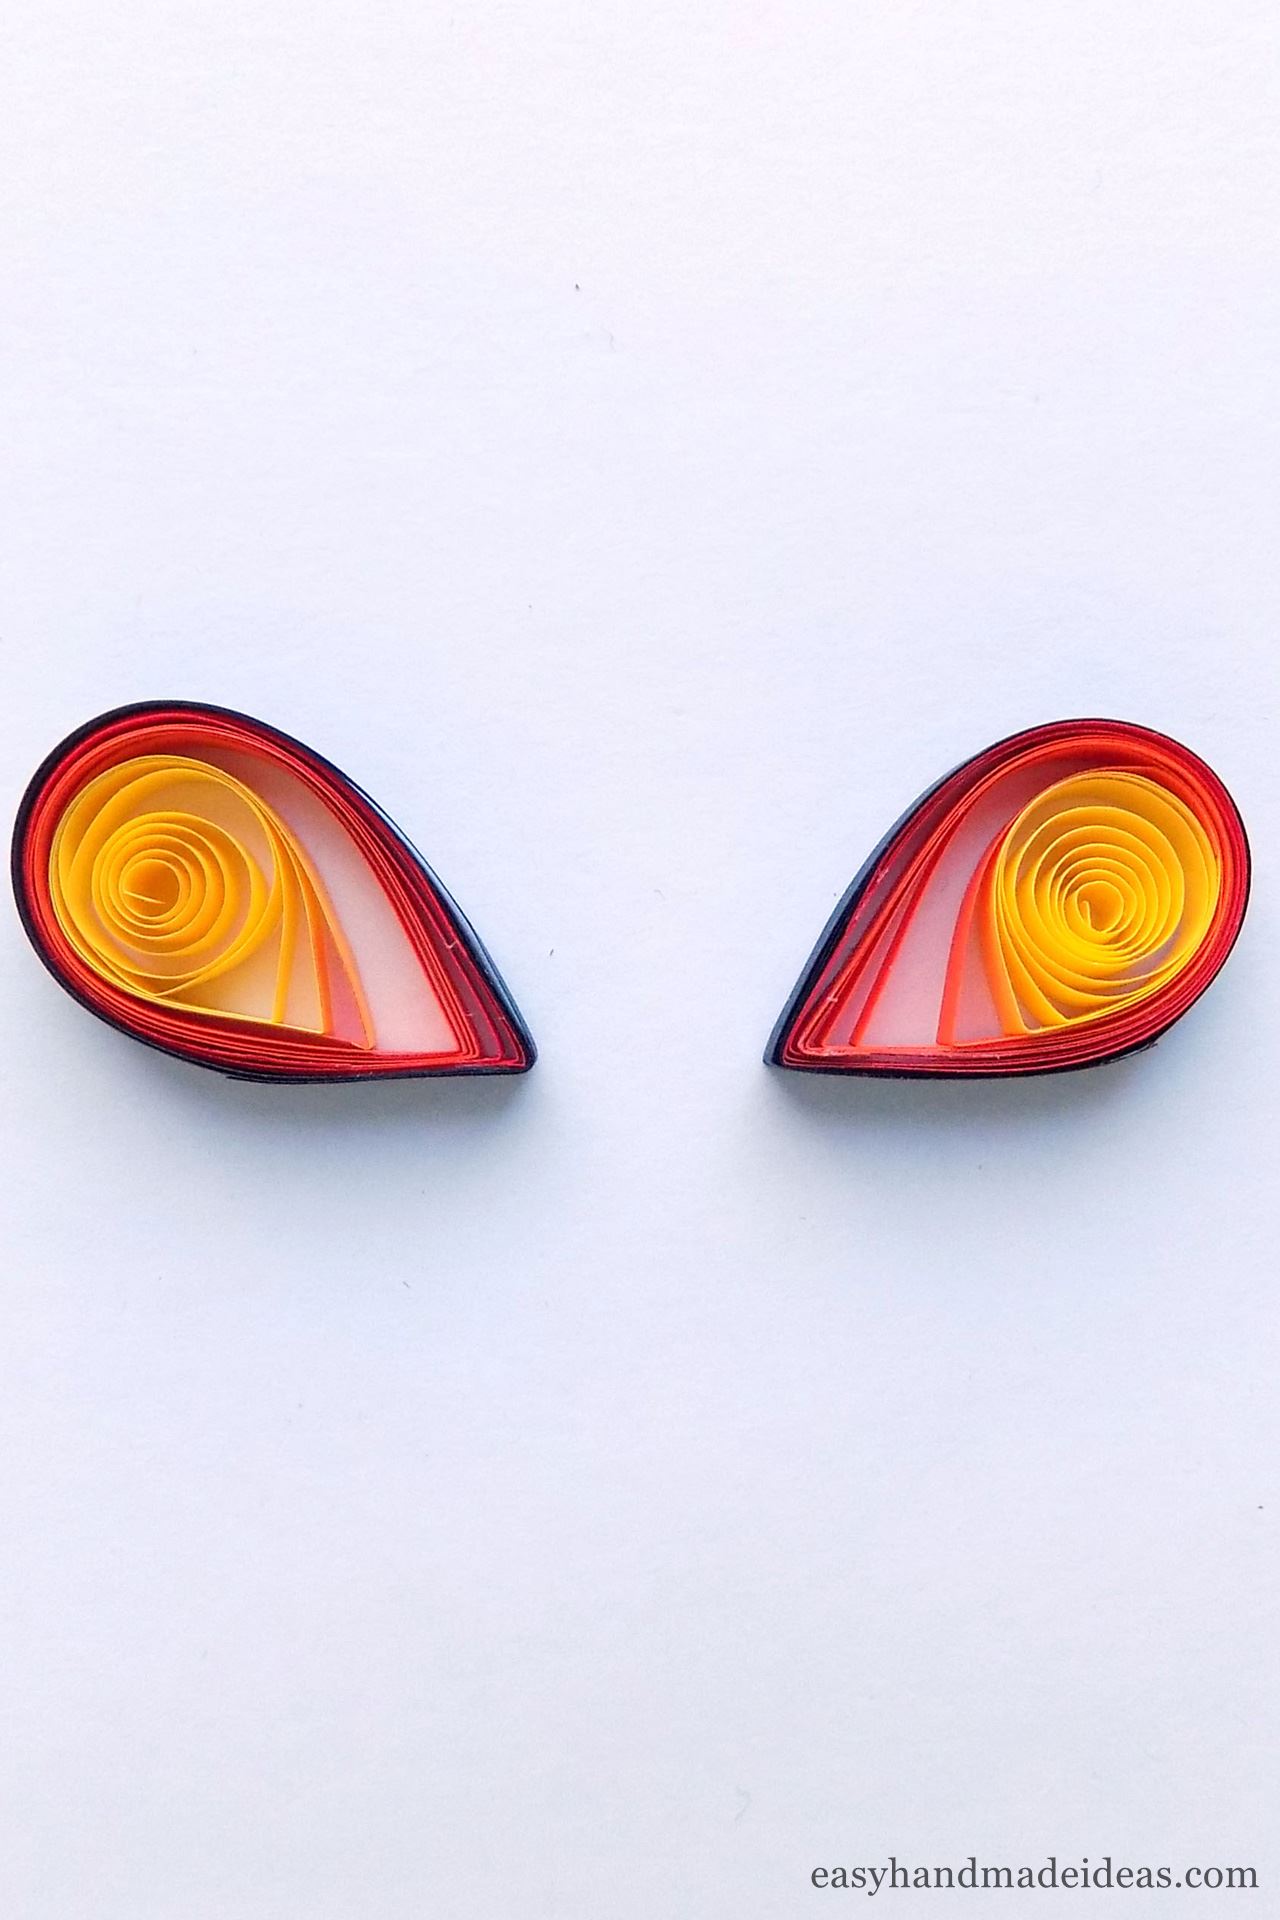
Make the second upper wing in the same way.
Step 8: Shaping the lower wing
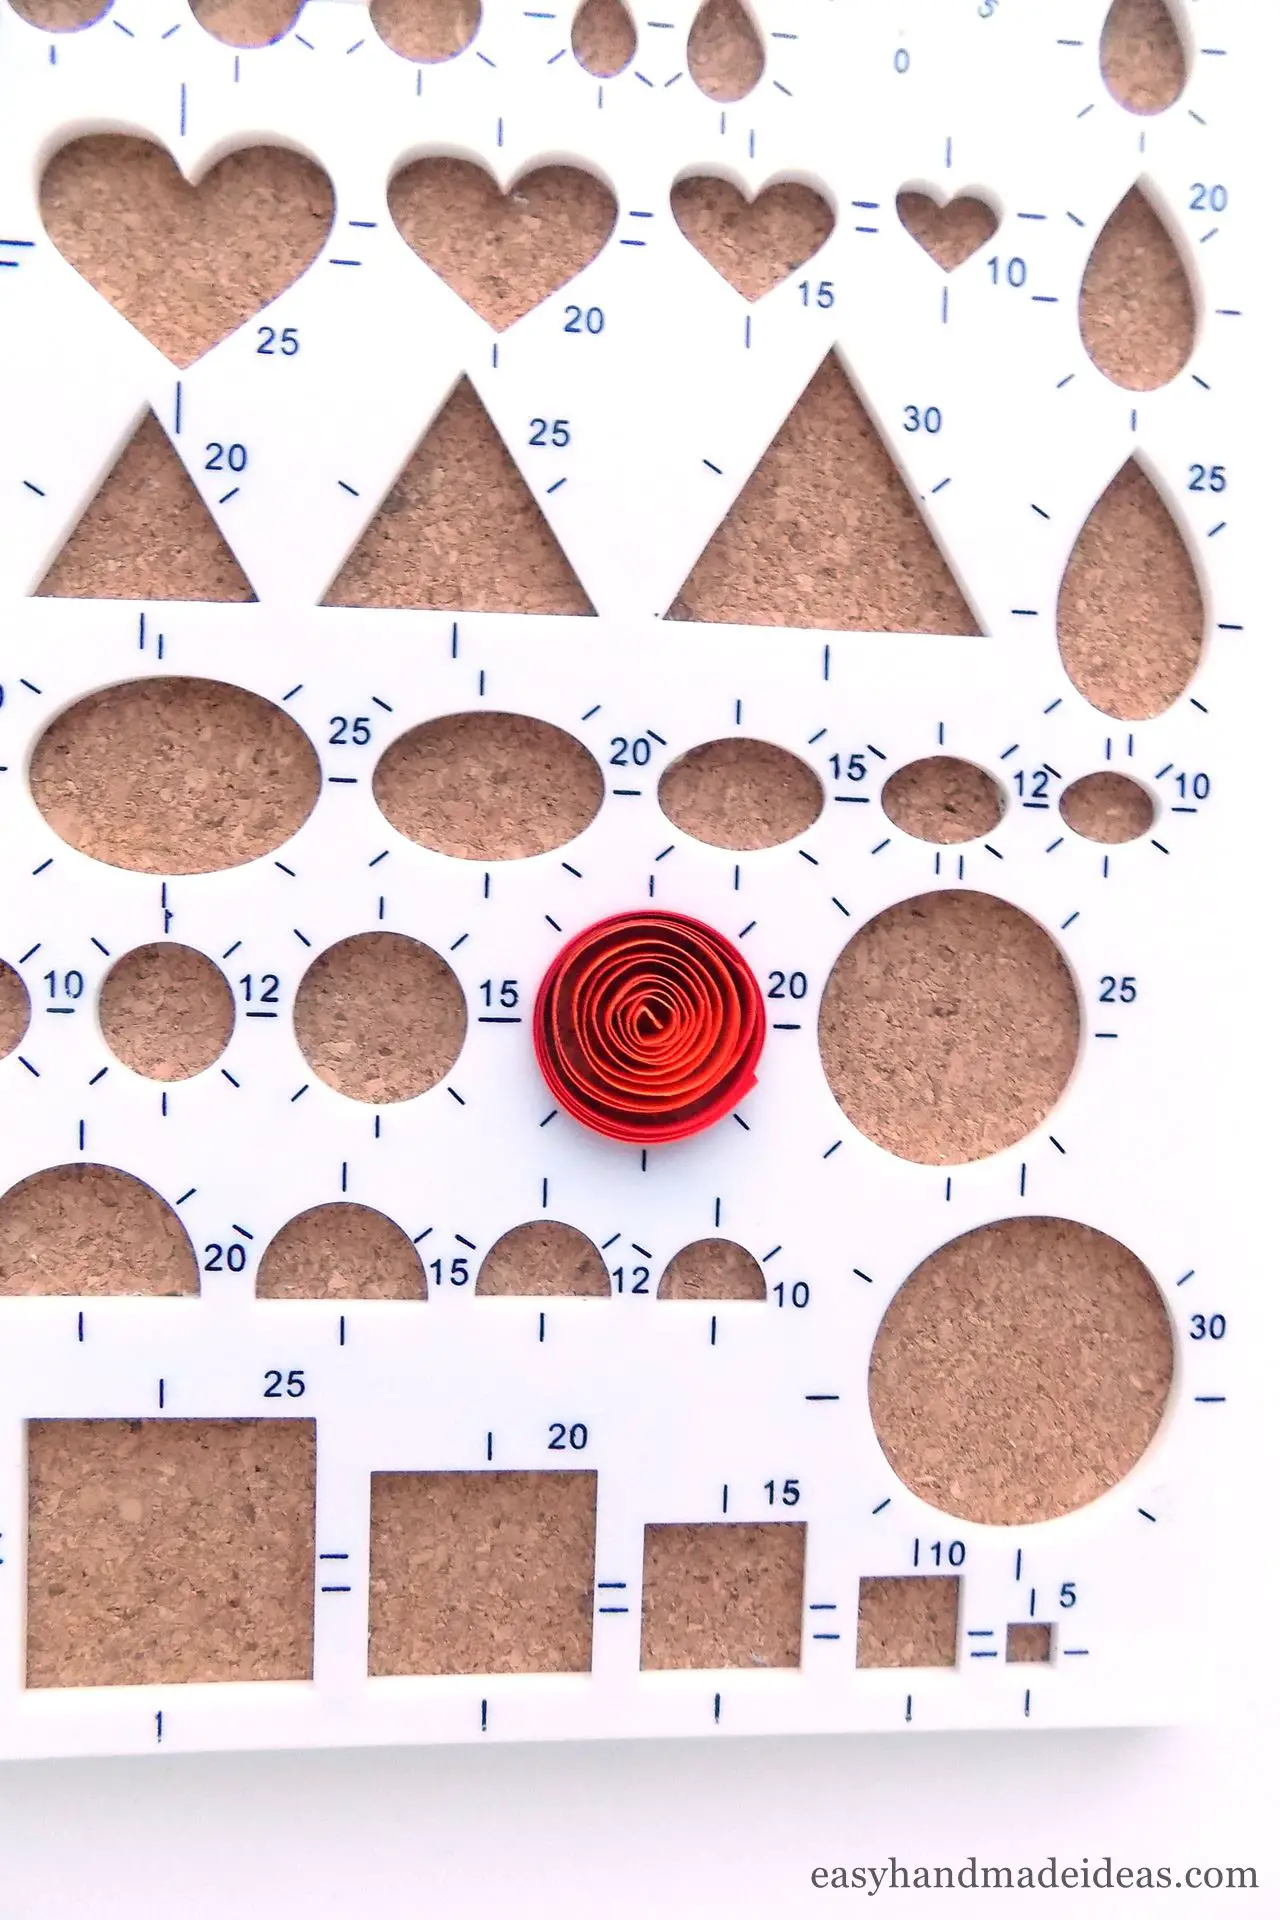
For one lower butterfly wing, glue the orange and red strips together one after the other. Then roll them up and place them in a 20mm (0,7874 ″) quilling board.
Step 9: Make a loose coil for the lower wing
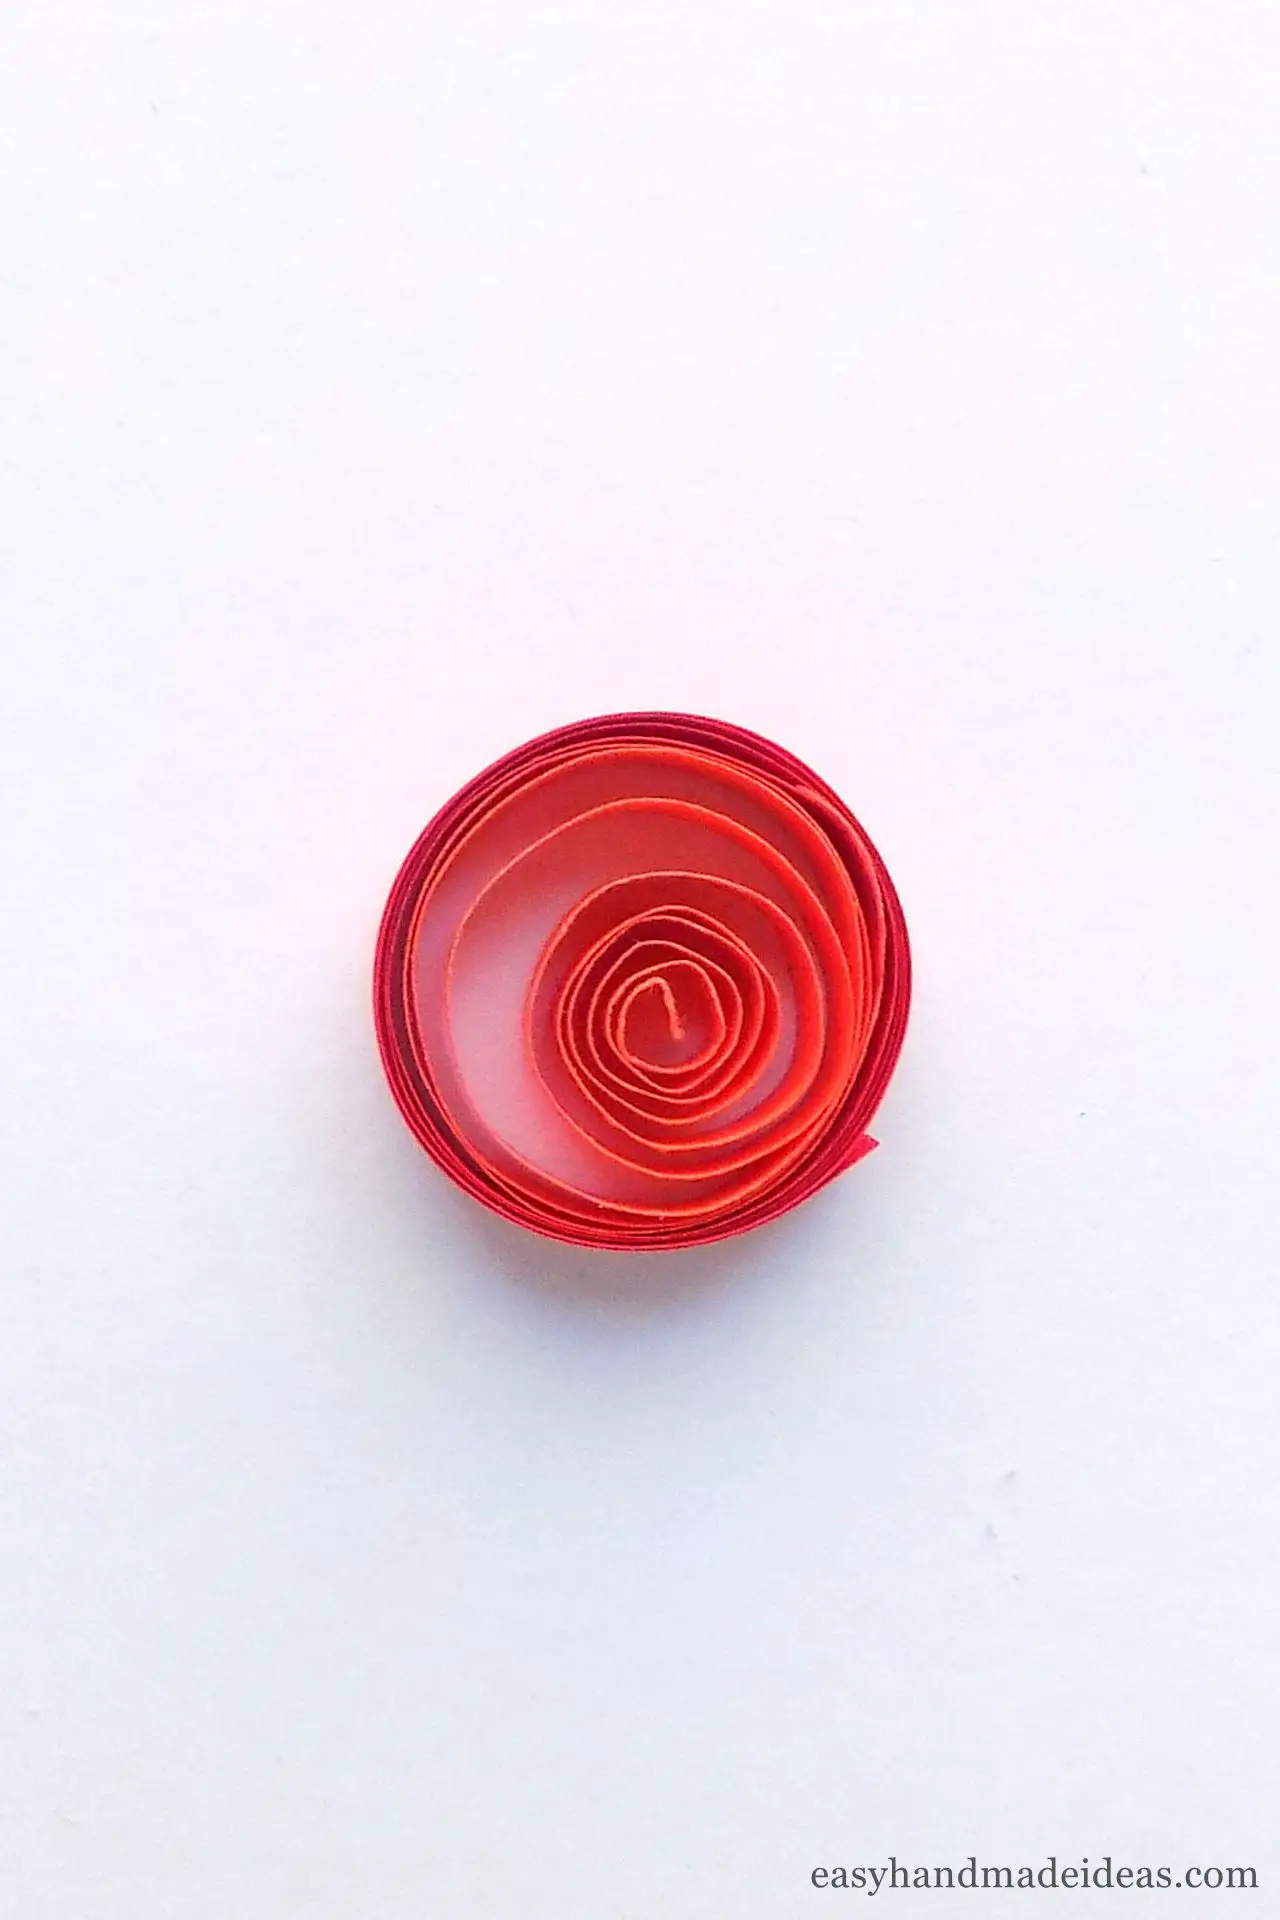
Take out the resulting coil and glue the tip.
Step 10: Make a teardrop coil for the lower wing
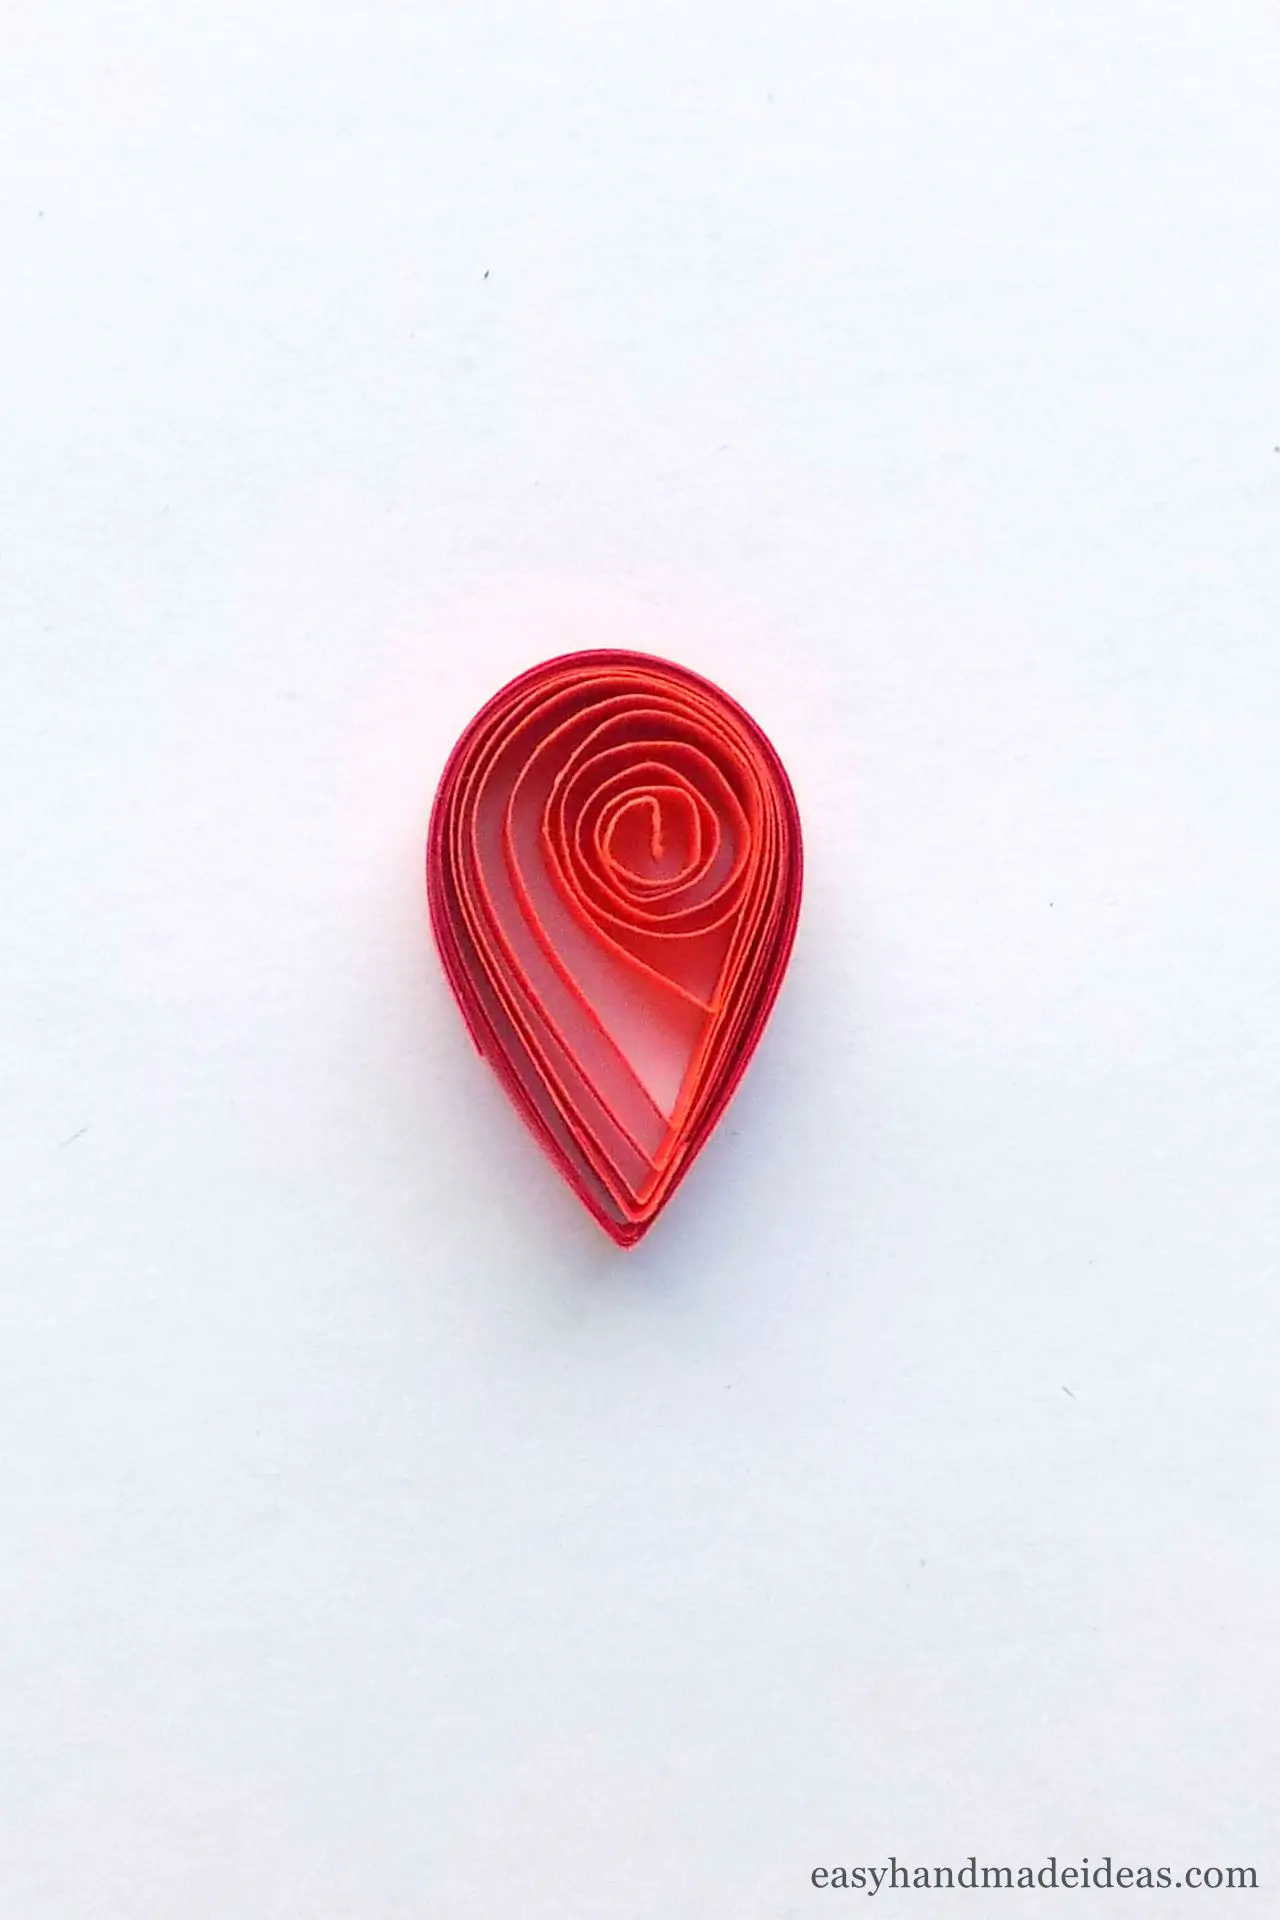
Gently pinch the loose coil on one side to make a teardrop coil.
Step 11: Wrap a black strip around the teardrop coil
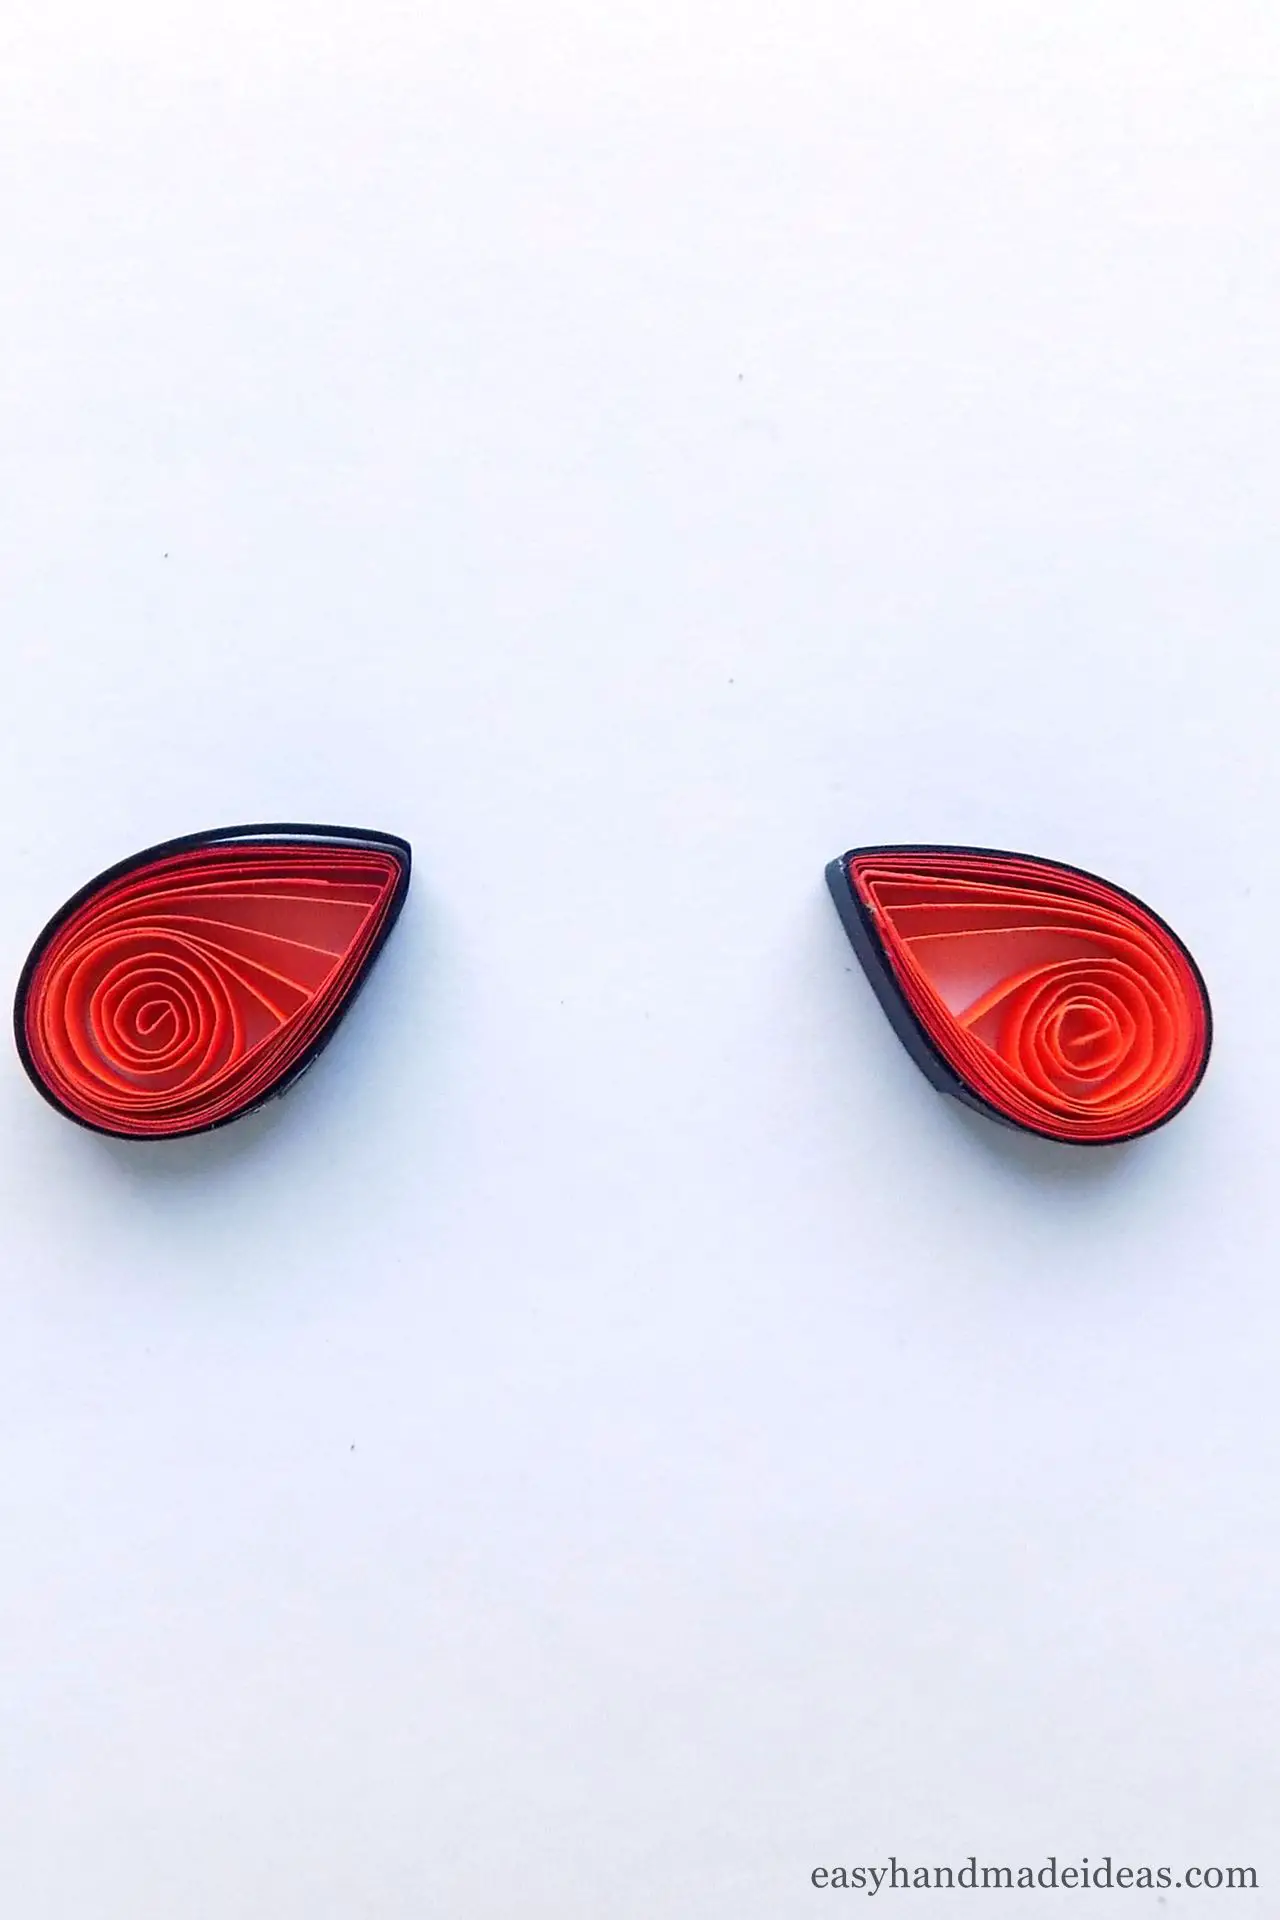
Use a black strip to wrap it around the teardrop coil and fix it with glue. Do the second wing in this way.
Step 12: Glue 3 black strips
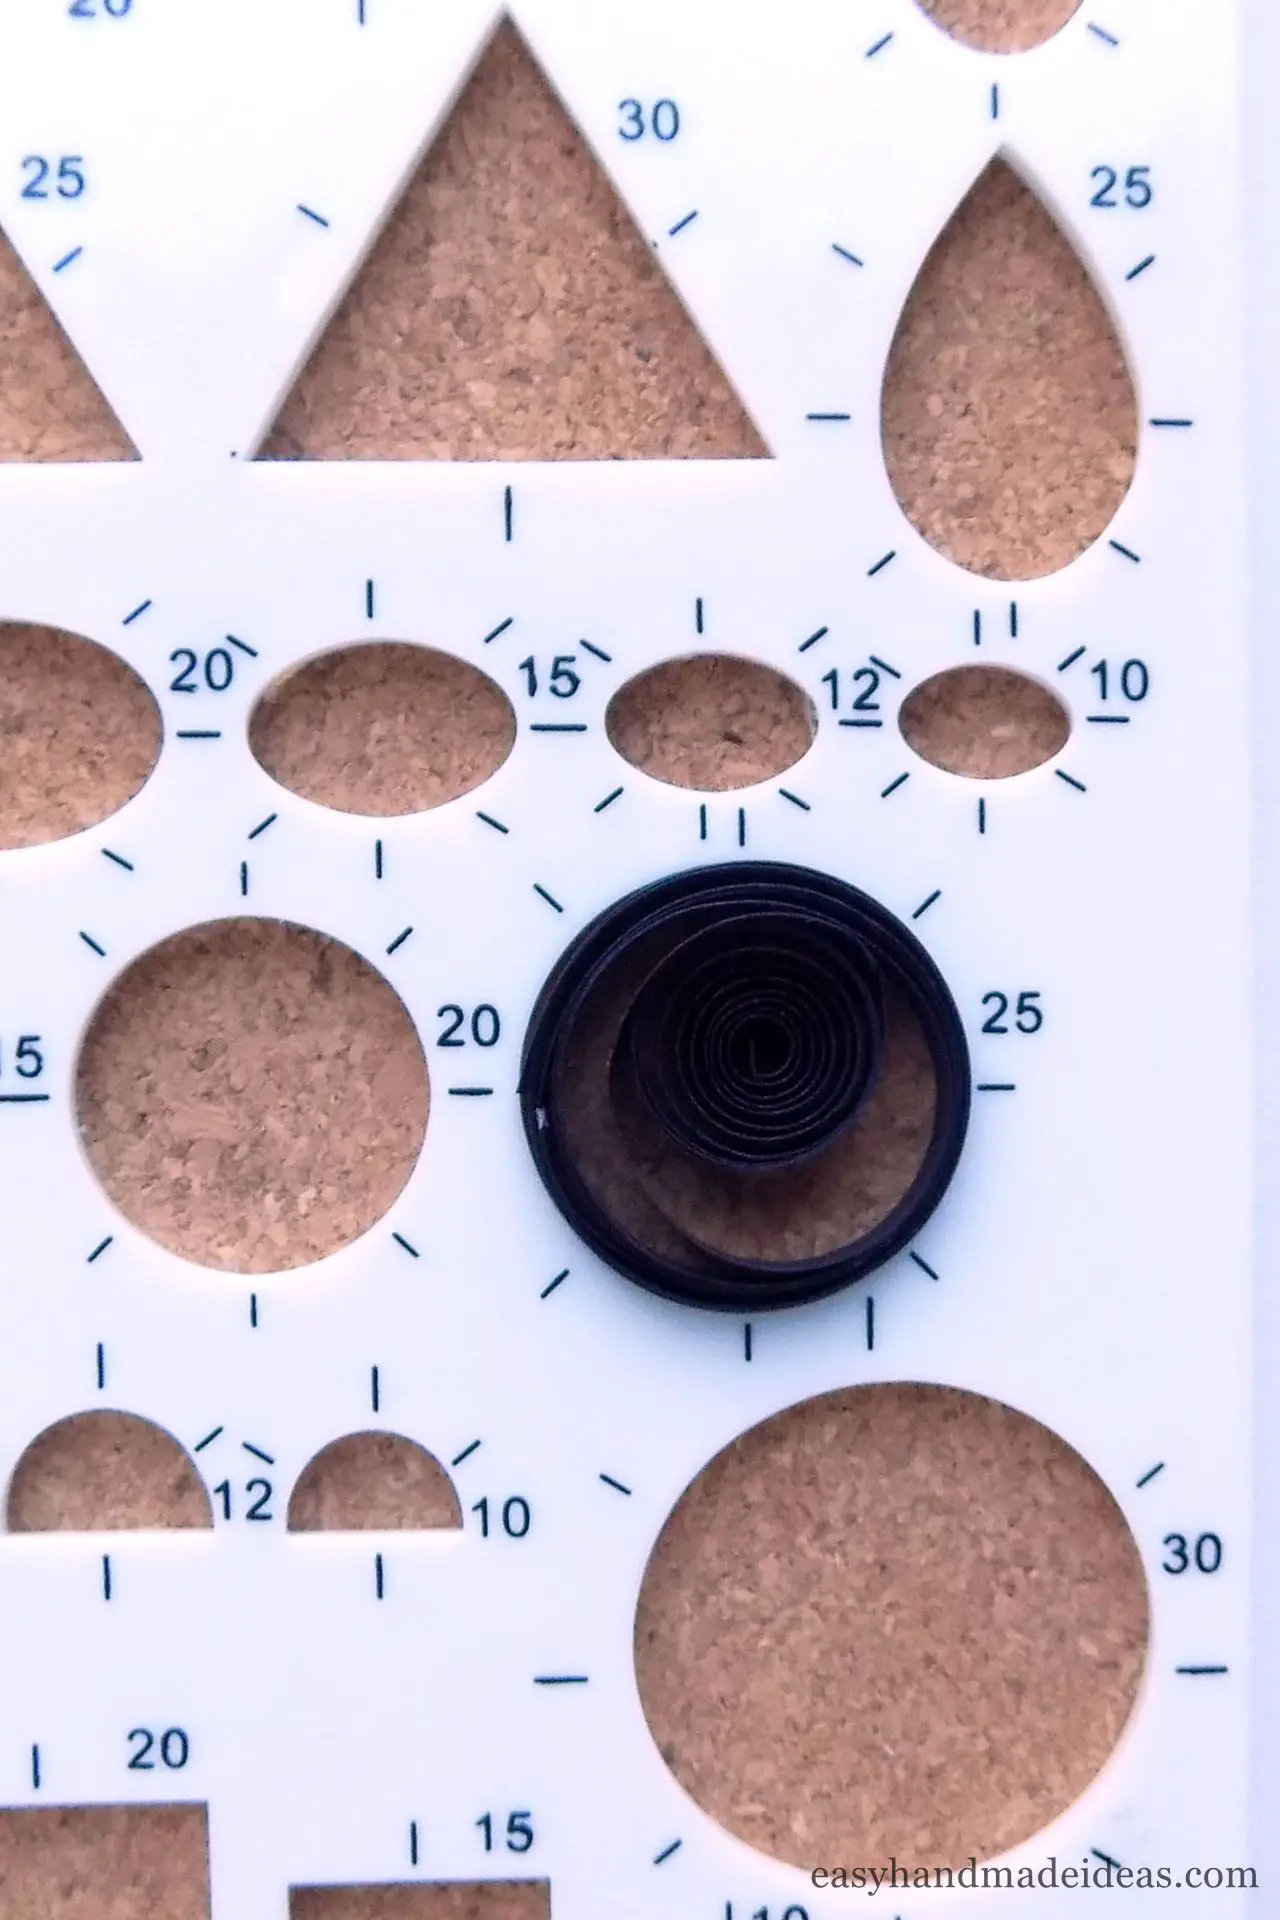
Glue 3 black strips together one after another, and then form a 25 mm (0,9843 ″) loose coil around them.
Step 13: Make a loose coil from a black strip
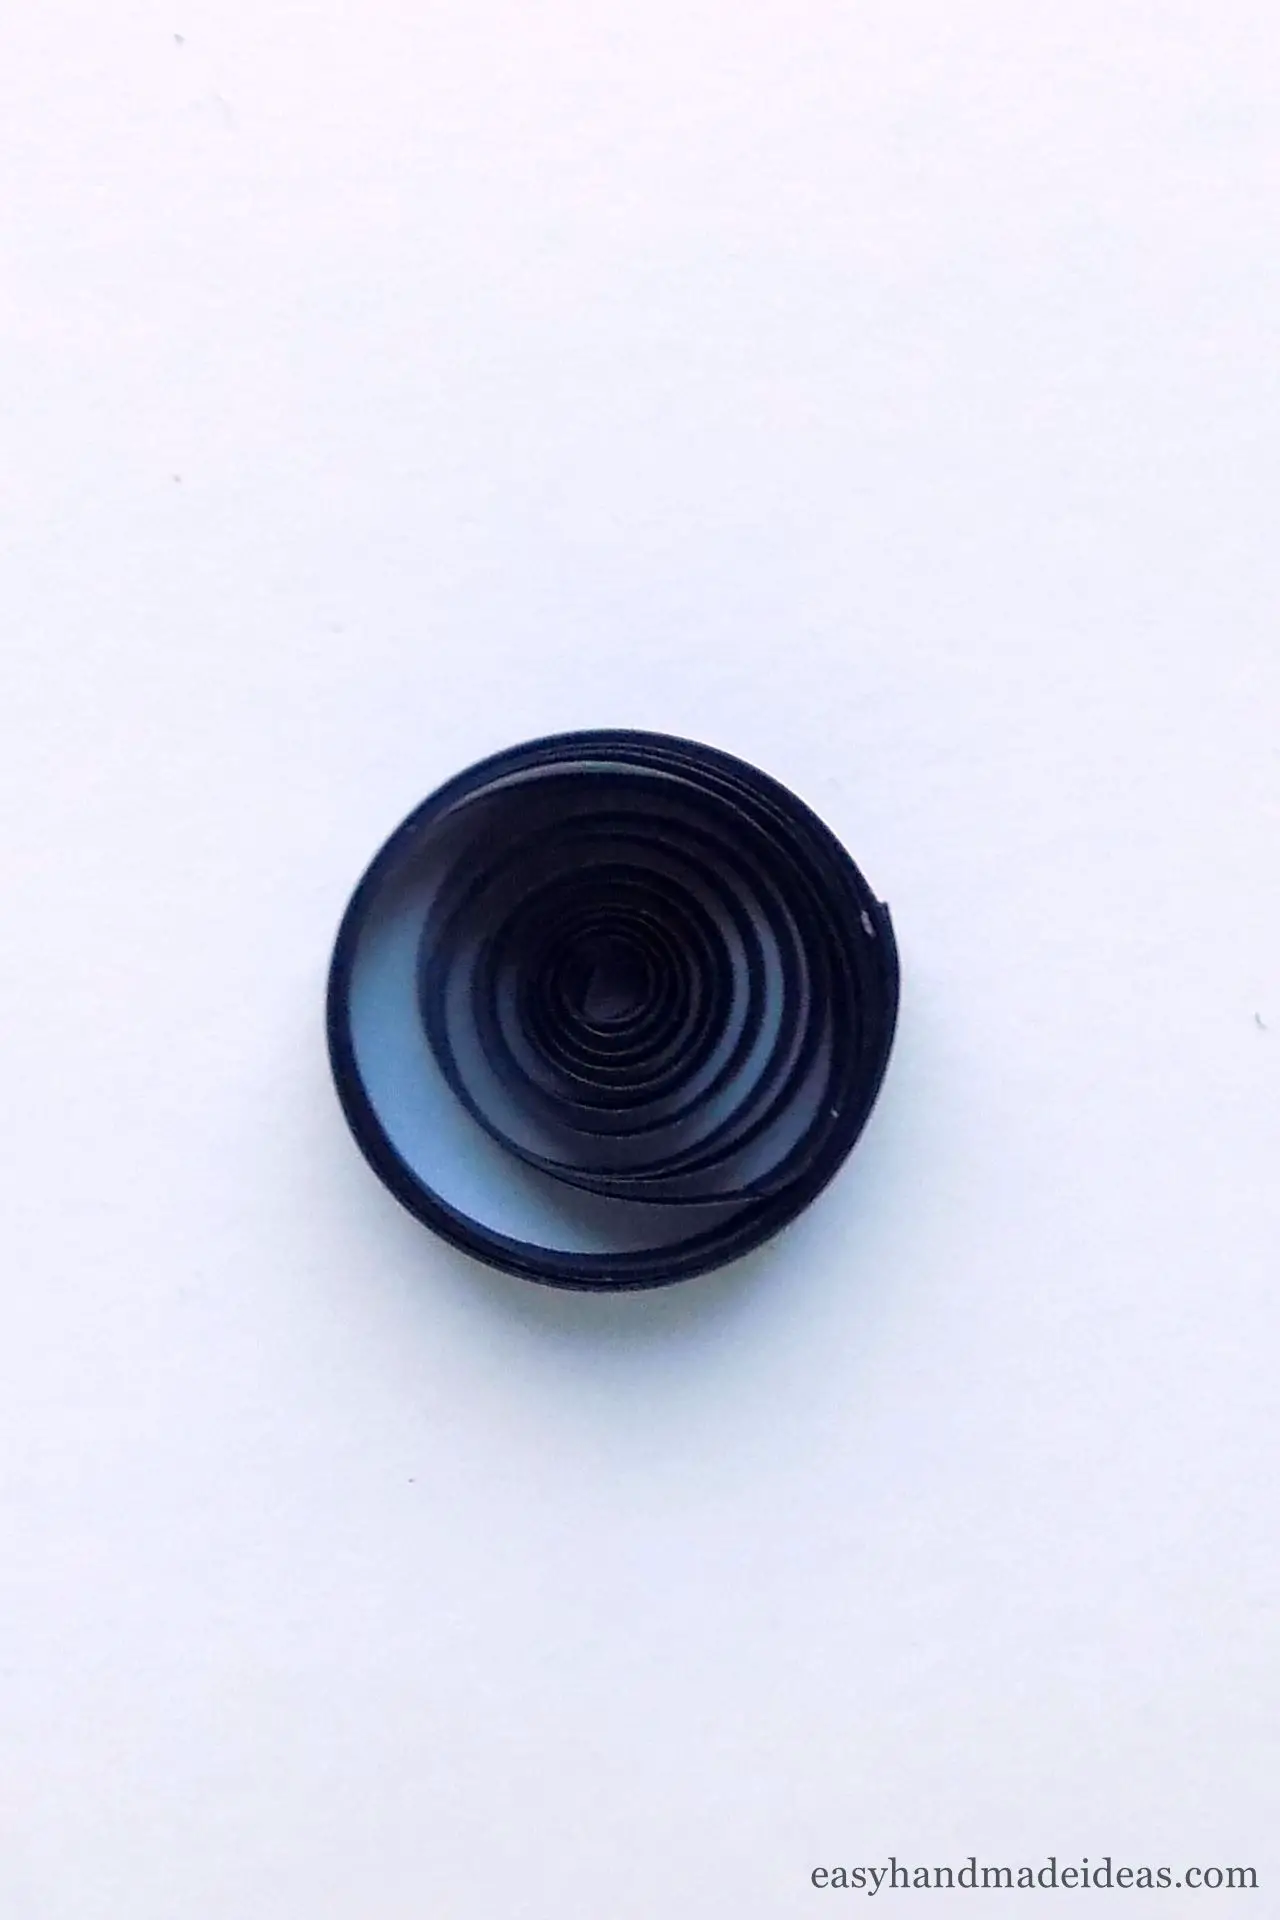
Take out a loose coil from the quilling board and fix the tip with glue.
Step 14: Make a marquise coil
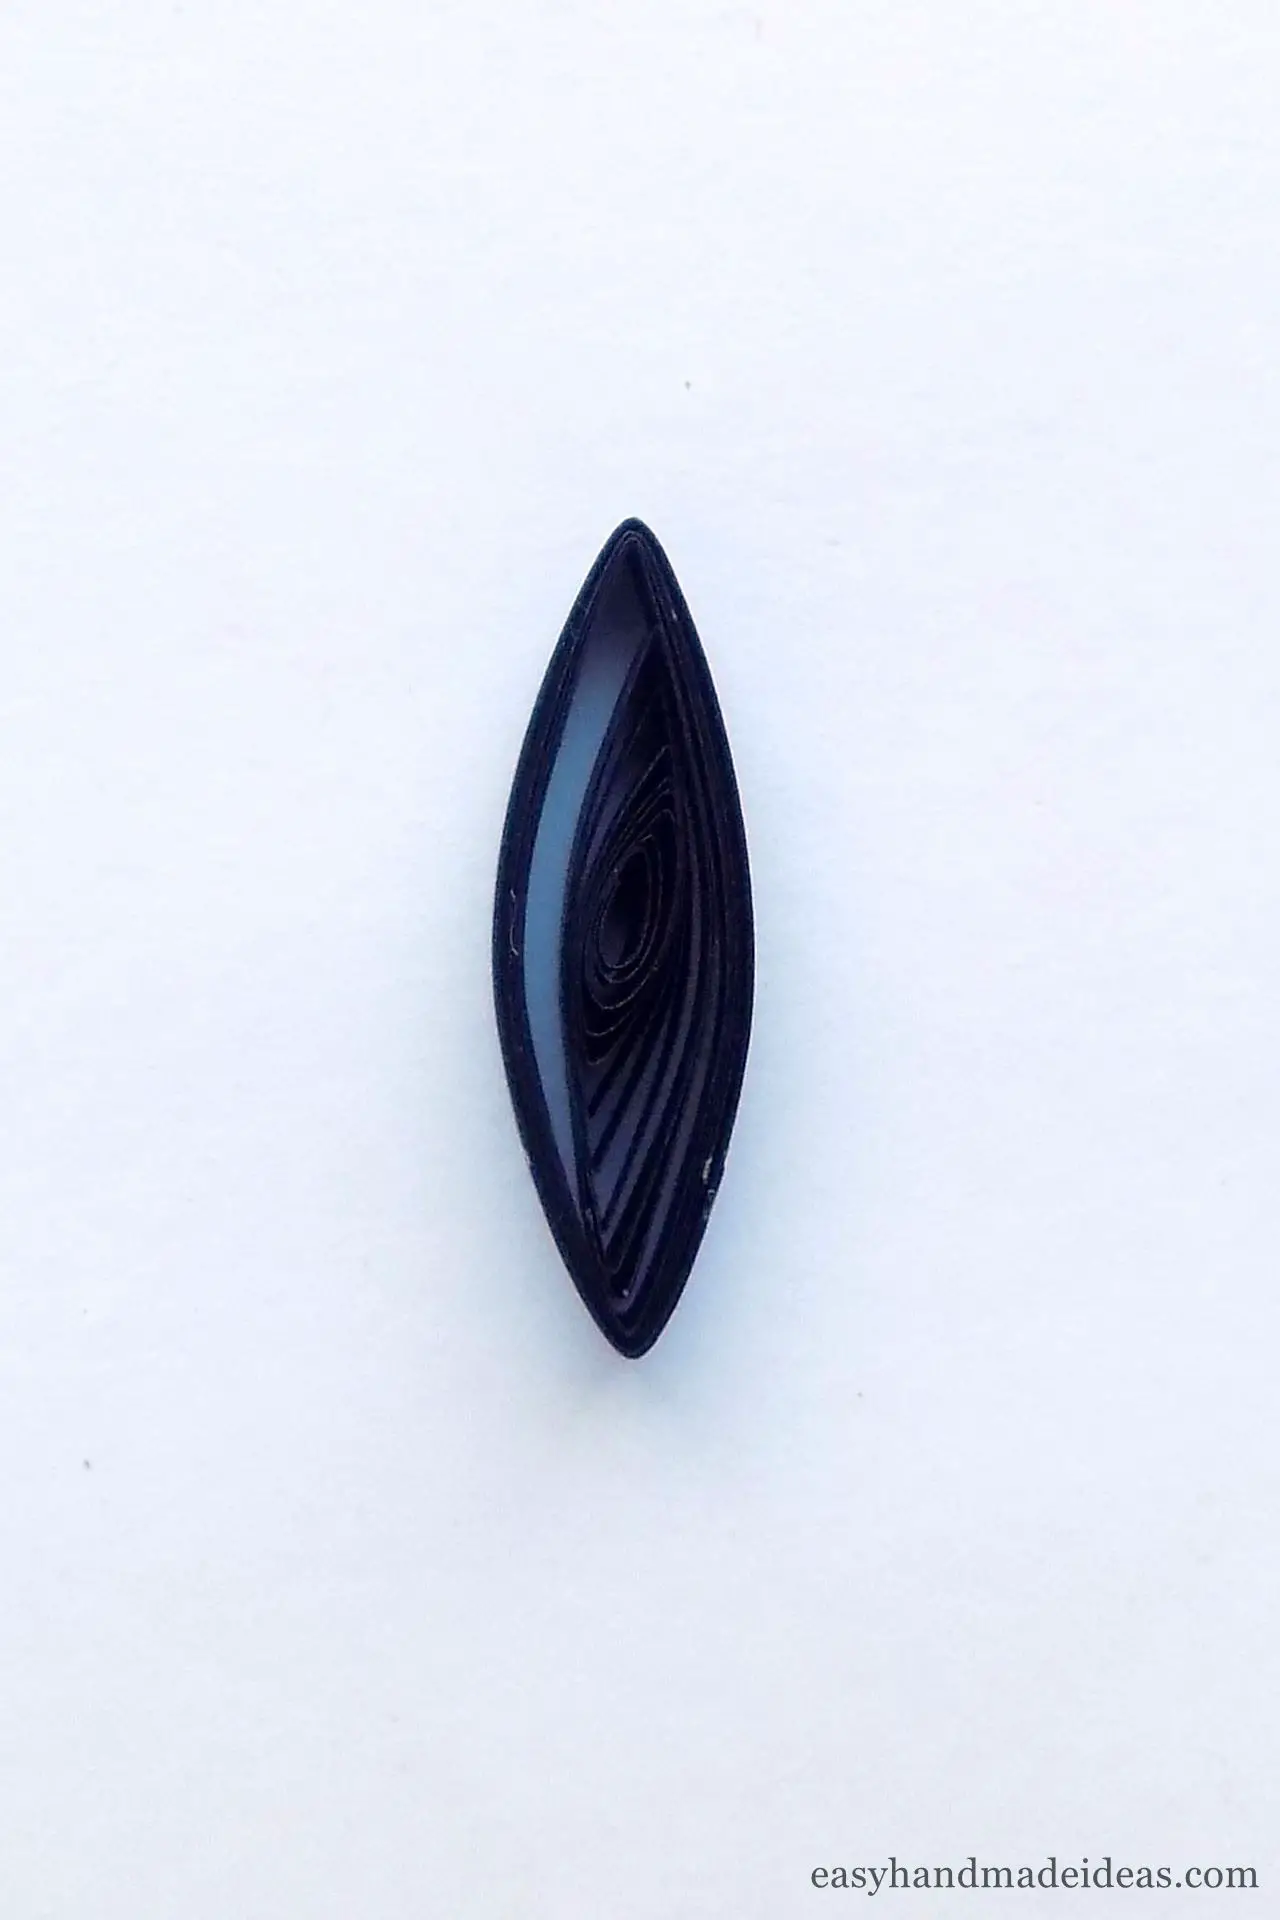
Pinch loose coil on both sides to form a marquise coil, also called an eye shape.
Step 15: Creating butterfly antennae
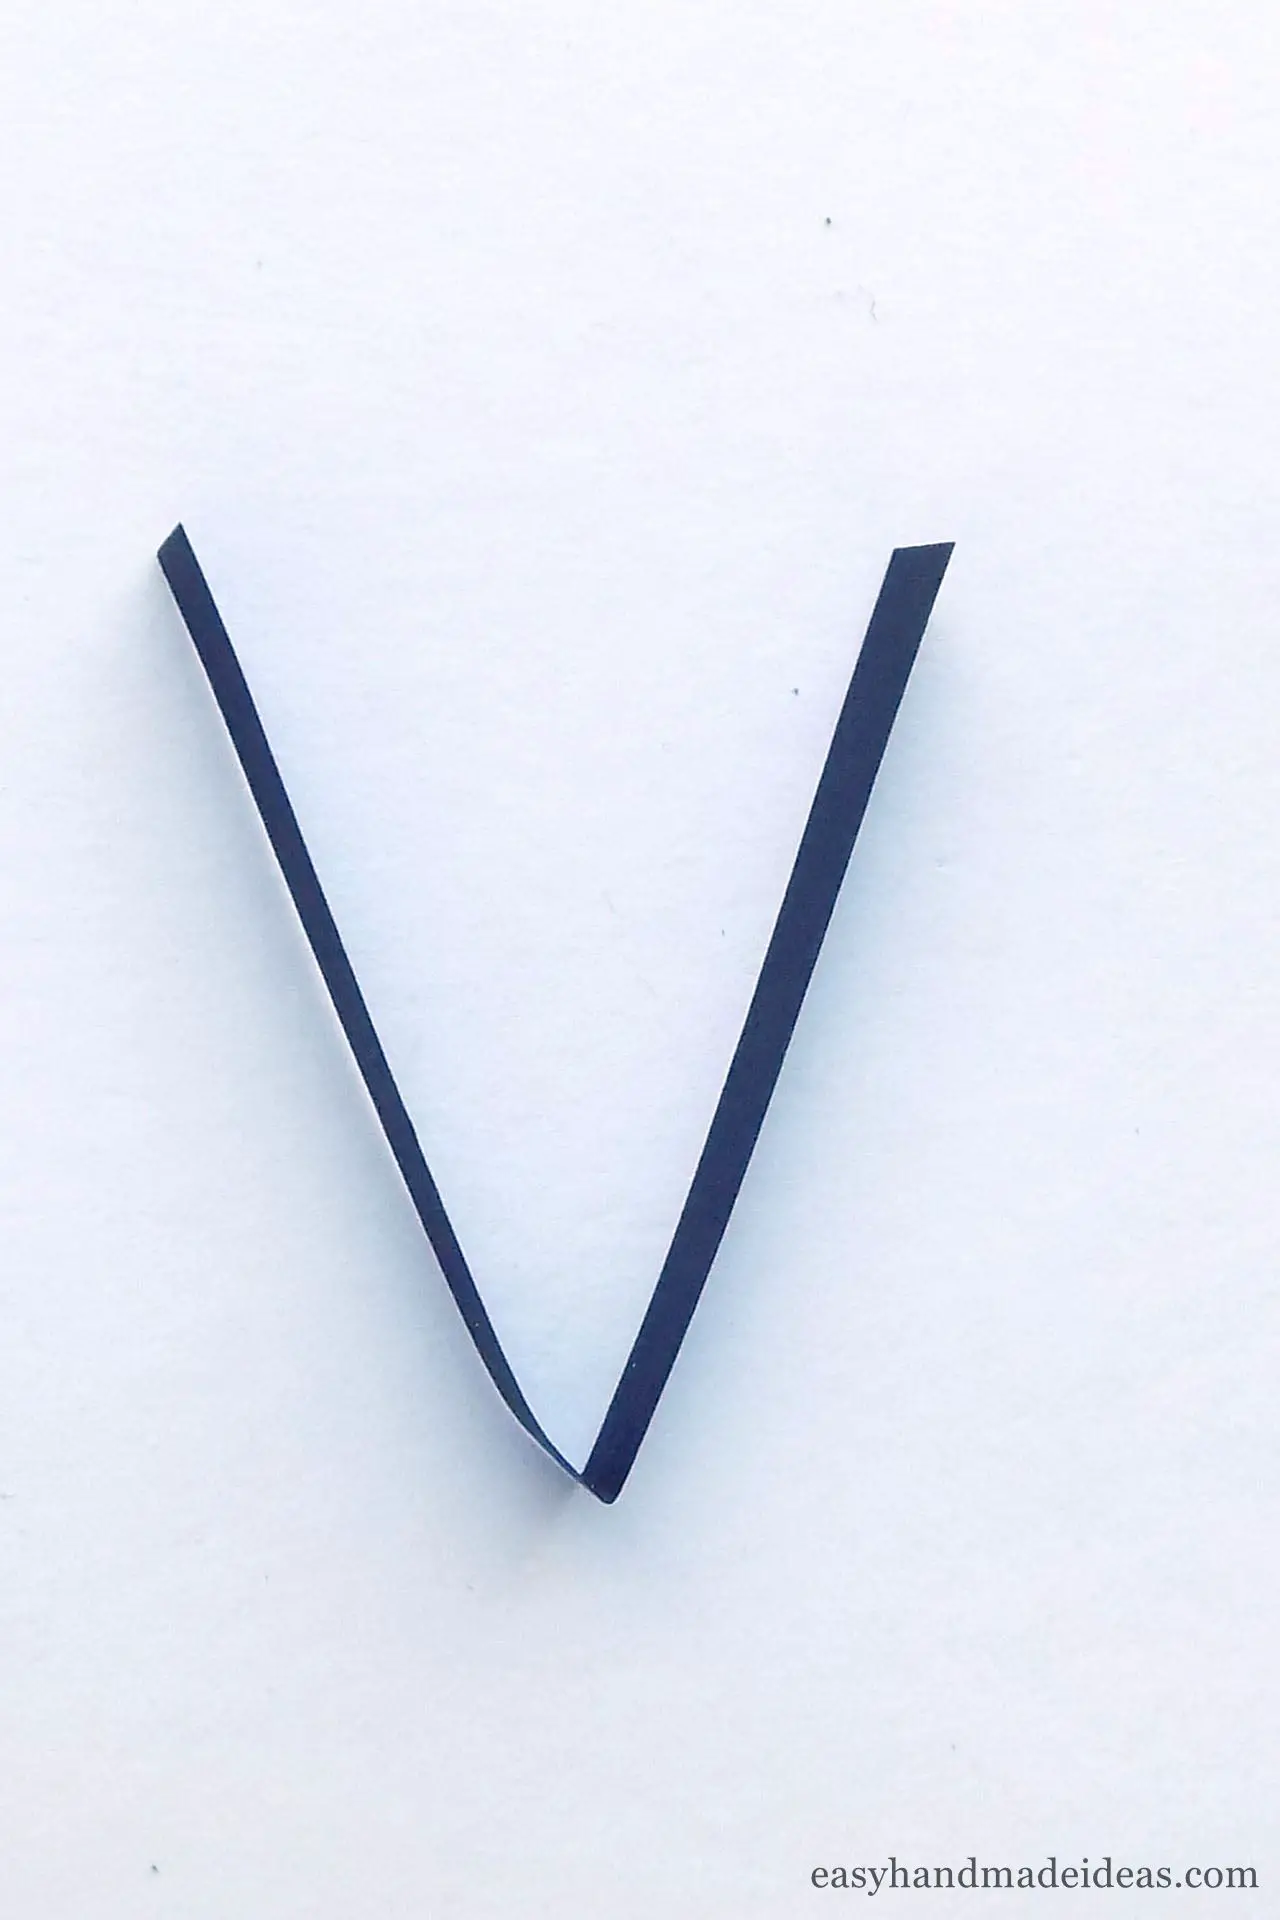
To create the antennae, take an 8cm (0,3150 ″) length of black strip and fold it in half. You’ll get a V shape.
Step 16: Roll up the antennae
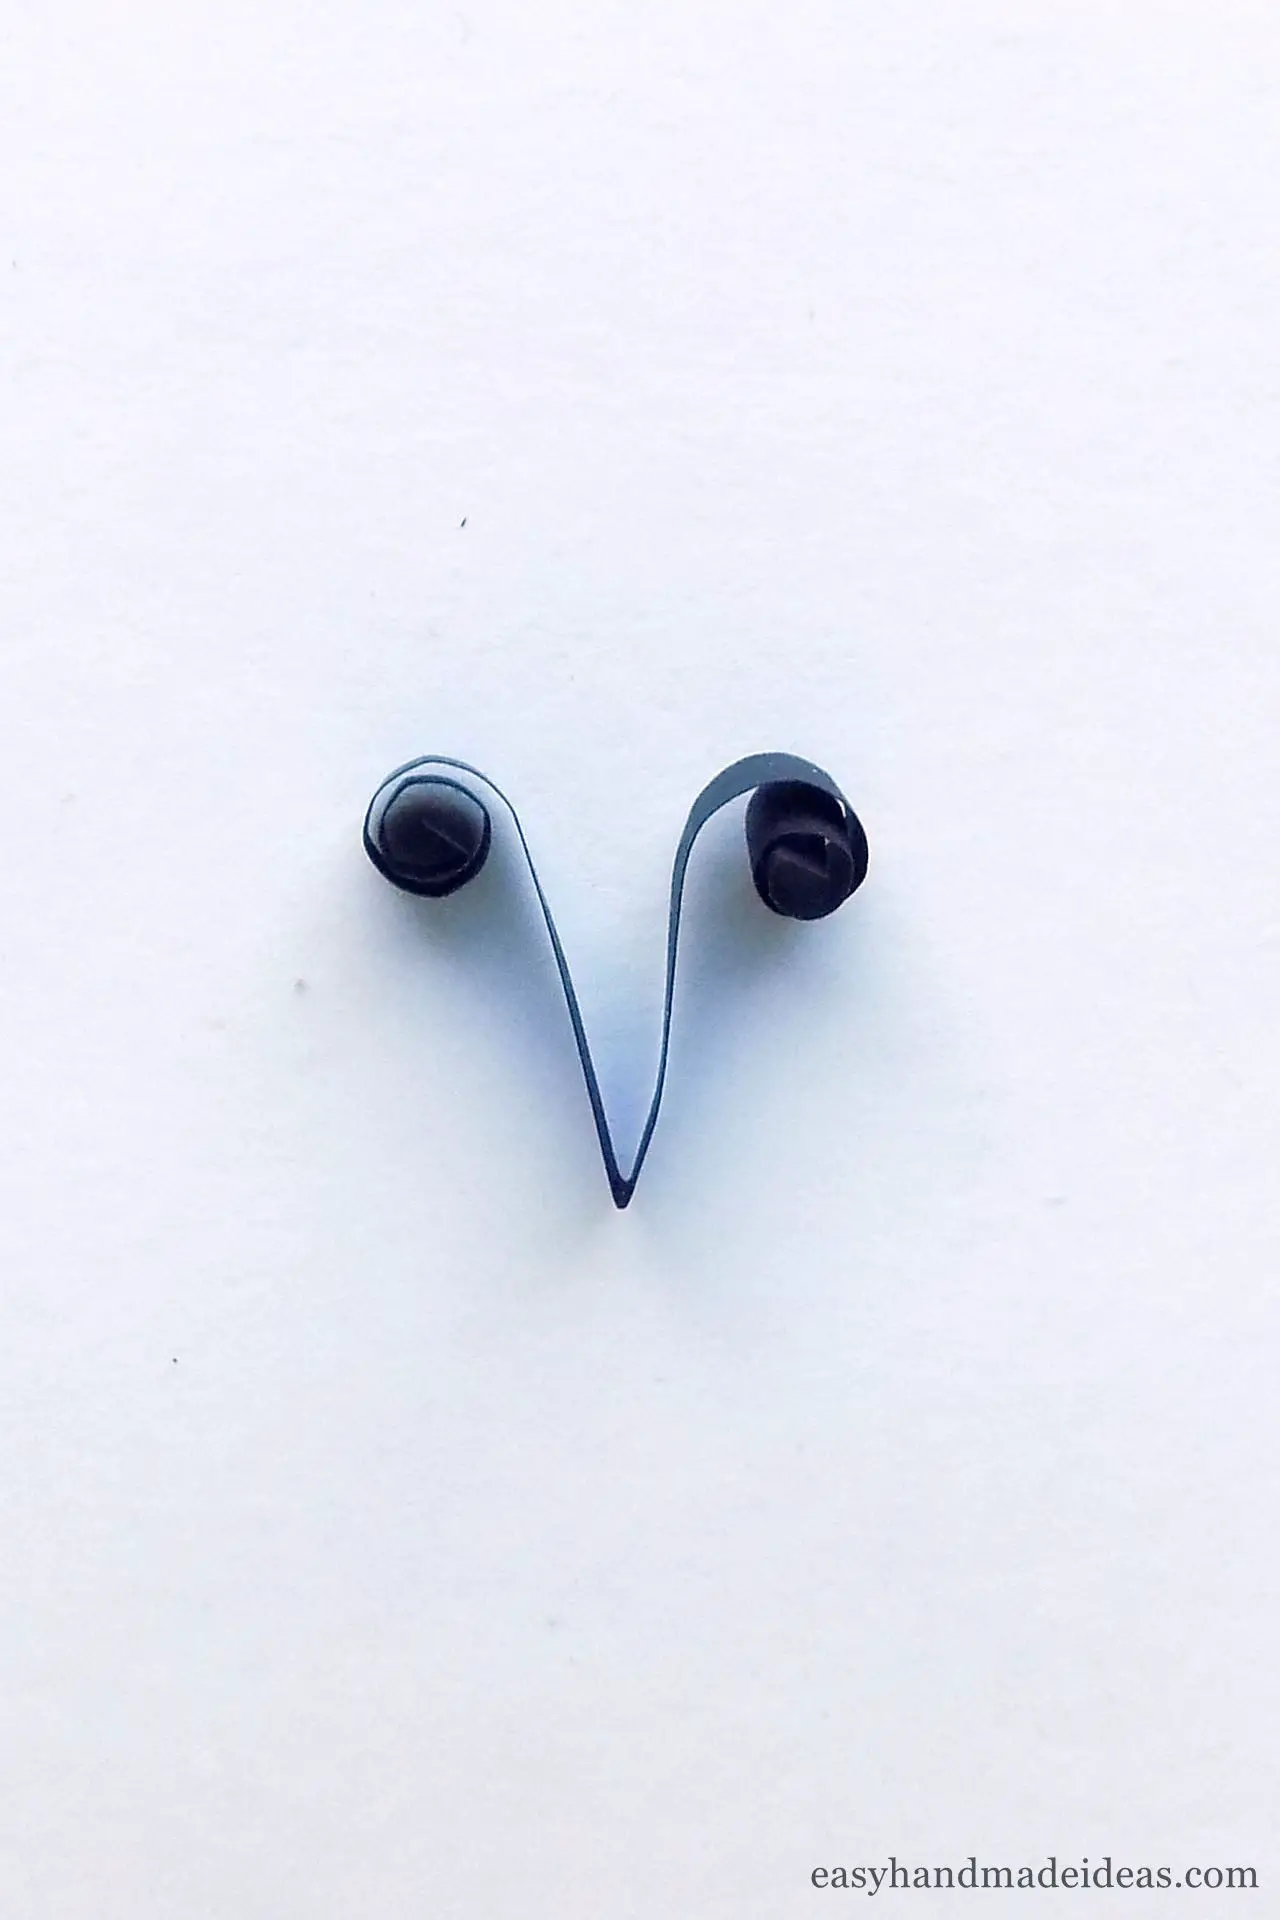
Use the quilling tool to roll the ends of the strip.
Step 17: Attaching the wings
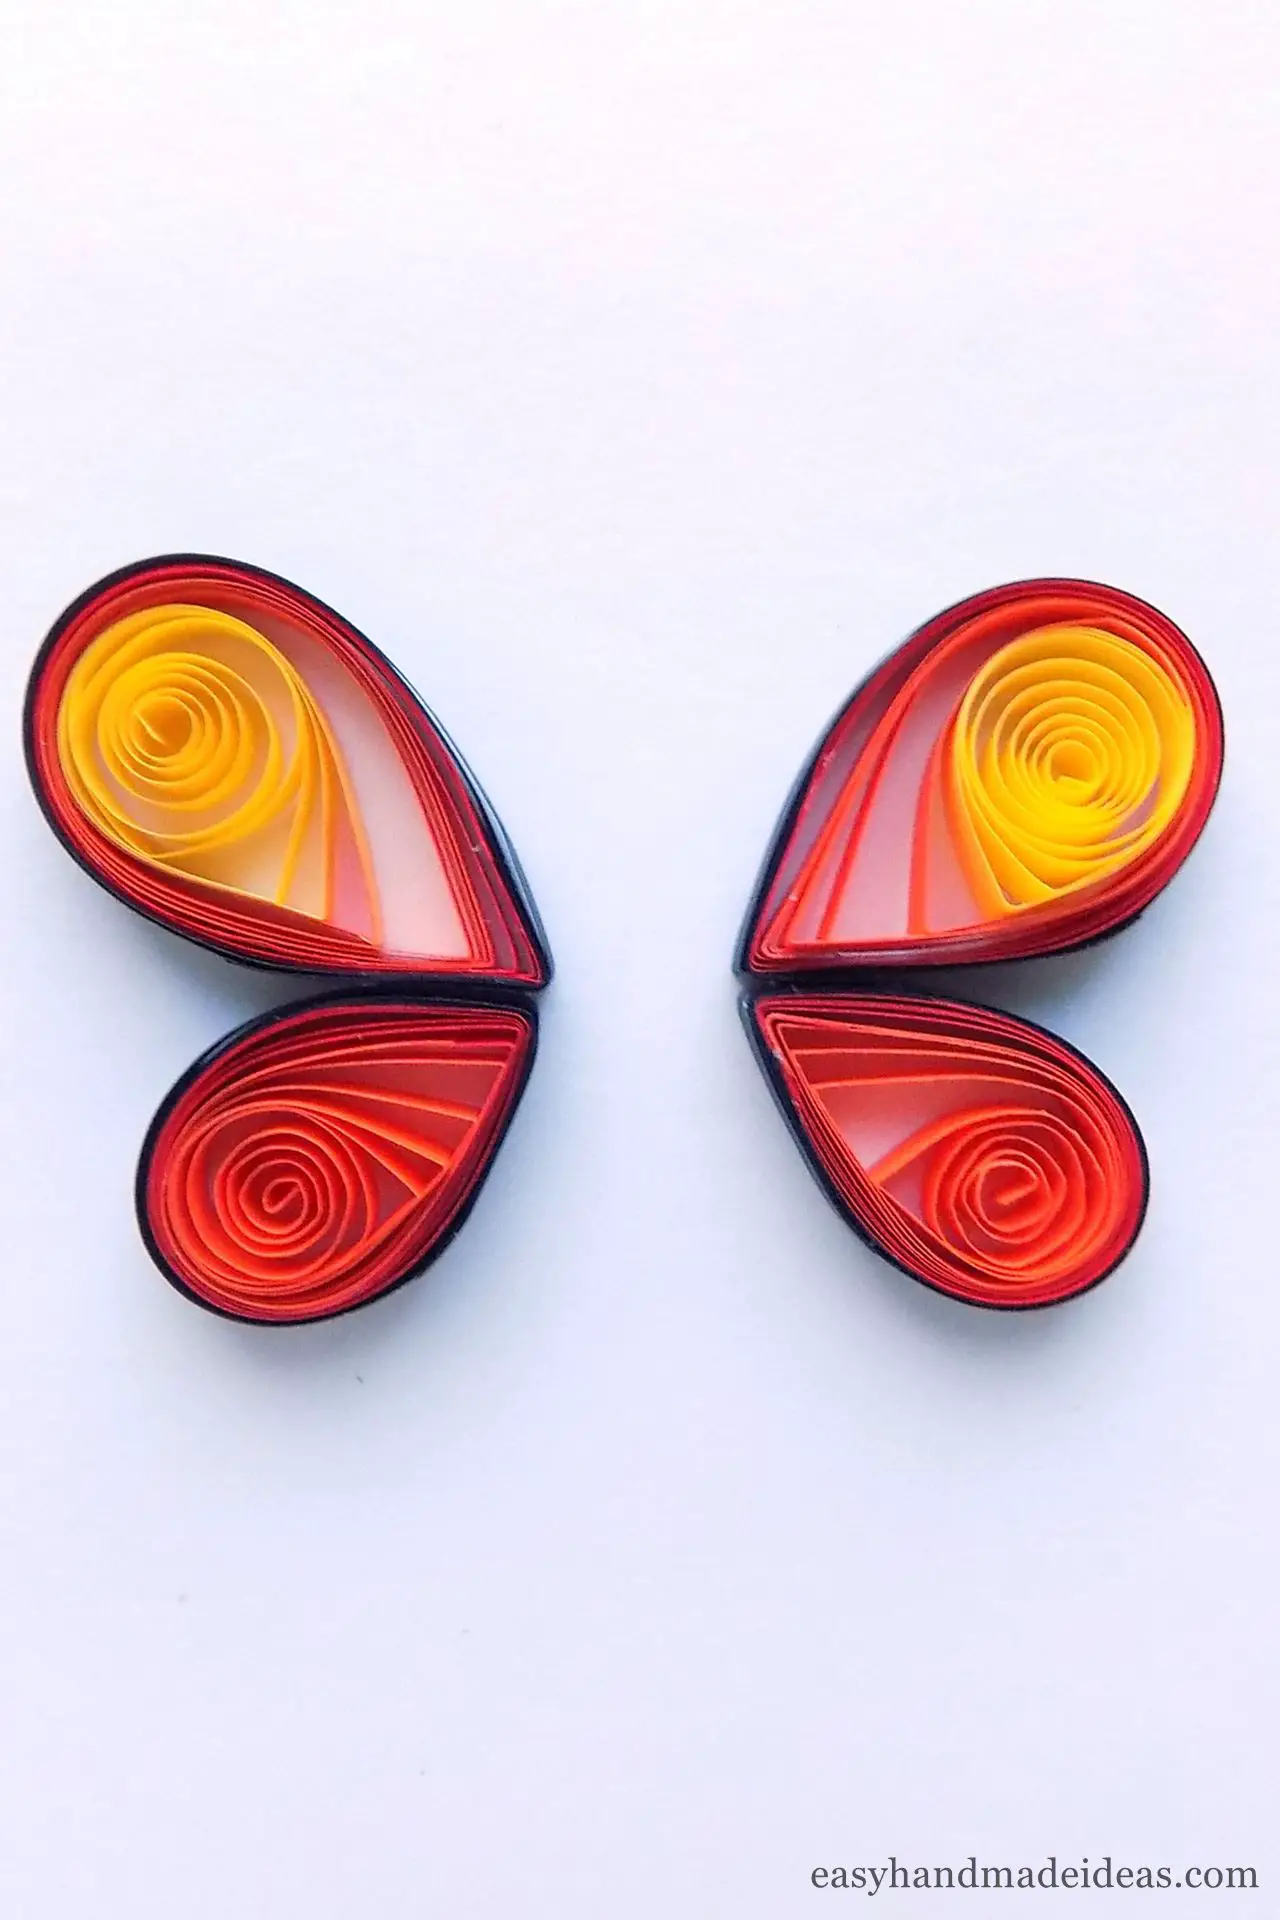
First glue the upper and lower wings together in pairs.
Step 18: Gluing the butterfly pieces together
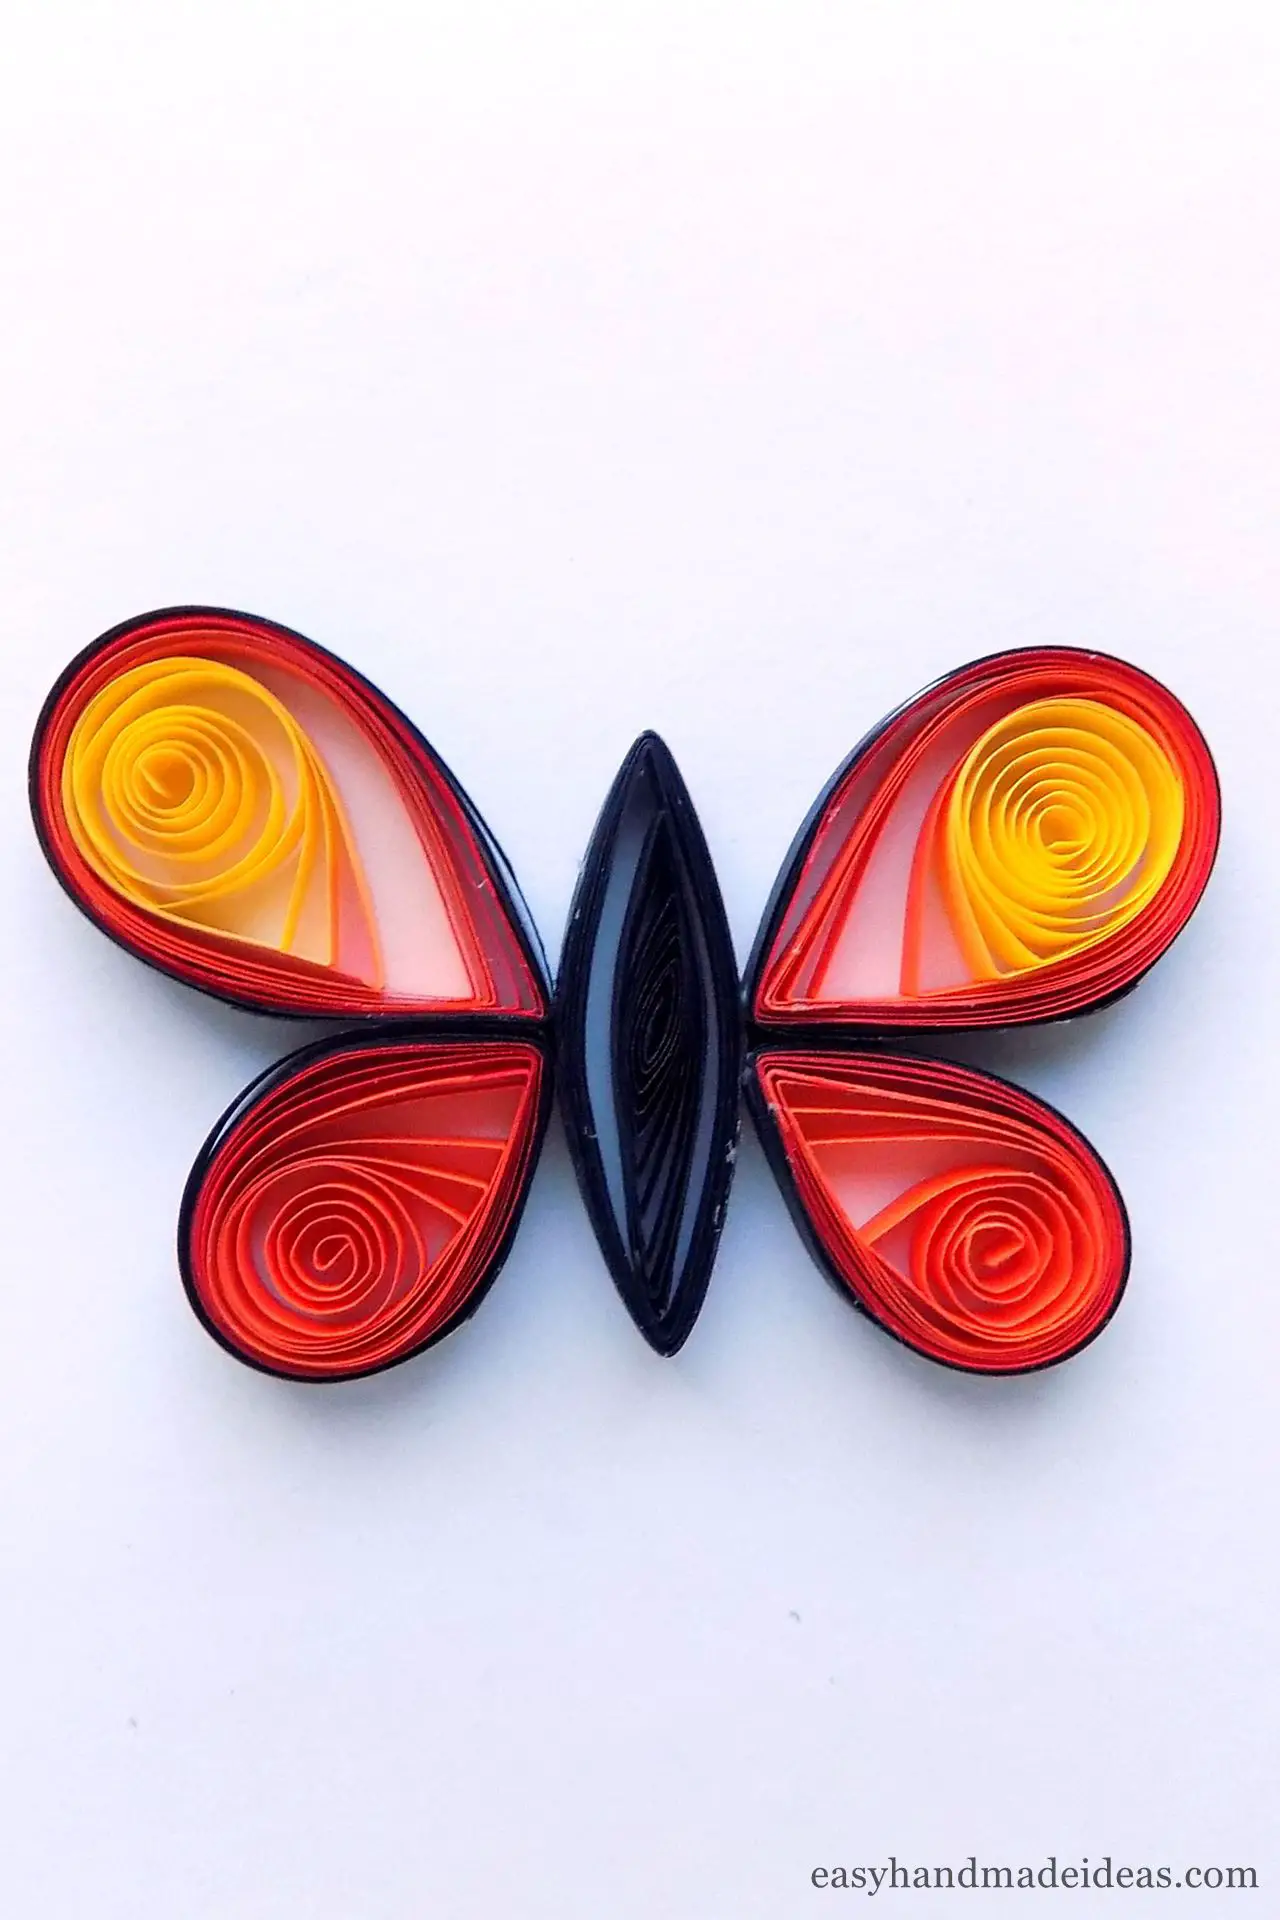
Then glue the body between the wings.
Step 19: Attach the antennae
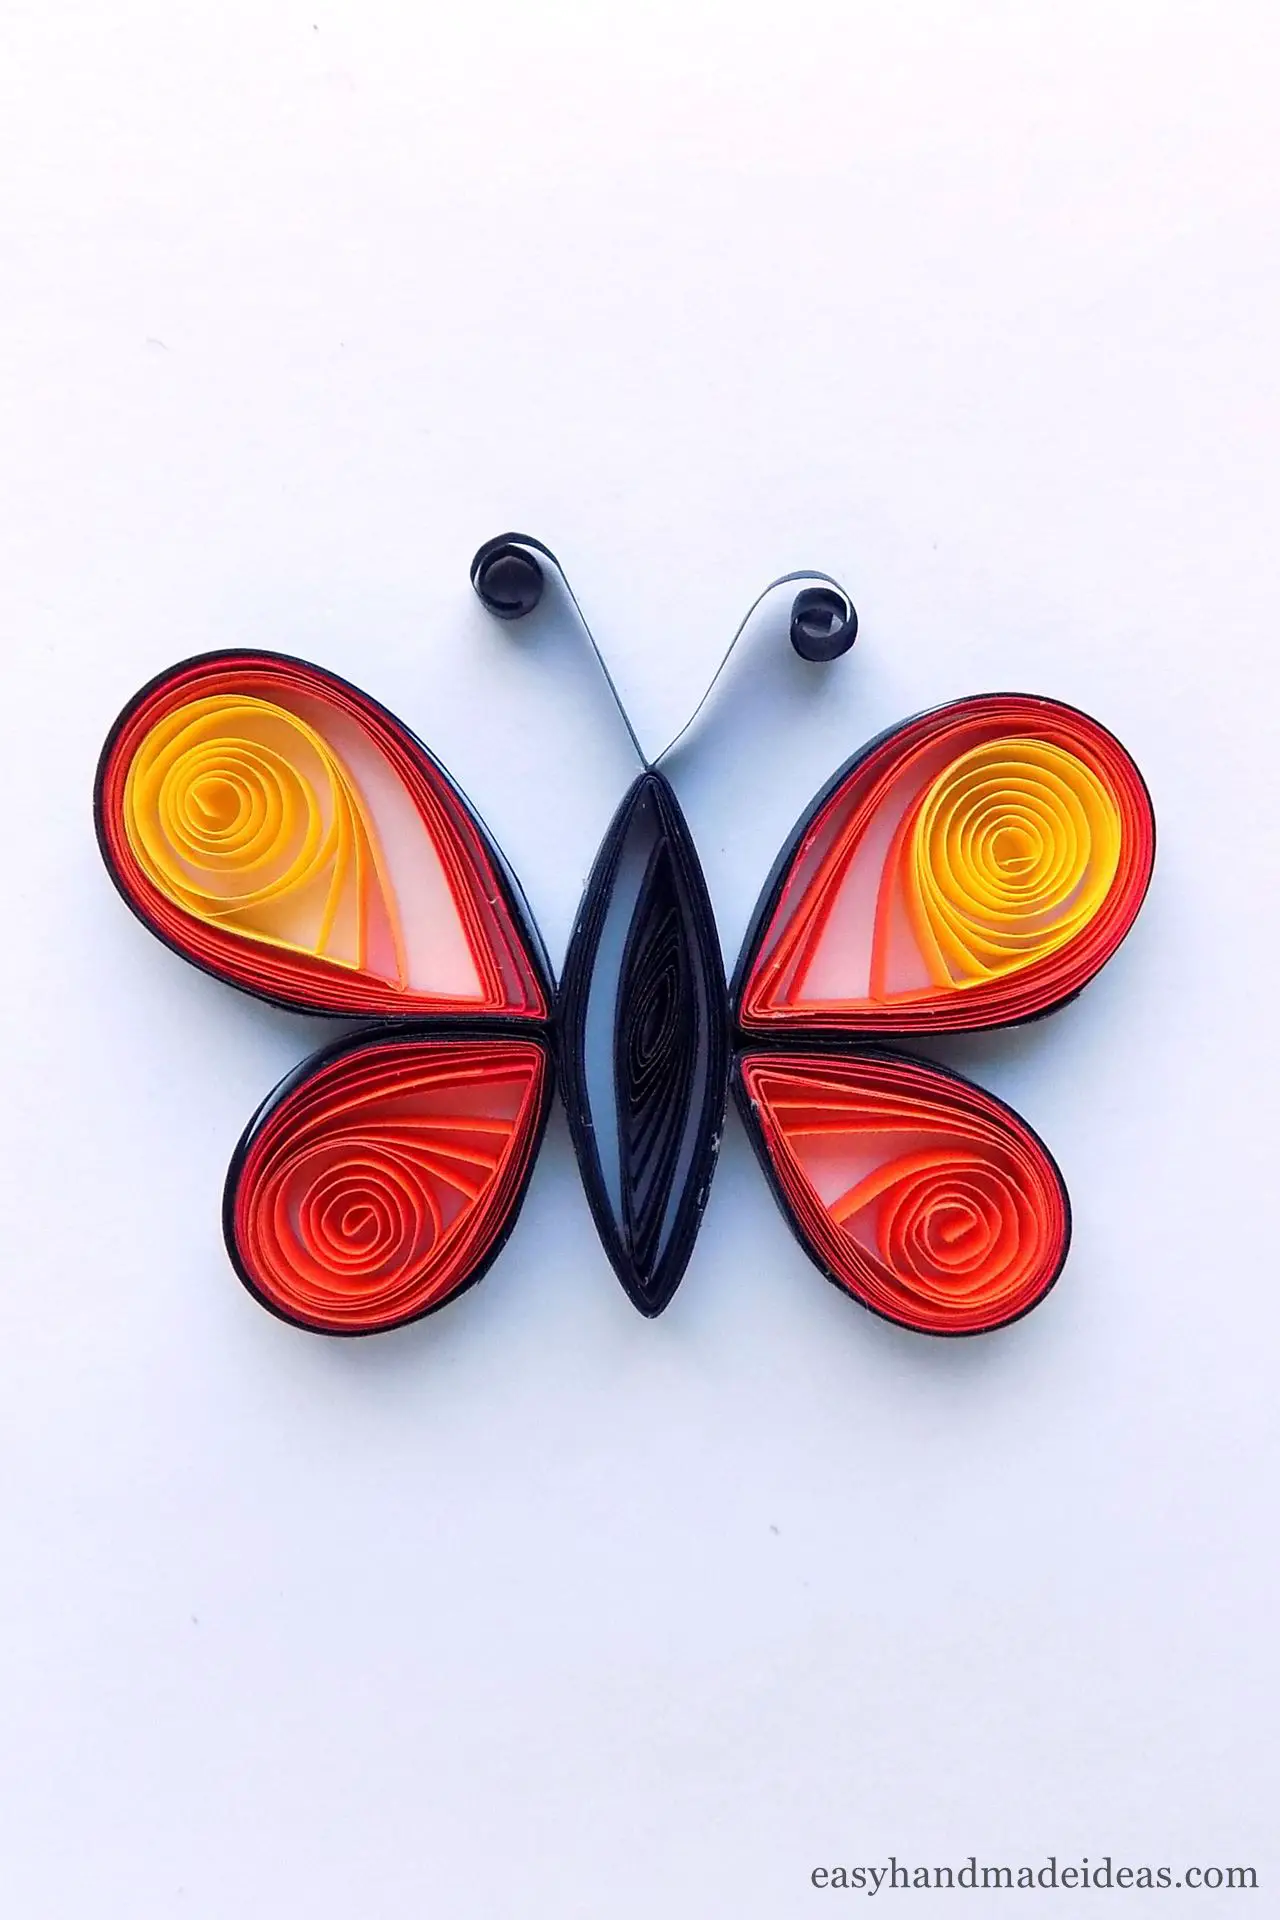
Glue the antennae on top of the butterfly. You should get a quilling-style butterfly like the one pictured above.
Supply:
- multicolored quilling paper strips.
Tools:
- quilling board;
- scissors;
- glue;
- quilling tool.
If desired, use different colors to make your own unique butterfly, which can become a decorative element of a greeting card.


