DIY Felt Pumpkin Wreath with Clover

*This post was created through a paid partnership with Clover. However, all opinions are honest and 100% my own.
*This post contains affiliate links. For more information, please see my disclosure page here.
I love the whimsical look of felt, and it is the perfect compliment to Fall decor with its cozy factor. Today I want to show you a fun way to create your own whimsical felt embellishments. I was lucky to partner with Clover to bring you a Felt Pumpkin Wreath using Clover’s fantastic needle felting tool.
I love working with Clover’s needle felting tools. Some of my favorite projects featuring Clover’s Needle Felting Tools are the Felt Christmas Ornaments, Felt Heart Valentine’s Day Wreath, and the Whimsical Floral Bouquet from last Spring.
The beauty in this DIY is that the colors and shapes are fully customizable. Clover’s felting tools allow you to safely create any felting shapes you want with such ease and all while having so much fun! The possibilities are endless, and I am so excited to continue to experiment with more felting techniques.
Love making wreaths? So do I! I just wrote my first ebook featuring four exclusive seasonal pom-pom wreaths. Grab yours HERE!

For your convenience, I have created a step-by-step video so you can see how I made a felt heart using Clover’s Pen Style Needle Felting Tool. Then continue below to follow the step-by-step images to make your own DIY Felt Pumpkin Wreath.
Enjoy the video below to learn how to make your own felt pieces then follow along for the step-by-step tutorial to make your own Felt Pumpkin Wreath to add some handmade charm to your Fall decor!
Continue below for the step-by-step pictorial to make your own Felt Pumpkin Wreath.

To make your own DIY Pumpkin Felt Wreath, you will need:
I love needle felting so much that I created a list of my favorite needle felting tools available through Amazon. You can find it HERE.

Make the Felt Pumpkins
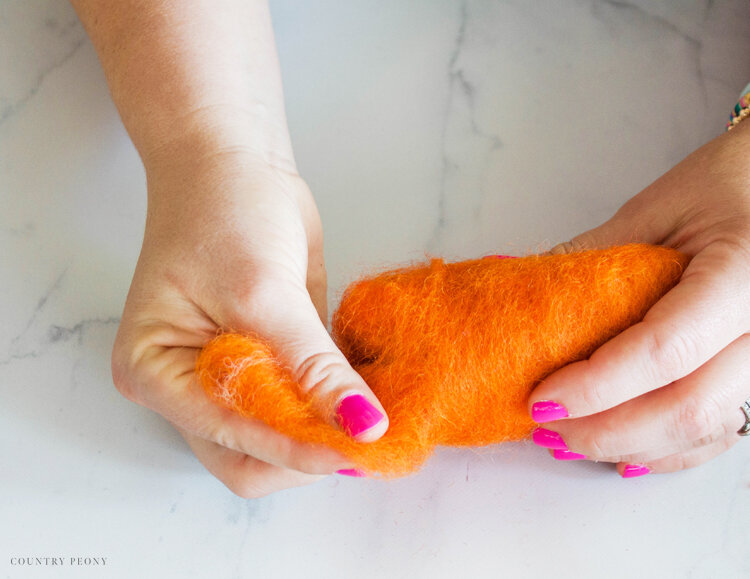
Step 1: Tear or cut a small piece from the wool roving.
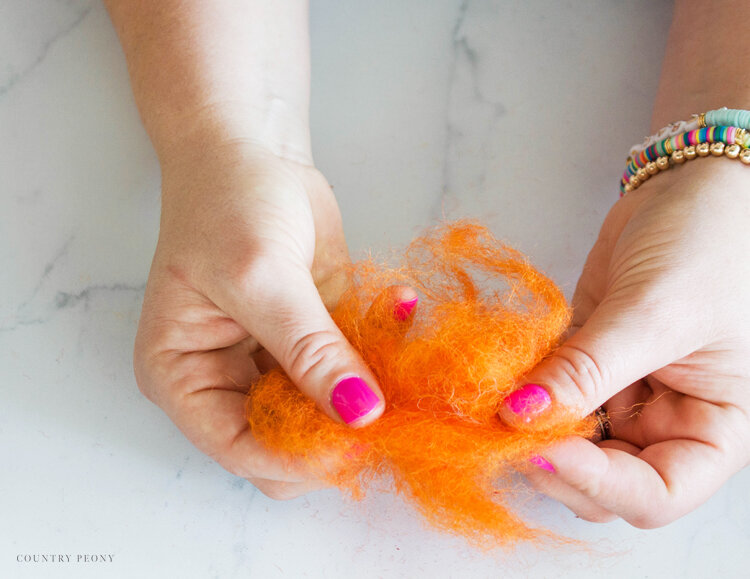
Step 2: Pull apart and separate the wool fibers to create a beautiful mess.
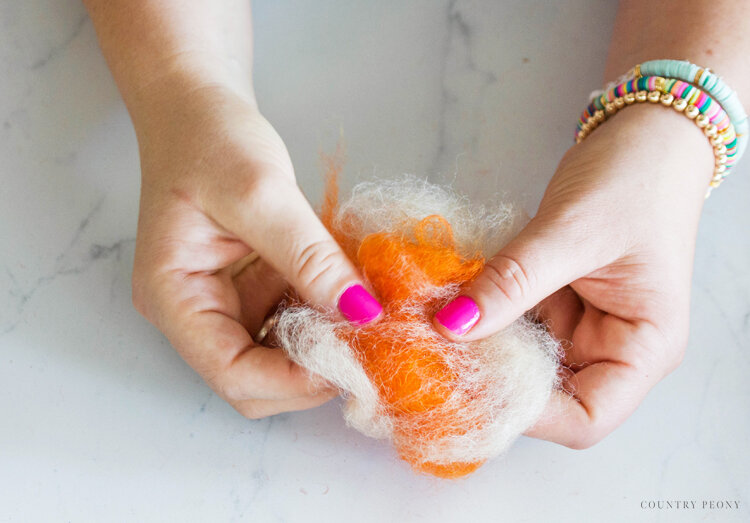

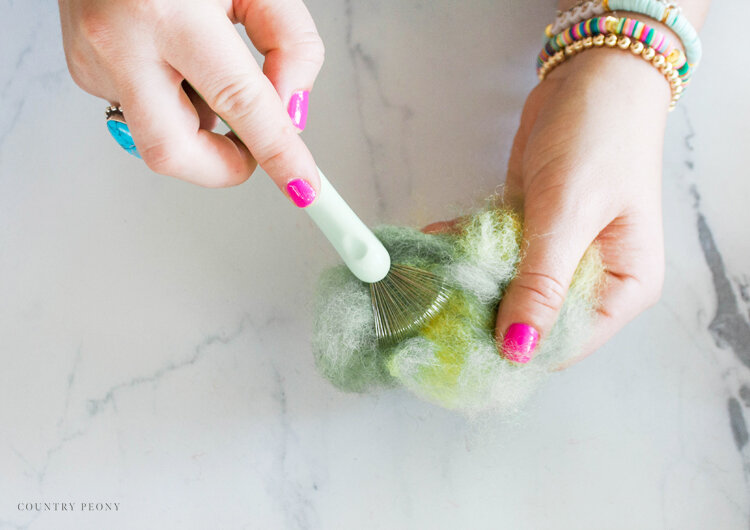
To create fun interest, I like adding multiple colors together. However, you can keep your pumpkin one color. If you choose multiple colors you can mix the fibers together with your fingers or use Clover’s Felting Needle Claw to integrate the fibers together.
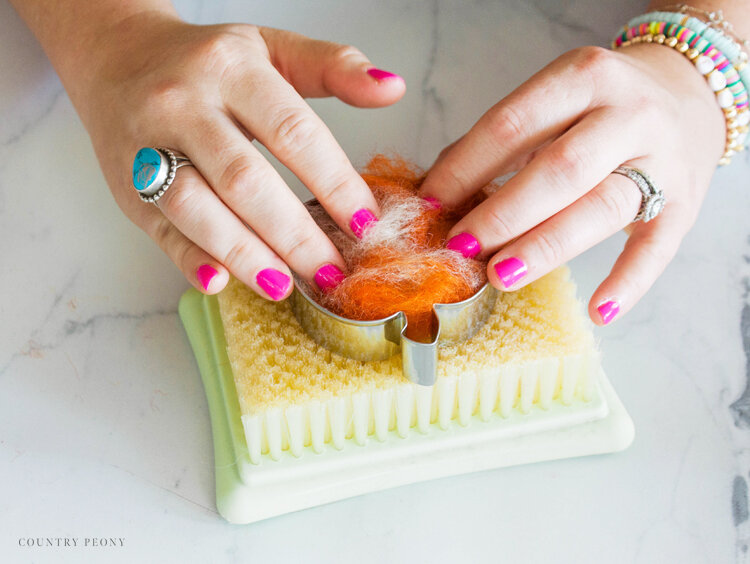
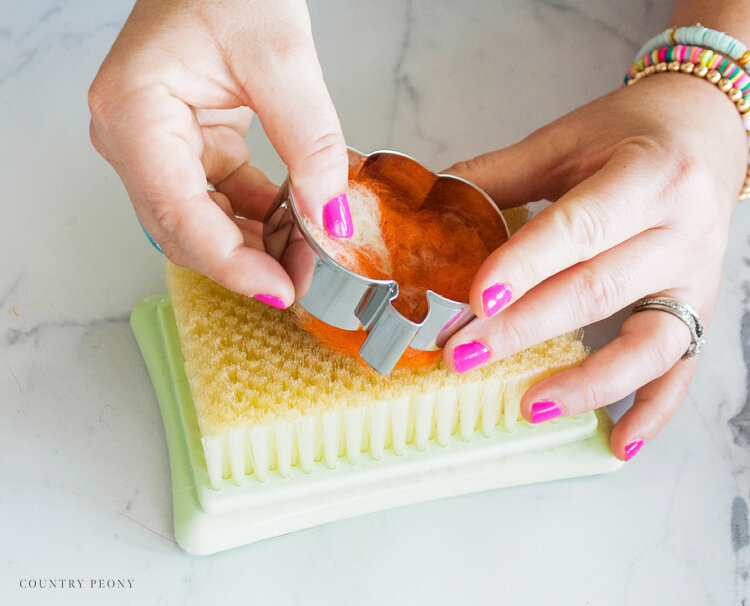
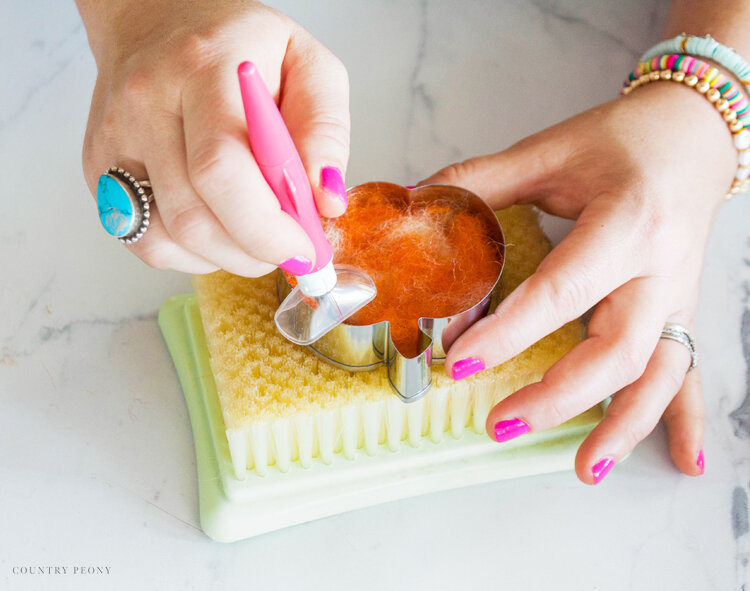
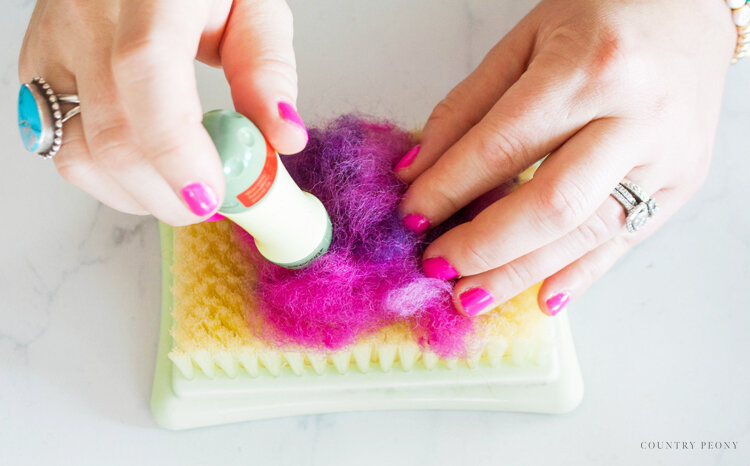
Step 3: Place the cookie cutter on top of Clover’s Needle Felting Mat, and place the stretched wool fibers into the cookie cutter.
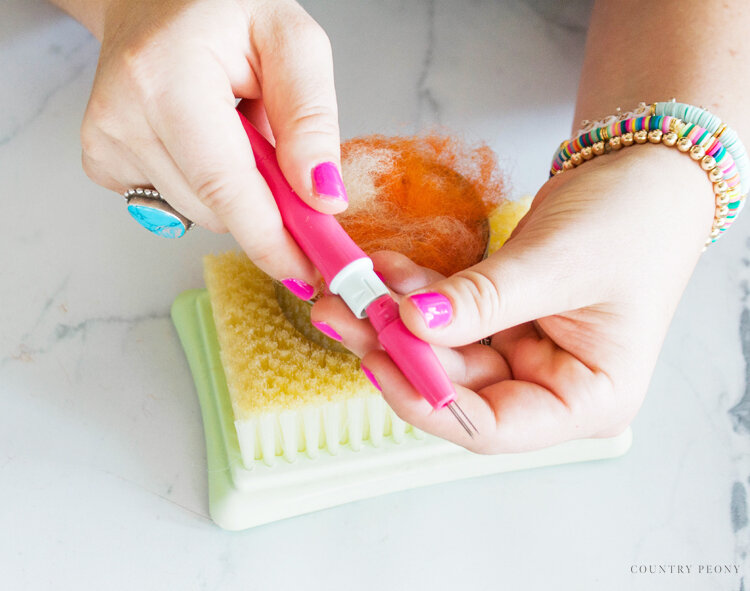
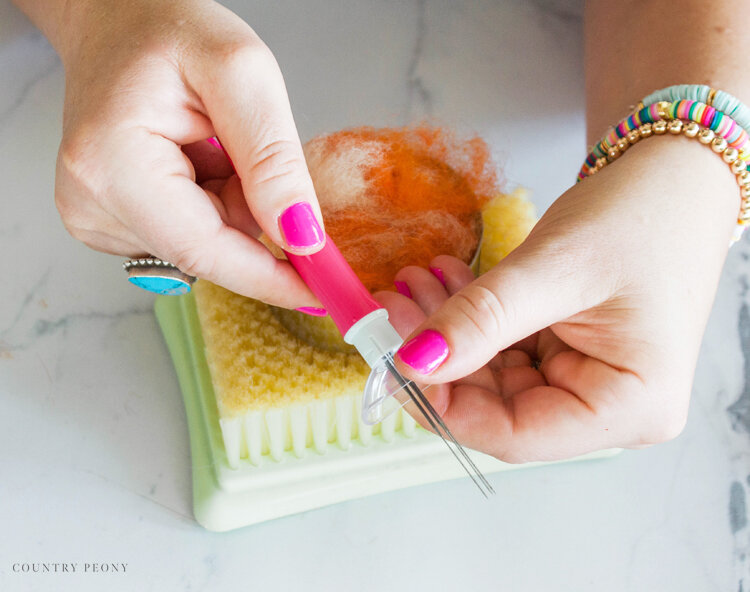
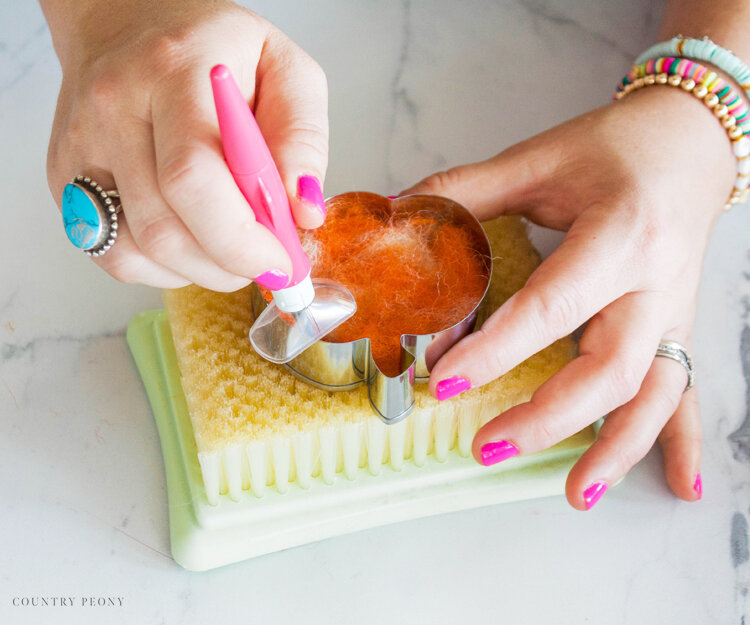
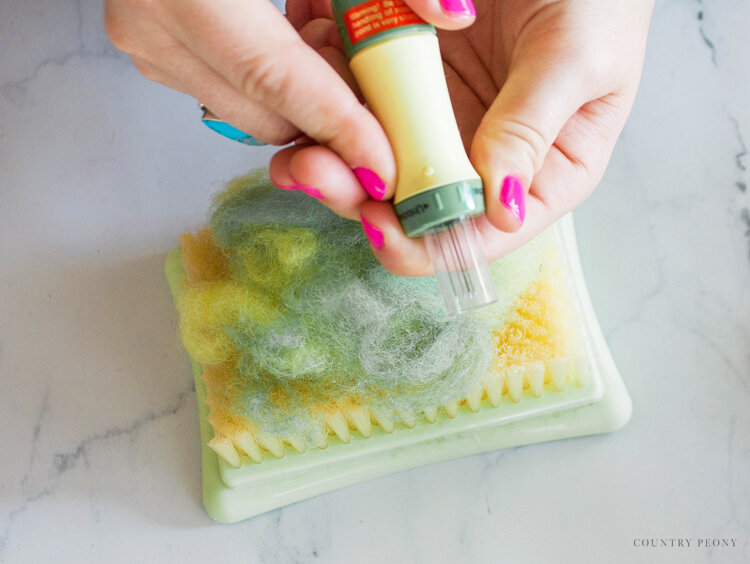
Step 4: Remove the top portion of Clover’s Pen Style Needle Felting Tool, and twist the safeguard onto it.
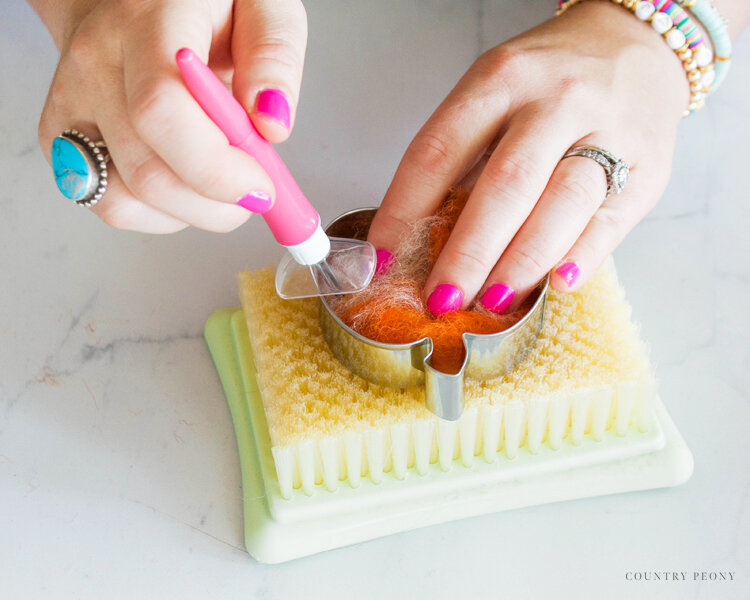
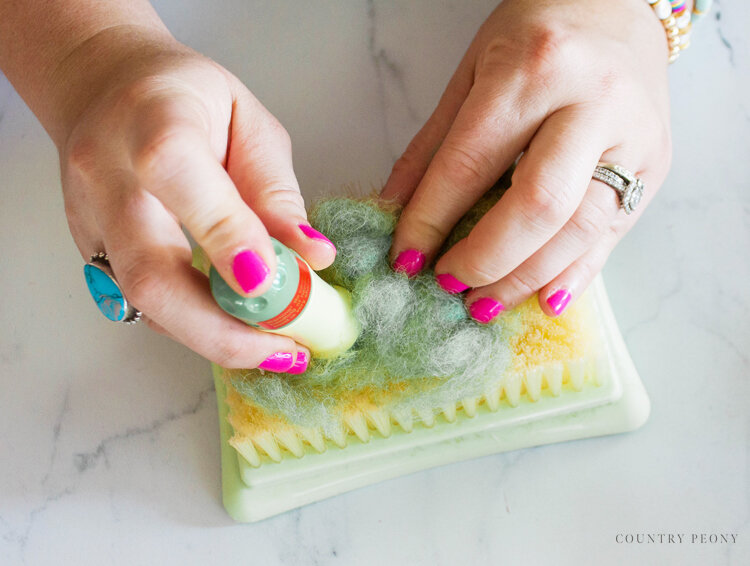
Step 5: Stab the needle felting tool into the loose fibers.
Start on the edges to create a nice shape, then continue on the inside of the pumpkin.
Be sure to avoid hitting the cookie cutter with your needle felting tool, so the delicate needles don’t get broken.
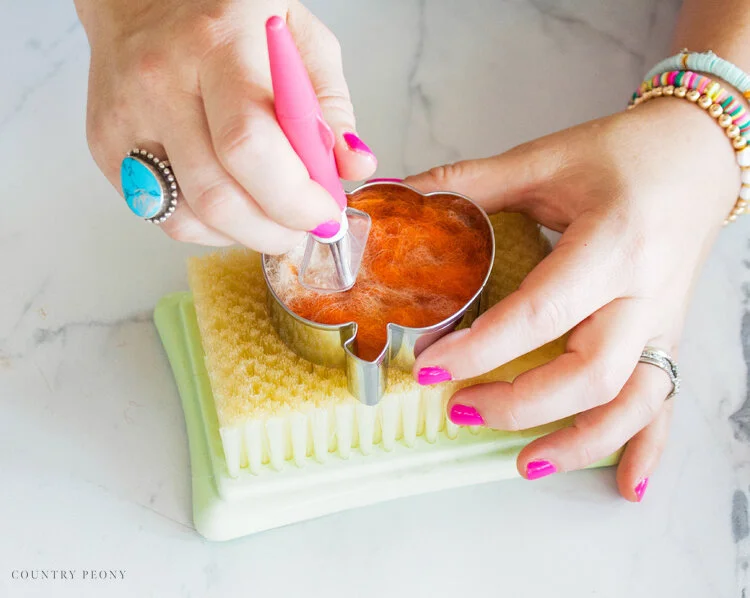
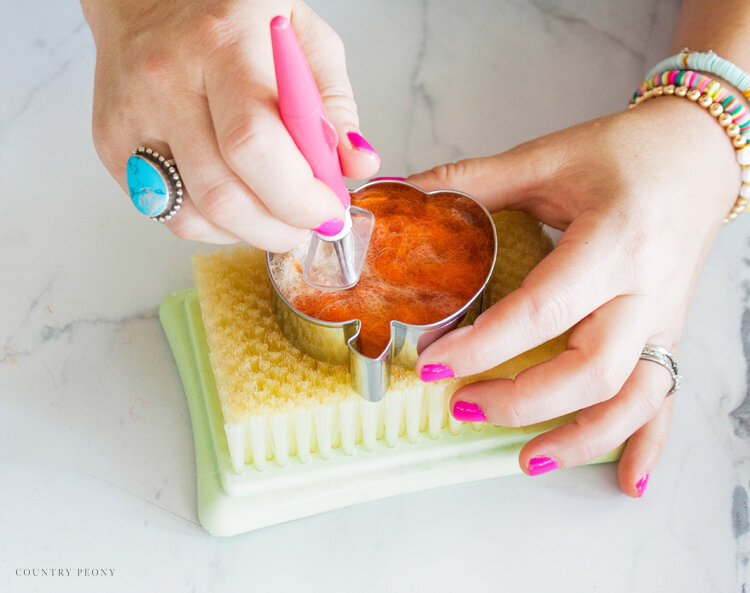
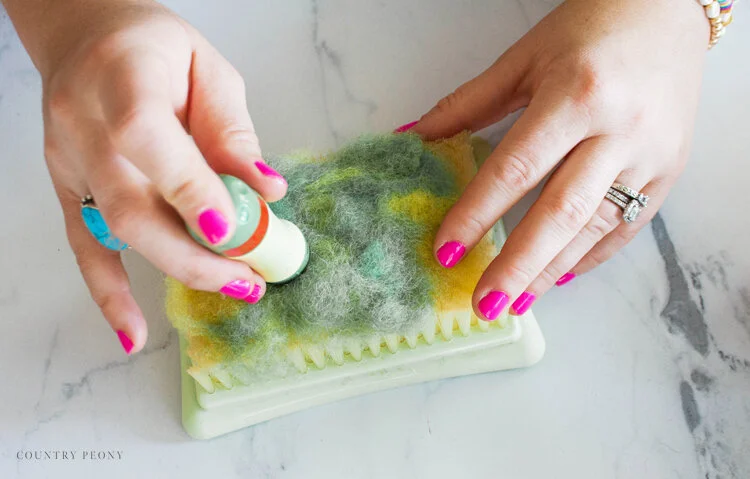
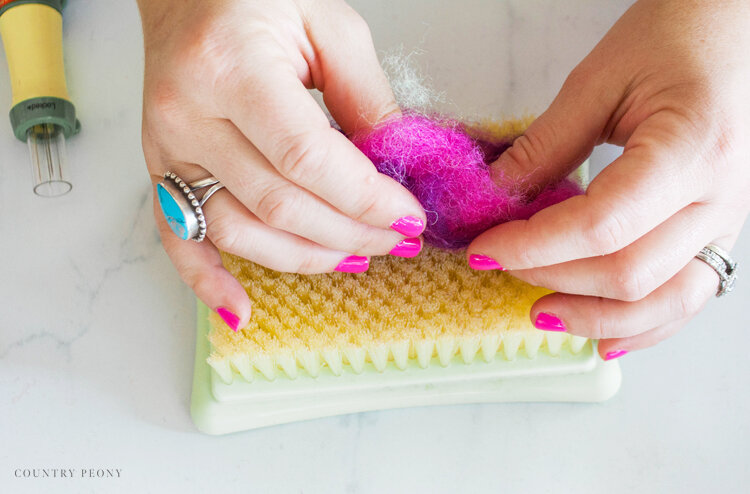
Continue to stab the loose fibers together with the needle felting tool.
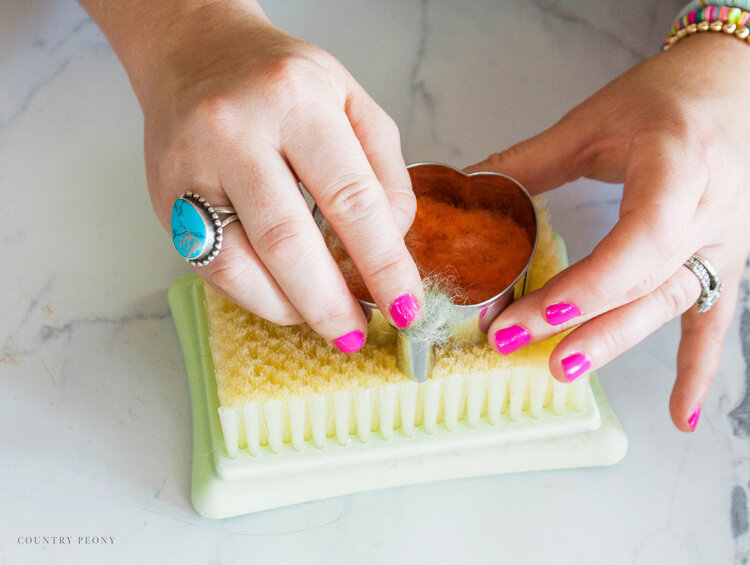
Step 6: With the wool fibers still inside the cookie cutter, turn the cookie cutter over.
Step 7: Apply the stabbing method to the other side of the pumpkin so that you create a secure shape.
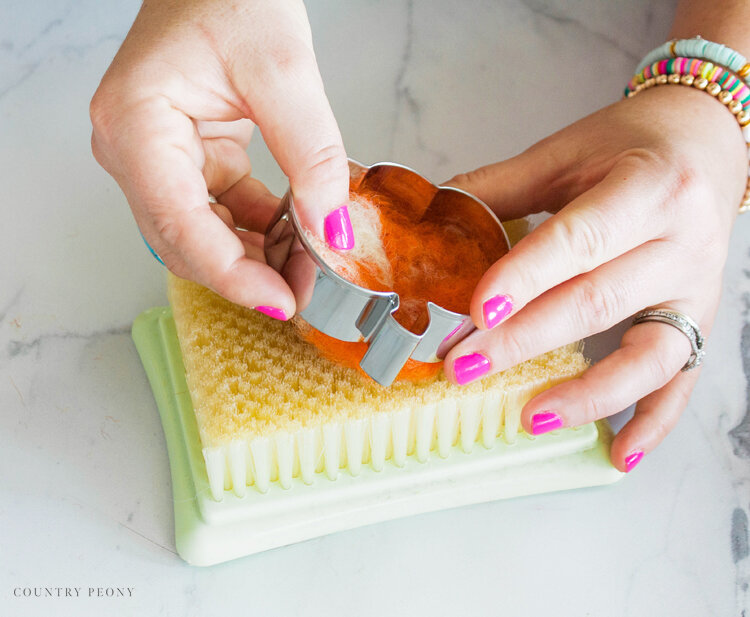
Step 8: Repeat steps 6 & 7 until you create a felt pumpkin.
The more you stab, the more secure your pumpkin will be.
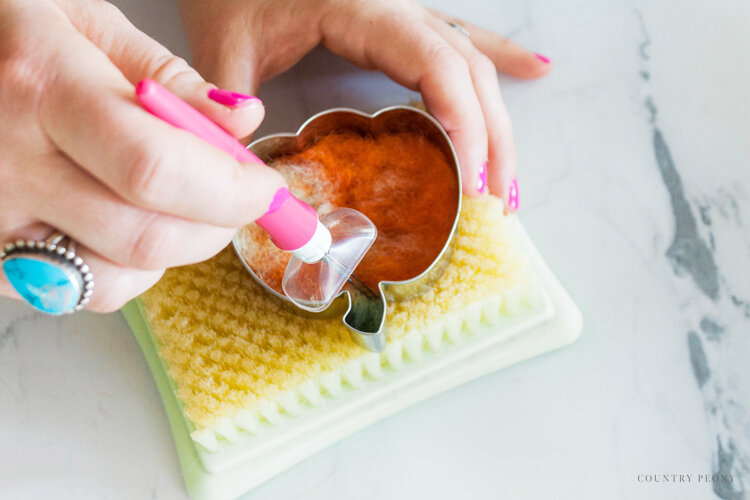
Step 9: Add green separated wool roving to the stem portion of the cookie cutter.
Step 10: Stab on both sides of the cookie cutter until the stem fibers create a nice bond with the pumpkin.
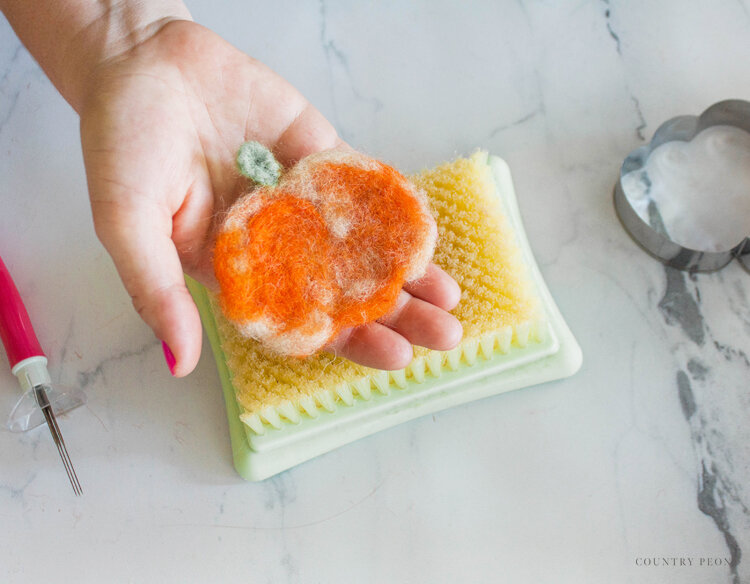

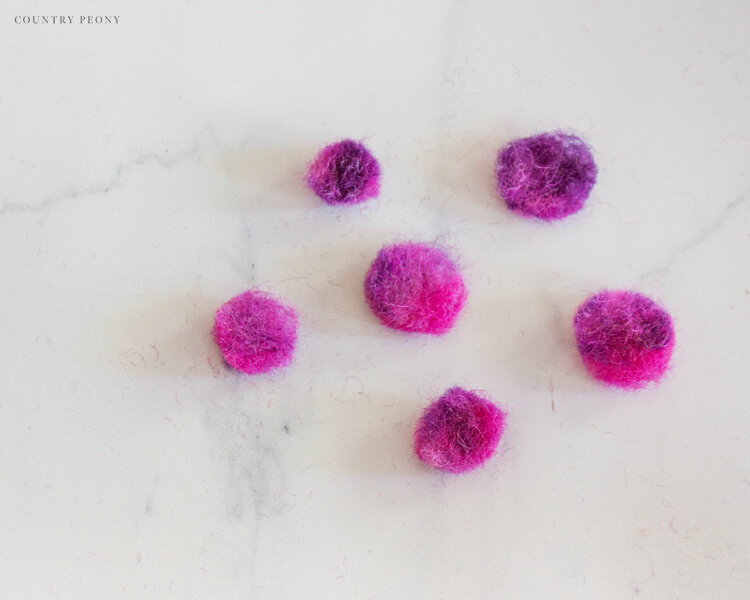
Step 11: Enjoy your finished pumpkin. Continue to make more until you have enough for your wreath.
I made 4 large pumpkins, and 3 small pumpkins for my wreath.
Step 12: Clean your mat with Clover’s Felting Needle Mat Cleaner.
Make the Felt Leaves
Step 1: Tear or cut a small piece from the wool roving.
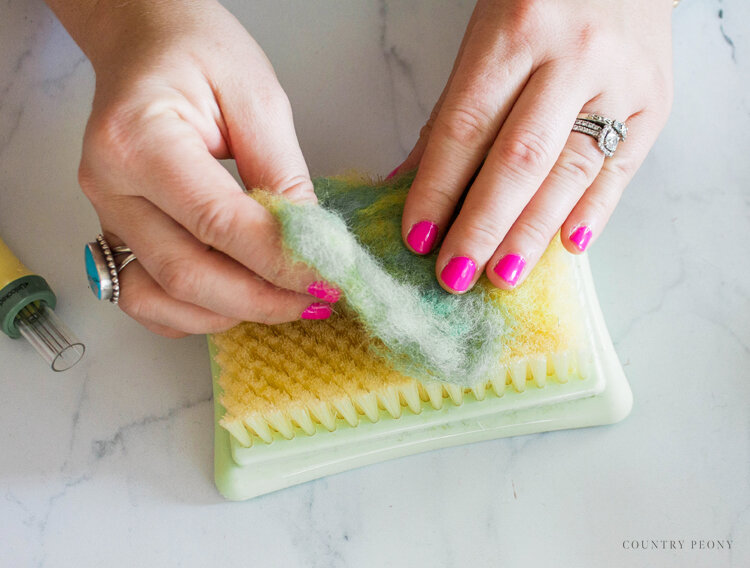
Step 2: Pull apart and separate the wool fibers to create a beautiful mess. For the leaves I used 3 separate colors for added dimension and whimsy.
Step 3: Add the separated fibers directly to Clover’s Needle Felting Mat.
Step 4: Unlock Clover’s Needle Felting Tool.
Step 5: Stab the fibers with Clover’s Needle Felting Tool to create a bond.
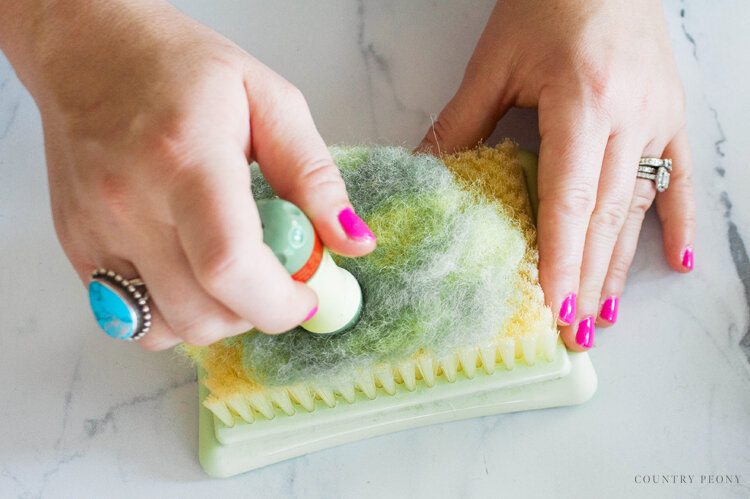
Step 6: Turn the bonded wool fibers over and continue to stab the fibers with Clover’s Needle Felting Tool until the wool fibers are fully bonded together.
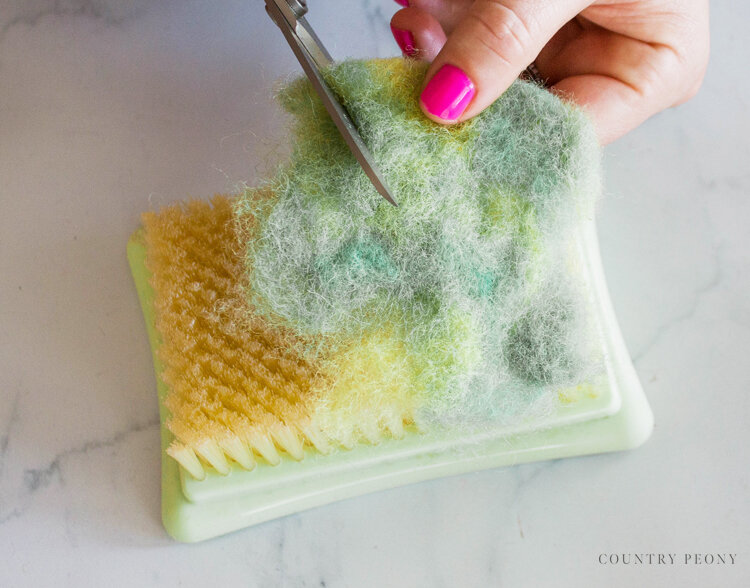
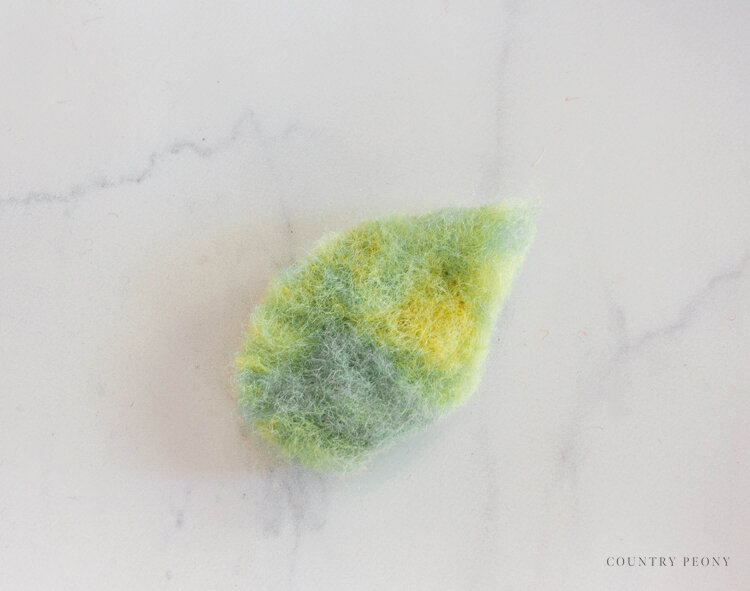
Step 7: Remove the felt from the felting needle mat, and cut out the shape of a leaf with scissors.
Make the Felt Berries
Step 1: Tear or cut a small piece from the wool roving.
Step 2: Pull apart and separate the wool fibers to create a beautiful mess. For the berries I used 3 separate colors for added dimension and whimsy.
Step 3: Add the separated fibers directly to Clover’s Needle Felting Mat.
Step 4: Unlock Clover’s Needle Felting Tool.
Step 5: Stab the fibers with Clover’s Needle Felting Tool to create a bond.
Step 6: Turn the bonded wool fibers over and continue to stab the fibers with Clover’s Needle Felting Tool until the wool fibers are fully bonded together.
Step 7: Remove the felt from Clover’s Needle Felting Mat.
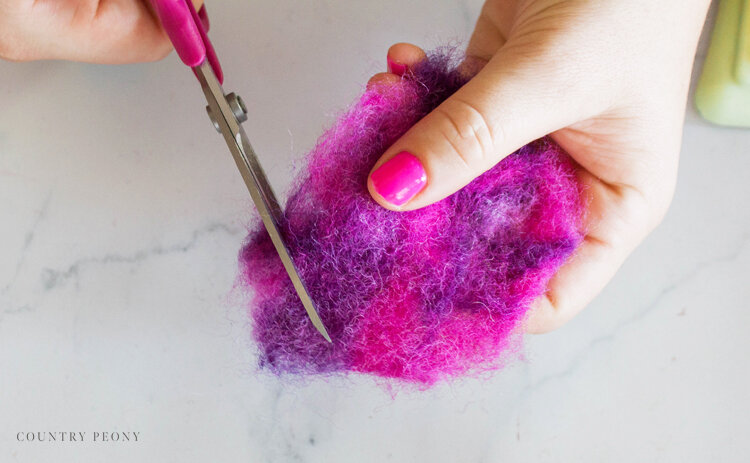
Step 8: Cut out the shapes of berries with sharp scissors.
Create the Felt Pumpkin Wreath

Step 1: Determine the placement of the handmade felt pieces.
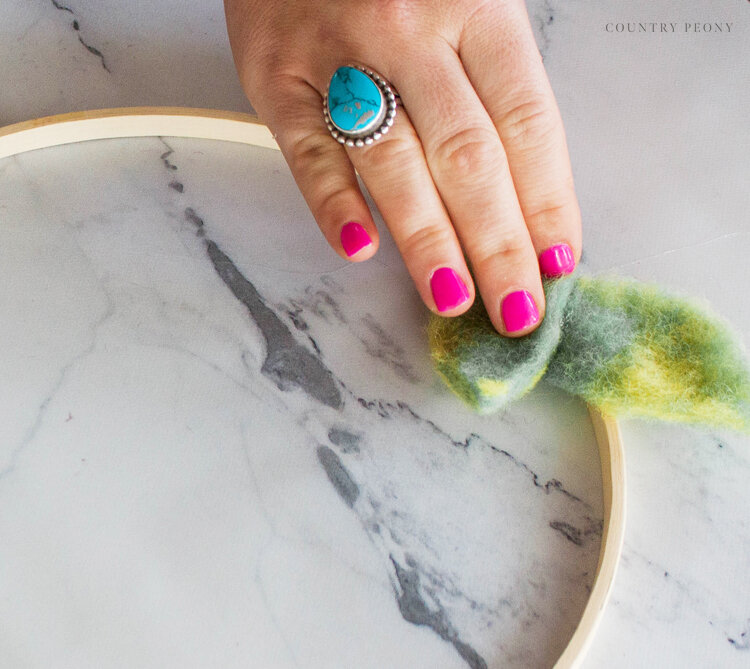
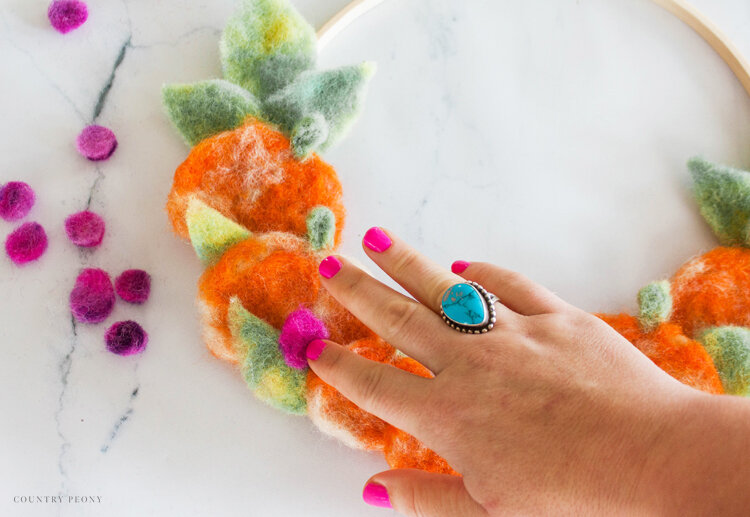
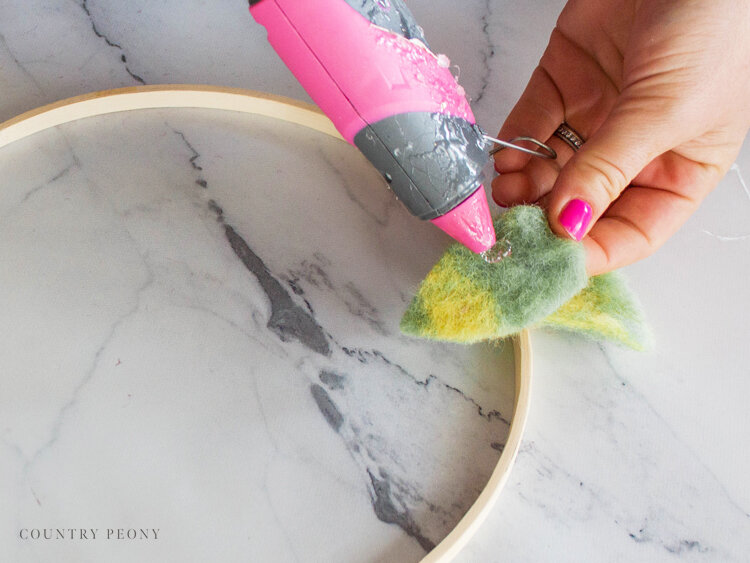
Step 2: One by one start to hot glue the separate pieces to the embroidery hoop and to each other.
It is helpful to copy each side to ensure the wreath is symmetrical.
Step 3: You can add a wreath hanger or leave it blank like I did to ensure the handmade felt pieces are the star of the show.
Step 4: Enjoy your custom, felt wreath!

I truly had so much fun making this wreath, and I am so excited to try more felt projects using Clover’s amazing tools.
Thank you so much to Clover for the opportunity to make this very sweet and charming wreath for my Fall decor.


I believe crafting is more fun when we share our projects. Please email me at elizabeth@countrypeony.com, or please tag me @thecountrypeony or #countrypeony to show me your beautiful, custom creations!
Thank you so much for following along!


