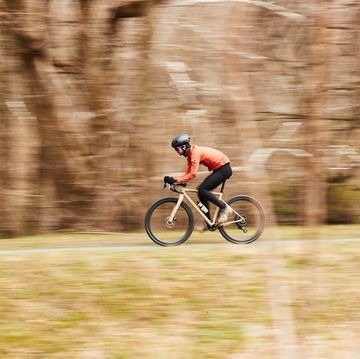
For cyclists, well-developed balance and agility are essential not only to your overall bike handling skills, but also to feel strong and confident when flying down a fast decent or rounding a corner at a high speed.
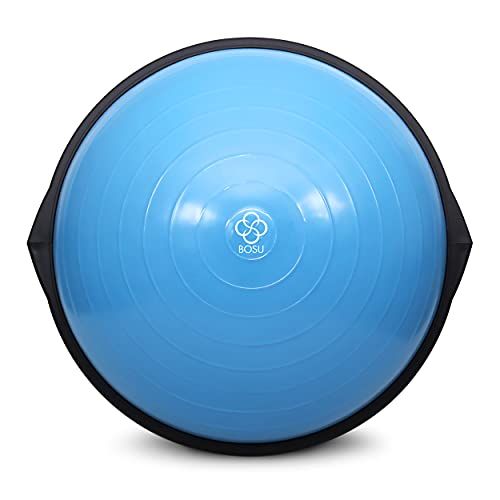
That’s why balance and stability training is vital for cyclists, and equipment like a Bosu ball can provide an added challenge—all you need is the right Bosu ball exercises to help you hone in on your strength skills.
The Benefits of Bosu Ball Exercises for Cyclists
“The Bosu is a super-versatile piece of training equipment that takes up very little storage space and can take your workouts to a whole new level when it comes to impactful cardio, core-focused movements, balance, coordination, and strength training, “ says Mandee Miller, a certified personal trainer based in Los Angeles.
Adding an element of controlled instability to your strength-training regimen with Bosu ball exercises sharpens your sensory feedback systems by requiring your muscles, stabilizers, and counter-balancing forces to work together.
Training on an unstable surface, like a Bosu ball, also enhances proprioception—your body’s awareness of where your limbs are in space—and builds coordination and neuromuscular function. “Your neurology strengthens its transmission between your stability muscles and your brain to better coordinate the adjustments needed to maintain balance and control,” says Audrey Farenga, a certified personal trainer in Los Angeles.
This keen sense of balance not only translates to increased movement quality and efficiency on the bike, but it also helps in our day-to-day lives. “Stability is one of the most vital training components to work on and continuously improve no matter what your goals are, in and out of the gym setting,” says Miller.
The best part is that you can use this one piece of equipment for an entire full-body workout. “Whether you’re boosting up a high-intensity exercise by adding instability to your movements or recovering stability in your core and joints, the Bosu is an incredibly useful tool,” says Farenga.
How to use this list: Review the list of Bosu ball exercises below. Each is demonstrated in the video above by Frank Baptiste, certified personal trainer and cyclist, so you can learn the proper form. Perform each exercise for the number of reps or time listed. Repeat the set 2 to 3 times per week on strength-training days to build strength and balance, both on and off the bike.
Once you’ve mastered the main workout, you can opt for the progression listed with each exercise to add an even greater challenge.
1. Single-Leg Glute Bridge
How to do it: Start lying faceup, and place the right foot on the top of the Bosu ball dome with the platform side facing down and knees bent. Extend the left leg straight, knees in line. Engage core and squeeze glutes as you push through right heel to lift hips up toward the ceiling. Aim for a 90-degree bend in the right leg at the top of the movement. You should feel the exercise in glutes and hamstrings (not your low back.) Slowly lower hips back down. Repeat. Do 15 to 20 reps per side.
How to make it harder: Perform this movement with the dome side down, and place the planted foot on the center of the platform.
Pro tips: “If you wanted to make that even more challenging I would consider adding a mini band across the thighs to increase burn in the abductors,” says Miller. (Those are the muscles on the outer side of your hips, including the gluteus medius.)
2. Mountain Climber
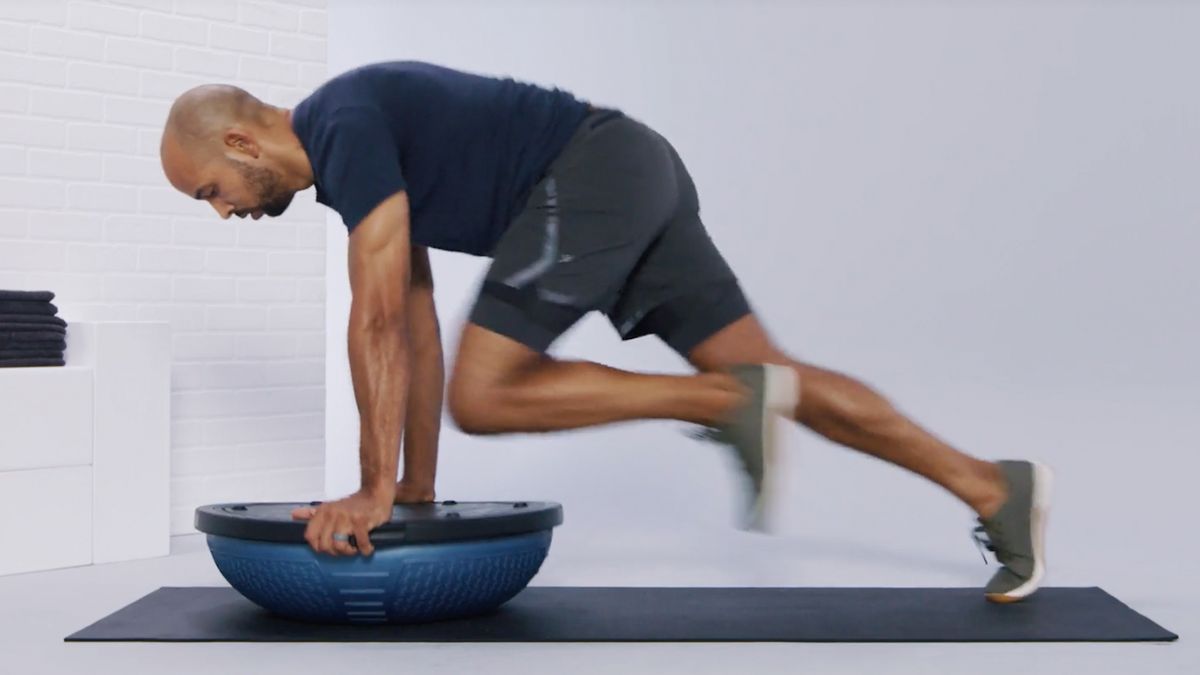
How to do it: With the dome side down, start in a high plank position gripping the platform, wrists under shoulders. The center of the dome should line up with the center of your chest. Keeping core and glutes engaged, pull one knee at a time toward chest, alternating as if you’re slowly running in place. Perform this movement as quickly as you can while maintaining core engagement and preventing body from shifting side to side. Do as many reps as possible for 1 minute.
How to make it harder: Add resistance in the form of ankle weights or with a mini band around your ankles.
Pro tips: “Keep your upper body weight over the Bosu and secure your hands, pressing slightly toward the ground,” advises Farenga. “This will help you use your core muscles instead of just your shoulders. Keep the hips down.”
3. Bulgarian Split Squat
How to do it: Stand with feet shoulder-width apart, facing away from the Bosu. Place the right foot on the center of the dome. Once you feel stable, bend both knees and lower body towards the floor until the left front knee is at about a 90-degree angle. Make sure stance is long enough to allow the left knee to remain centered over the ankle and not move past the toes. Push back up through the heel of the left foot until both knees are straight. Repeat. Do 12 to 15 reps on each leg.
How to make it harder: Perform this movement with the dome side down and the back foot in the center of the flat surface.
Pro tips: “Be sure to avoid allowing the front knee from tracking too far in front of the toes by lowering into the split squat perpendicularly, meaning both knee joints bend at the same rate,” says Miller. “Only use the back leg for support, don’t push off of it for maximum benefit,” adds Farenga.
4. Lateral Lunge to Single-Leg Balance
How to do it: Stand to the right of the Bosu ball, dome-side up. With both feet facing forward, take a big step to the left and place left foot on top of the dome. Send hips back and bend left knee while keeping right leg straight to perform a lateral lunge. Keep torso as upright as possible and don’t let the left knee move past the toes. Push through the heel of the left foot until you are standing on top of the dome while lifting the right knee to a 90-degree bend, toward chest. Hold and balance for 1 to 2 seconds, then place the right foot back into the starting position and return to standing. This is one rep. Do 12 to 15 reps on each leg.
How to make it harder: While balancing on the Bosu ball, move the right leg out to the side, then back to center before you repeat the move. (Do the same on the other side.)
Pro tips: “Secure all four corners of the foot that is on the Bosu, and use the bridge of your foot to help you engage from the foot through thigh and core,” says Farenga.
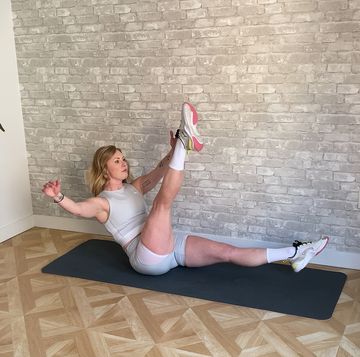
5. Bicycle Crunch
How to do it: Lie faceup with low spine centered over the top of the dome, both knees bent and feet flat on the floor hip-distance apart. With neck in a neutral position, place fingertips at temples with the elbows open. This is your starting position. Lift the right leg until the right knee is stacked vertically over the right hip while simultaneously rotating trunk and turning the left elbow toward the right knee. Hold for 1 to 2 seconds then slowly return to the starting position. Repeat on the other side. Continue alternating. Do 15 to 20 reps per side.
How to make it harder: Lift both feet off the floor and as you rotate toward one leg, extend the other.
Pro tips: “Check in with your posture every rep when you come through the center to switch sides,” Farenga advises. “Be sure you have both sit bones secured on the Bosu and that your belly button is sucked in and not protruding forward. Slow and steady is better than fast.”
6. Side Plank
How to do it: Lie on right side with the forearm resting on the top of the dome. Align elbow directly under shoulder. Keeping both legs straight and stacked on top of each other, with shoulders and hips stacked too, engage core and lift hips off the floor until body is in a straight line from ankles through hips to shoulders. Hold for 1 minute. Repeat on the other side.
How to make it harder: Raise the top leg while lifting the hips, and keep it elevated during the entire hold.
Pro tips: “Press your whole forearm, and not just your elbow or hand, into the Bosu for improved stability,” says Farenga. “Actively engage your bottom leg to support you and flex both feet so the ankles are strong.”
“It is imperative you stack your shoulders and hips in this side plank variation to avoid added pressure on the shoulder joint,” Miller adds. “Don’t forget to breathe!”
7. High Plank With Platform Tilts
How to do it: With the dome side down, grasp the side handles and align chest so it is centered over the middle of the platform. Keep hands in line with shoulders, engage core and lift yourself into a high plank position. Once you feel stable, bend right elbow to slowly tilt the platform to the right, making sure to keep hips stable and core engaged. Return to the centered position and tilt slowly to the left. Continue alternating sides. Perform 20 reps per side.
How to make it harder: Lift one leg off the floor while performing the tilts, for 10 reps, then switch and lift the other leg for the next 10 reps.
Pro tips: “Be sure to separate the legs shoulder-width apart to find optimal stability in the lower body as the upper body stacks shoulders over wrists using the ‘handle’ inset on each side of the Bosu’s flat base,” Miller advises.
Natascha Grief is Bicycling’s Health & Fitness Editor. She got her first bike shop job before she was old enough to drink. After a six-year stint as a bike mechanic and earning a couple pro-mechanic certifications and her USA Cycling Race Mechanics license, she became obsessed with framebuilding and landed an apprenticeship with framebuilder Brent Steelman in her hometown of Redwood City, California. After that, she spent several years working for both large and not-so-large cycling brands before switching gears to become a NASM certified personal trainer. She’s honed her skills as a trainer and coach for over a decade, while also teaching Spin. During the dumpster fire that was the year 2020, she opened a fitness studio and began contributing regularly to Runner’s World and Bicycling as a freelance writer. She joined the editorial staff of Bicycling in 2022.
