
Articles
How To Make A Fabric Yo-Yo Quilt
Modified: January 5, 2024
Learn how to make a stunning fabric yo-yo quilt with our informative articles. Discover tips, techniques, and inspiration to create your own unique masterpiece.
(Many of the links in this article redirect to a specific reviewed product. Your purchase of these products through affiliate links helps to generate commission for Storables.com, at no extra cost. Learn more)
Introduction
Welcome to the world of fabric yo-yo quilts! If you’re looking for a creative and enjoyable way to showcase your fabric stash, then you’re in the right place. A fabric yo-yo quilt is a beautiful and timeless piece of art that can be passed down for generations.
Fabric yo-yos, also known as suffolk puffs, are small circular pieces of fabric that are gathered and stitched together to create a delightful textured effect. These versatile little creations can be used to make a variety of projects, but they truly shine in the form of a quilt.
In this article, we will guide you through the process of making your own fabric yo-yo quilt. From gathering the necessary materials to sewing the yo-yos together, we will cover each step in detail. Whether you are a seasoned quilter or a beginner looking for a new challenge, this article will provide you with all the information you need to get started.
So, grab your favorite fabrics, dust off your sewing machine, and let’s dive into the world of fabric yo-yo quilts. Get ready to create a one-of-a-kind masterpiece that will be treasured for years to come!
Key Takeaways:
- Creating a fabric yo-yo quilt is a delightful journey that allows you to showcase your creativity and passion for quilting. Each step, from gathering supplies to adding finishing touches, transforms fabric circles into a timeless piece of art.
- Throughout the process, you have the opportunity to experiment with colors, patterns, and textures, allowing your quilt to reflect your personal style and creativity. Whether kept as a treasured heirloom or gifted, your fabric yo-yo quilt will undoubtedly bring warmth, comfort, and joy for years to come.
Read more: How To Quilt Fabric
Materials Needed
Before we begin, let’s gather the materials you’ll need to create your fabric yo-yo quilt. The beauty of this project is that it doesn’t require a lot of specialized tools. Here’s what you’ll need:
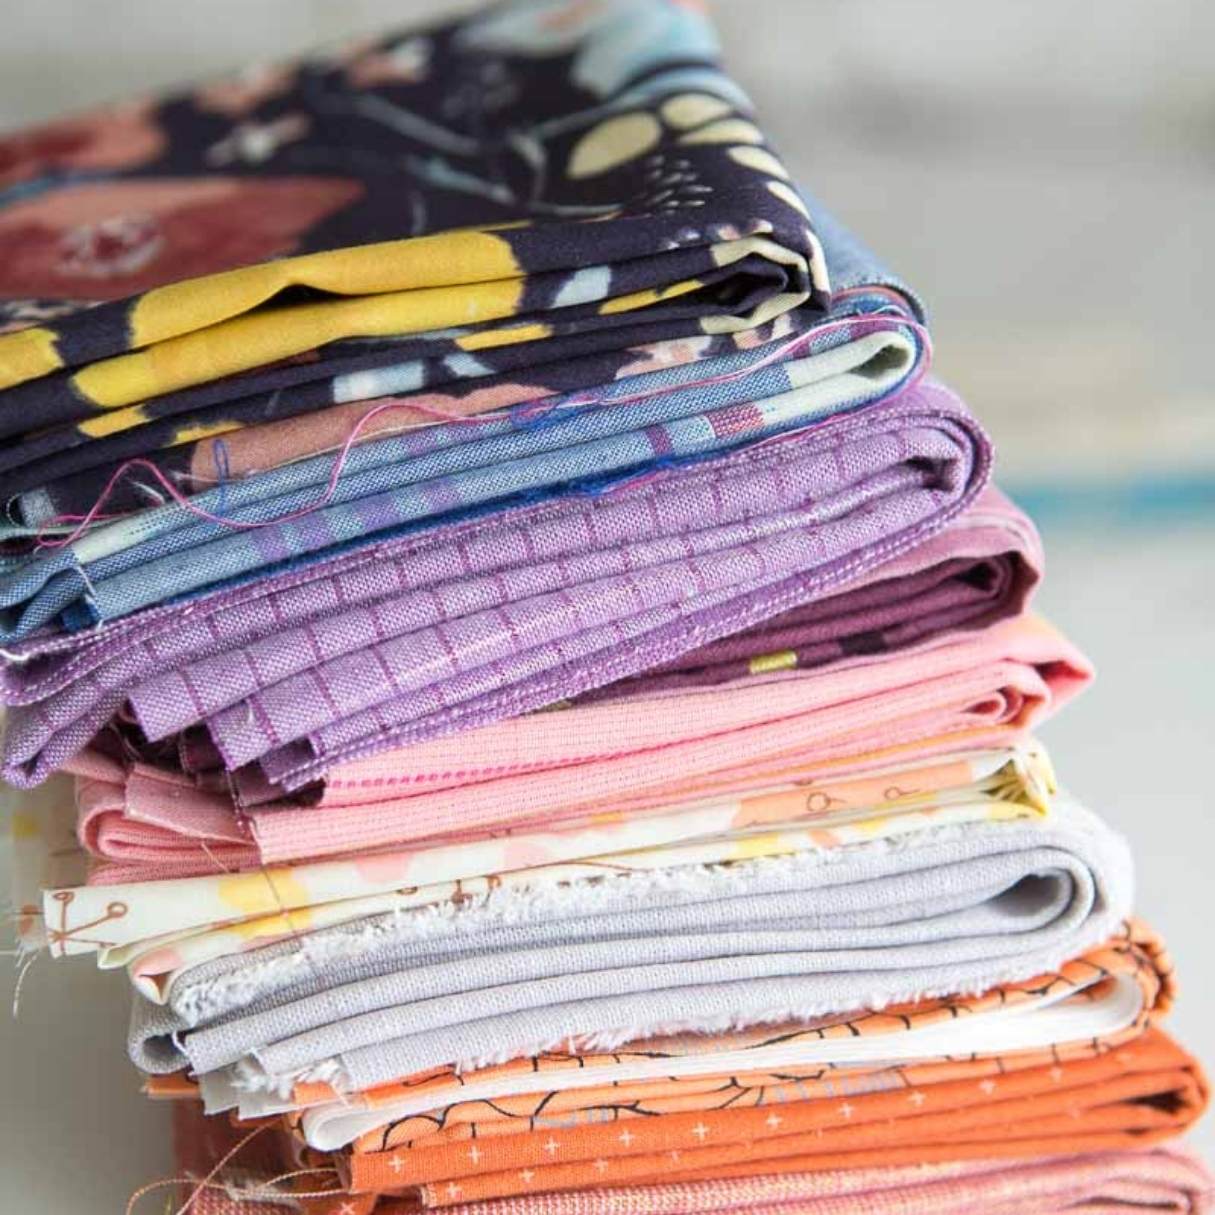
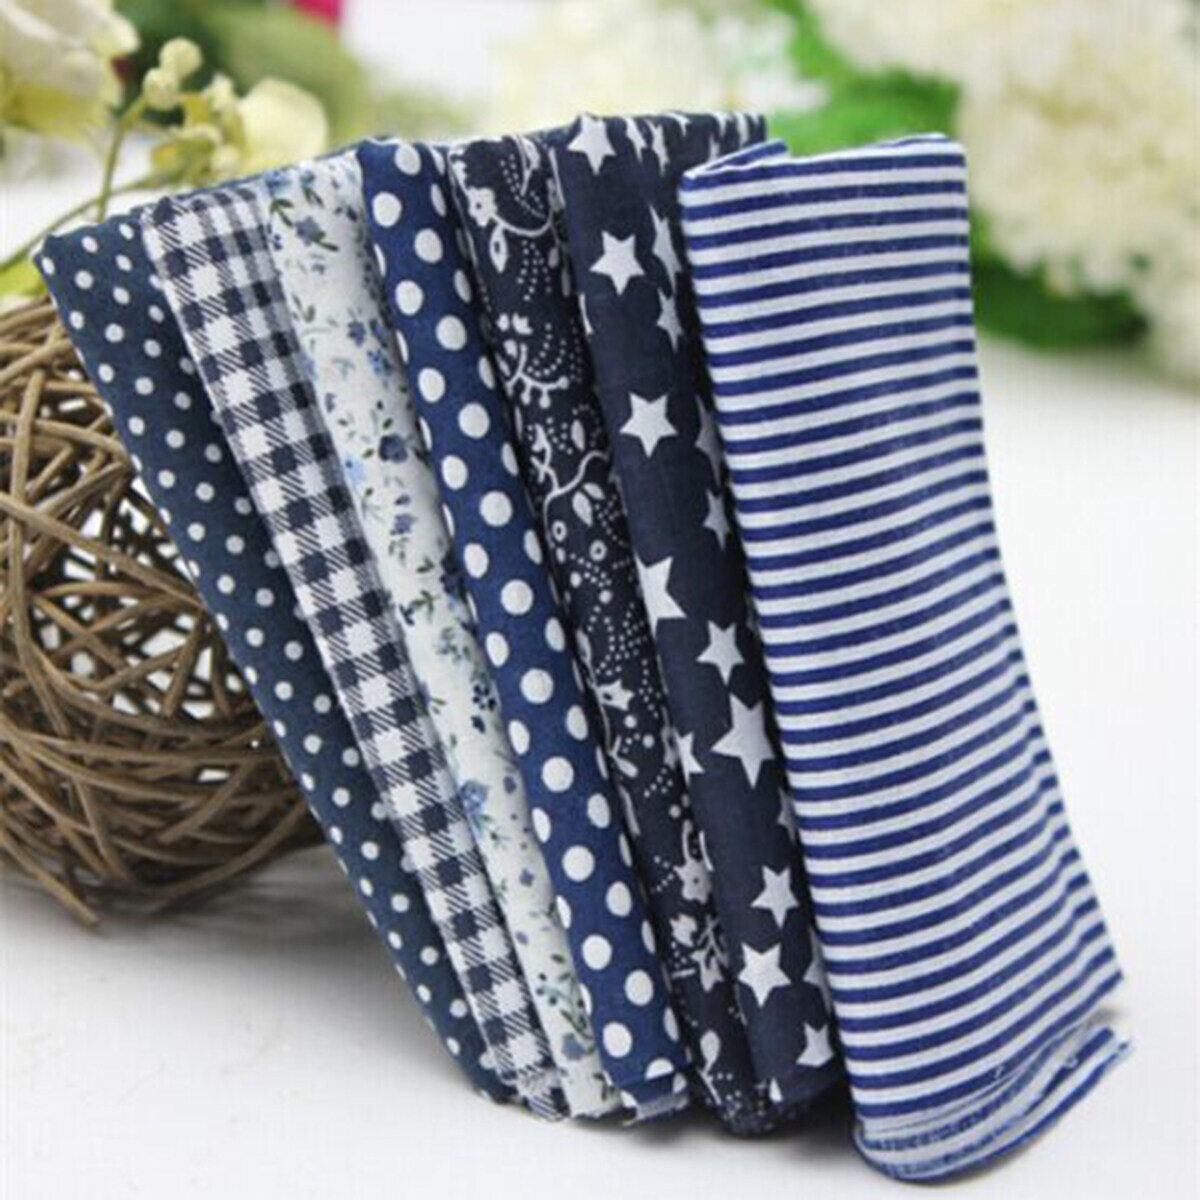
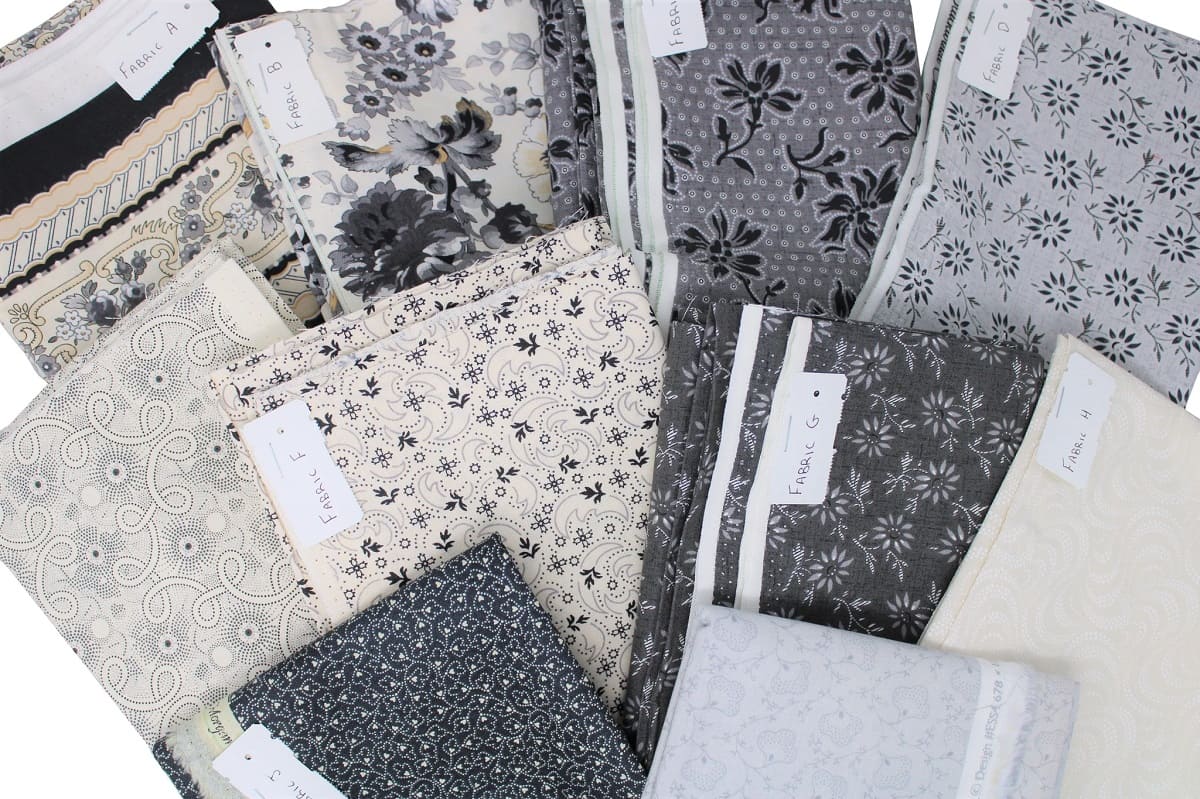
- Fabric: Choose a variety of fabrics in different colors, patterns, and textures. You can use scraps from previous sewing projects or purchase fabric specifically for this quilt.
- Template: You’ll need a circular template to trace and cut out your fabric circles. You can use a small saucer, a round object, or even a template made from cardboard.
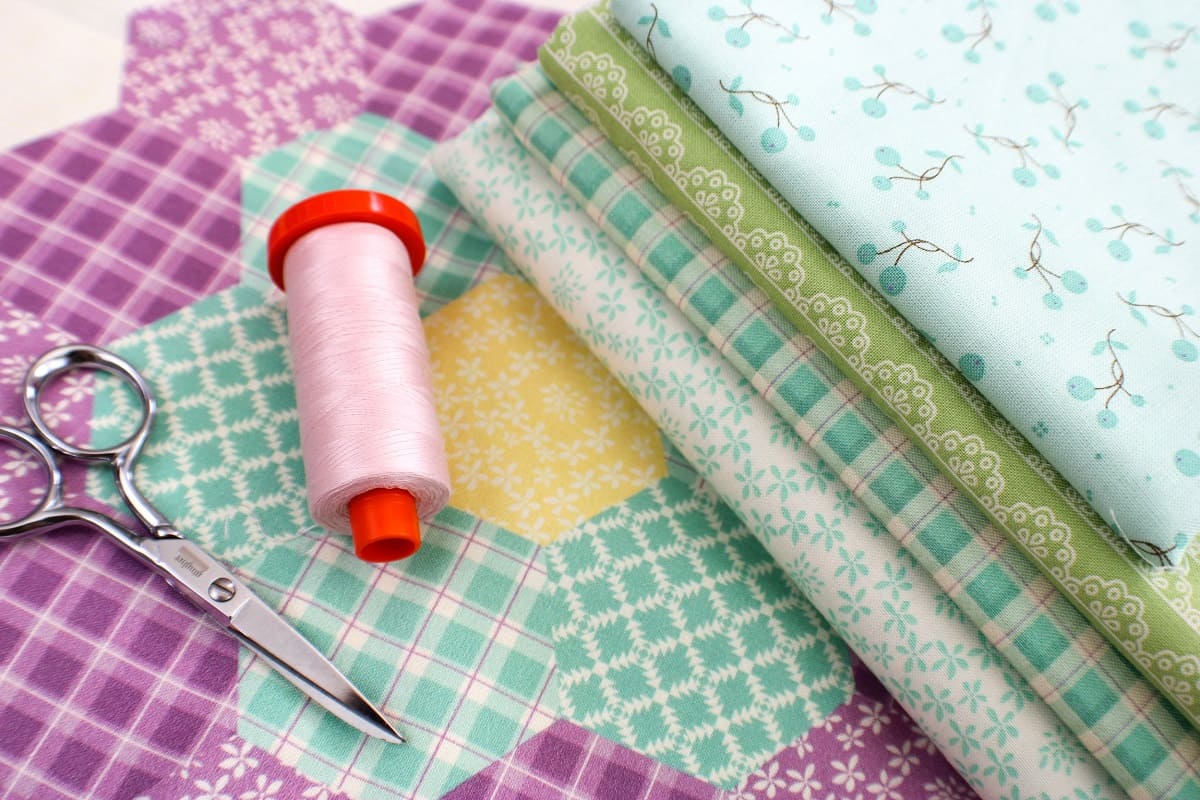
- Scissors: A good pair of fabric scissors will help you cut out your fabric circles with precision.
- Needle and Thread: Opt for a sturdy needle and thread that can withstand the gathering and stitching process.
- Quilt Base: You’ll need a large piece of fabric or a pre-made quilt base to attach your fabric yo-yos to. Choose a fabric that complements your yo-yo colors.
- Sewing Machine (optional): While the yo-yos are typically stitched by hand, you can speed up the process by using a sewing machine with a gathering foot attachment.
- Pins: Use straight pins to secure your fabric yo-yos in place before stitching them onto the quilt base.
- Iron and Ironing Board: A hot iron will help you press your fabric and achieve crisp edges for your yo-yos.
Remember, these are just the basic materials needed to get started. Feel free to explore additional tools and embellishments to personalize your fabric yo-yo quilt. Now that you have your materials ready, let’s move on to the next step: choosing and cutting your fabric!
Step 1: Gathering Fabric Yo-Yo Supplies
Before you start creating fabric yo-yos for your quilt, it’s important to gather all the necessary supplies. Having everything on hand will make the process smoother and more enjoyable. Here’s what you’ll need:
- Fabric: Choose a variety of fabrics in different colors, patterns, and textures. You can use scraps from previous sewing projects or purchase fabric specifically for this quilt.
- Template: You’ll need a circular template to trace and cut out your fabric circles. You can use a small saucer, a round object, or even a template made from cardboard.
- Scissors: A good pair of fabric scissors will help you cut out your fabric circles with precision.
- Needle and Thread: Opt for a sturdy needle and thread that can withstand the gathering and stitching process.
- Quilt Base: You’ll need a large piece of fabric or a pre-made quilt base to attach your fabric yo-yos to. Choose a fabric that complements your yo-yo colors.
- Sewing Machine (optional): While the yo-yos are typically stitched by hand, you can speed up the process by using a sewing machine with a gathering foot attachment.
- Pins: Use straight pins to secure your fabric yo-yos in place before stitching them onto the quilt base.
- Iron and Ironing Board: A hot iron will help you press your fabric and achieve crisp edges for your yo-yos.
Now that you have collected all the necessary supplies, you can move on to the next step: choosing and cutting your fabric. It’s time to get creative and select the fabrics that will bring your fabric yo-yo quilt to life!
Step 2: Choosing and Cutting Fabric
Now that you have gathered your fabric yo-yo supplies, it’s time to choose the fabrics that will make up your quilt. The beauty of fabric yo-yo quilts is that you can mix and match a variety of colors, patterns, and textures to create a unique and visually appealing design. Here are some tips for choosing and cutting your fabric:
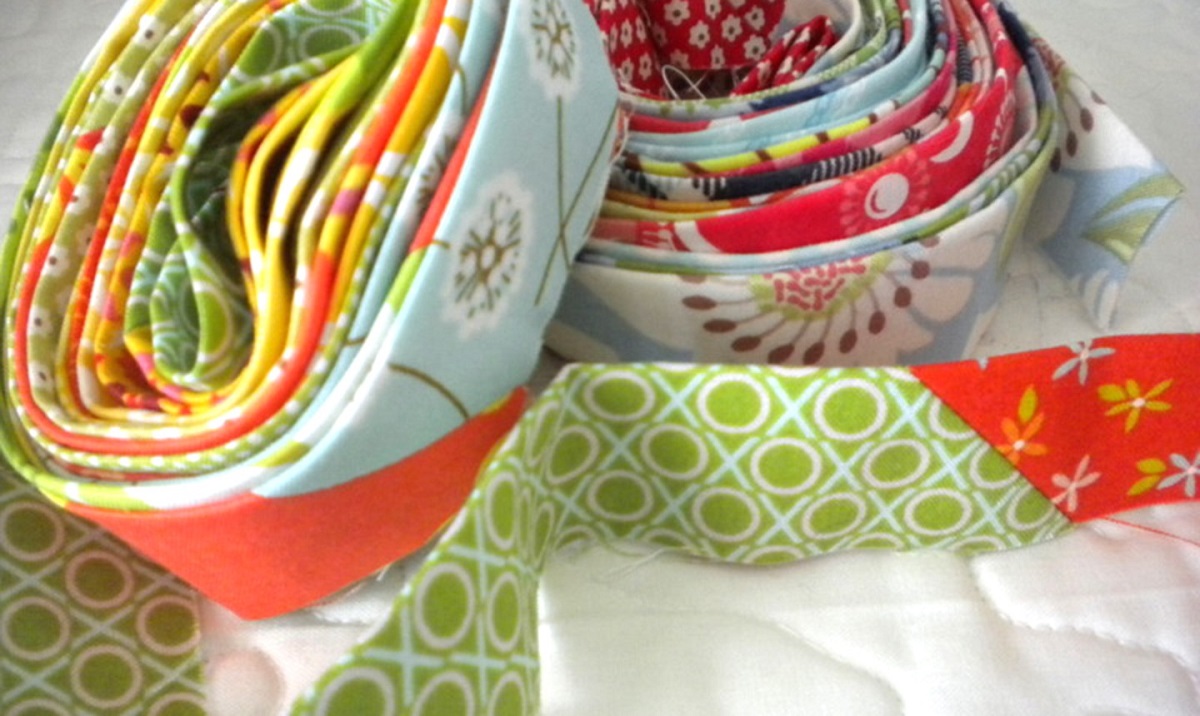
- Color Palette: Decide on a color palette for your quilt. You can choose complementary colors, monochromatic tones, or opt for a vibrant and eclectic mix. Consider the overall aesthetic you want to achieve and select fabrics accordingly.
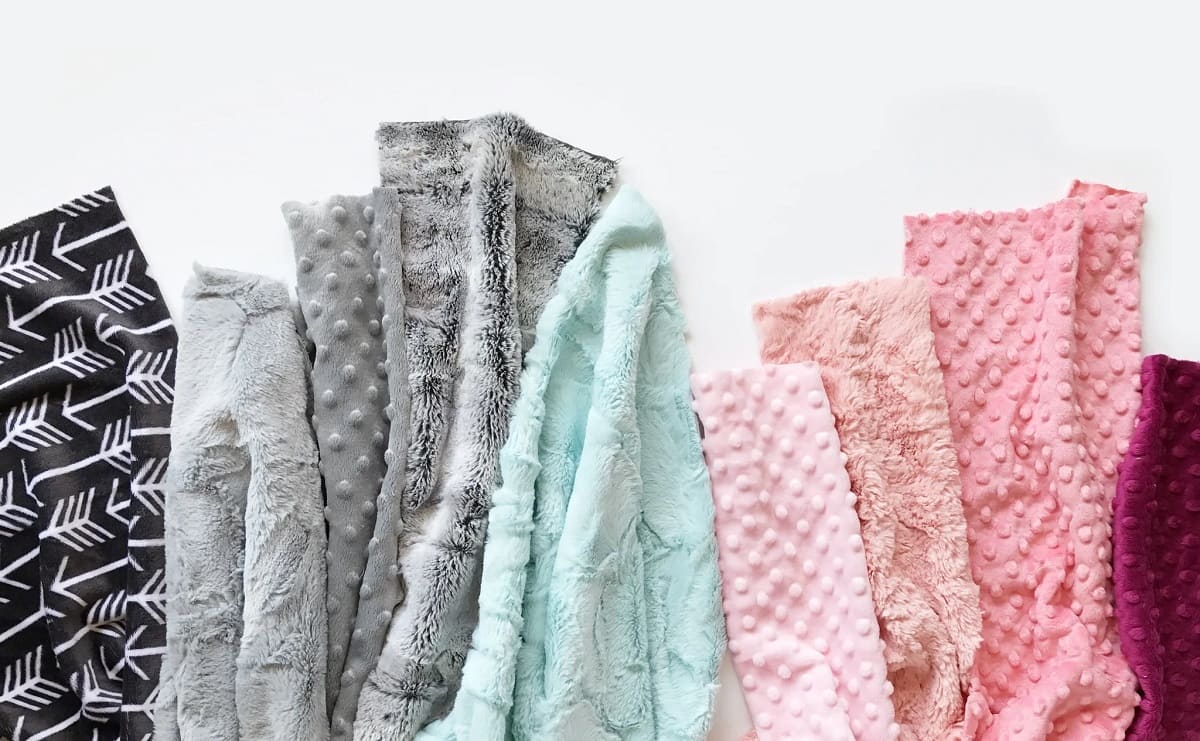
- Fabric Types: Experiment with different fabric types to add texture and interest to your quilt. You can use cotton, linen, silk, or even incorporate vintage fabrics for a nostalgic touch.
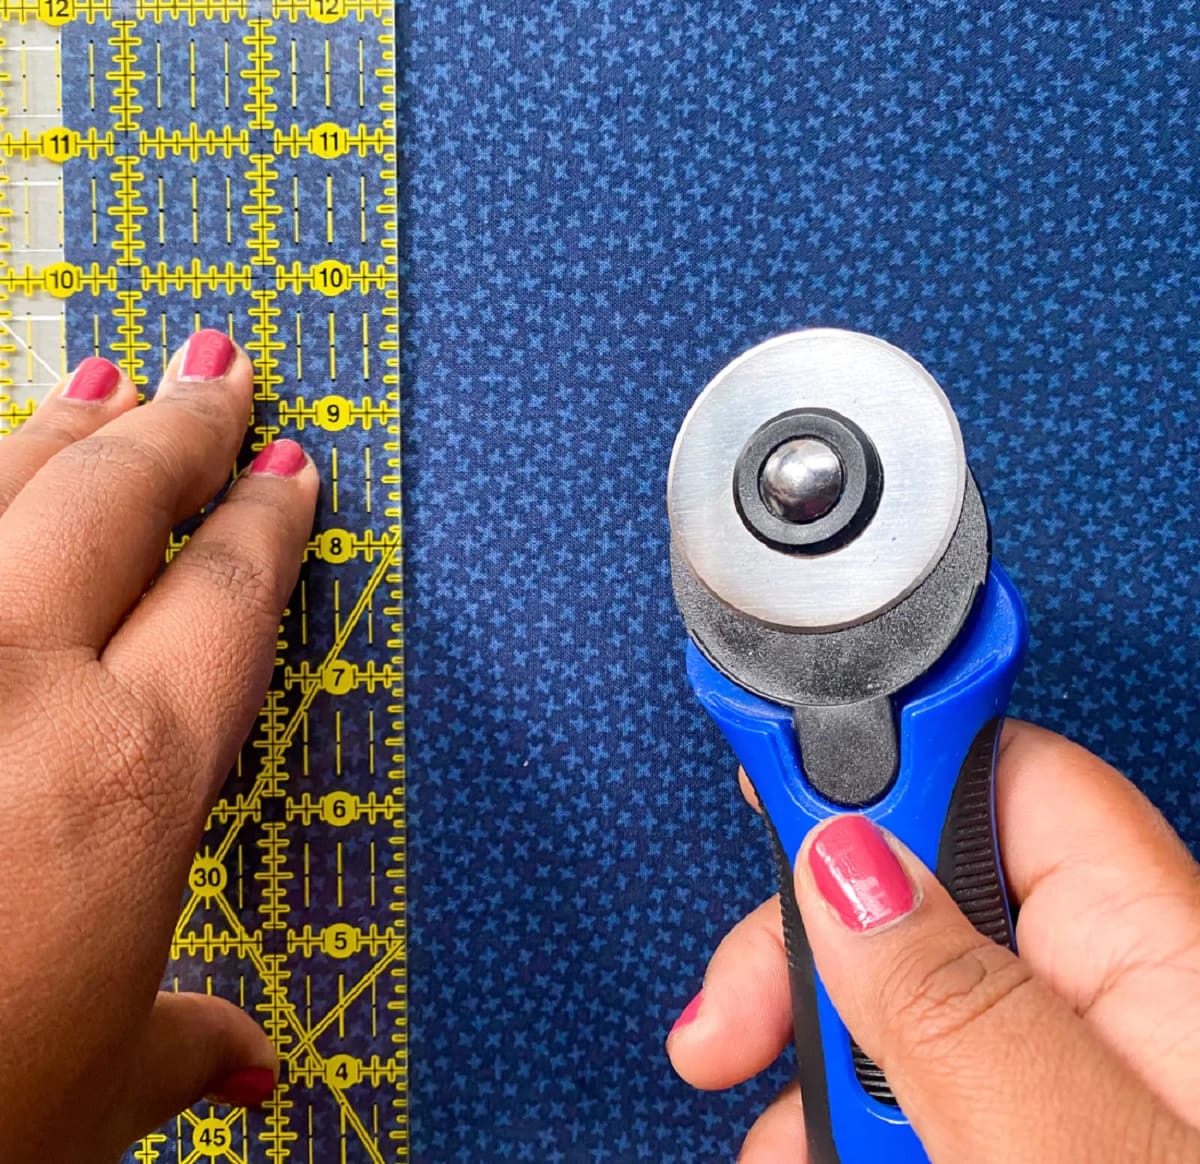
- Fabric Cuts: Once you have chosen your fabrics, it’s time to cut out the fabric circles for your yo-yos. Place your circular template on the fabric and trace around it using a fabric pen or chalk. Carefully cut out each circle, ensuring clean and precise edges.
- Varying Sizes: To add visual interest and dimension to your quilt, consider cutting fabric circles in different sizes. This will create a dynamic and textured effect when the yo-yos are stitched together.
- Quantity: Depending on the size of your quilt and the desired density of fabric yo-yos, determine how many fabric circles you will need. It’s always better to have a few extra, so don’t be afraid to cut more than you think you’ll need.
Remember to have fun with the fabric selection process! Mix and match colors and patterns to create a visually appealing composition. Once you have chosen and cut your fabric, you are ready to move on to the next step: creating fabric yo-yos.
Step 3: Creating Fabric Yo-Yos
Creating fabric yo-yos is a fun and relaxing process. It involves folding and stitching the fabric circles to form charming little puffs. Follow these steps to create your fabric yo-yos:
- Take a fabric circle and fold about 1/4 inch of the edge towards the center on the wrong side of the fabric. Press it with an iron to create a crease.
- Continue folding the fabric towards the center, making small accordion-like pleats around the entire circle. The width of each fold can be about 1/4 to 1/2 inch, depending on the desired fullness of your yo-yo.
- Hold the folded fabric securely and carefully remove the needle from the thread. Insert the needle through the folded edges, making sure to catch all the layers of fabric.
- Gently pull the thread to gather the fabric, bringing the edges together. Knot the ends of the thread to secure the gathers.
- Flatten the gathered fabric to create a yo-yo shape. Adjust the gathers as needed to achieve a pleasing round shape.
- Secure the gathers by making a few small stitches through the layers of fabric at the back of the yo-yo. Trim off any excess thread.
- Repeat these steps for each fabric circle until you have a collection of fabric yo-yos ready for your quilt.
Creating fabric yo-yos can be a relaxing and enjoyable activity. You can stitch these yo-yos during your free time or even carry them with you for stitching on the go. As you complete your fabric yo-yos, consider the arrangement and combination of colors and patterns for a visually arresting quilt design.
Now that you have a collection of fabric yo-yos, it’s time to move on to the next step: planning your quilt design. Get ready to bring your artistic vision to life!
Read more: How To Make A Baby Quilt Using Minky Fabric
Step 4: Planning Quilt Design
Planning the design of your fabric yo-yo quilt is an exciting step in the quilting process. This is where you can let your creativity shine and create a visually stunning composition. Here are some tips to help you plan your quilt design:
- Lay out your fabric yo-yos: Start by laying out your fabric yo-yos on a flat surface. Experiment with different arrangements and combinations until you find a design that you love. Consider the color distribution, pattern placement, and overall balance of the yo-yos.
- Consider a theme or pattern: If you have a specific theme or pattern in mind, use it as a guide for arranging your fabric yo-yos. You can create repeating patterns, gradient color schemes, or organize the yo-yos in a random yet cohesive manner.
- Play with contrasting colors: Incorporating contrasting colors can add depth and visual interest to your quilt design. Consider using a mix of light and dark colors, pairing complementary hues, or incorporating pops of vibrant shades.
- Think about negative space: Don’t forget to think about the negative space around your fabric yo-yos. Leaving some blank space can create breathing room and bring focus to the yo-yos themselves.
- Take a step back: Once you have arranged your fabric yo-yos, take a step back and evaluate the overall composition. Does it feel balanced? Do you need to make any adjustments? Don’t be afraid to rearrange the yo-yos until you are satisfied with the design.
Remember, there are no hard and fast rules when it comes to designing your fabric yo-yo quilt. Let your intuition guide you and trust your artistic instincts. The goal is to create a design that reflects your personal style and brings joy to your heart.
Once you have finalized your quilt design, you’re ready to move on to the next step: attaching the fabric yo-yos to the quilt base. Get ready to see your design come to life!
When making a fabric yo-yo quilt, use a variety of fabric colors and patterns to create visual interest and dimension in your quilt. This will make your quilt more visually appealing and unique.
Step 5: Arranging Yo-Yos
With your fabric yo-yos created and the quilt design planned, it’s time to bring everything together by arranging the yo-yos on the quilt base. This step is crucial for achieving the desired visual impact. Here’s how you can arrange your fabric yo-yos:
- Place your quilt base on a flat surface or design wall. This will serve as the foundation for your fabric yo-yo quilt.
- Start by positioning your yo-yos on the quilt base according to your planned design. Take your time and experiment with different placements until you’re satisfied with the overall arrangement.
- Consider the color distribution and balance across the quilt. You may want to evenly distribute colors or create focal points with clusters of vibrant yo-yos.
- Pay attention to the negative space between the yo-yos. Aim for a harmonious distribution and avoid overcrowding or leaving large empty gaps.
- Use straight pins to temporarily secure the fabric yo-yos in place. This will allow you to step back and assess the arrangement from various angles.
- Take a few steps back and view your quilt design from different distances. This will help you get a better sense of the overall composition and make any necessary adjustments.
- Once you’re satisfied with the arrangement, step away from the quilt and let it sit for a while. Reflect on the design and make any final tweaks if needed.
Remember, arranging the fabric yo-yos is a creative process, and there is no right or wrong way to do it. Trust your instincts and have fun with the arrangement. Let your quilt be a reflection of your unique artistic vision!
Now that your yo-yos are beautifully arranged, it’s time to move on to the next step: attaching them to the quilt base. Get ready to bring your quilt to life!
Step 6: Attaching Yo-Yos to Quilt Base
With your fabric yo-yos arranged on the quilt base, it’s time to secure them in place. Attaching the yo-yos to the quilt base will ensure that they stay in position and create a cohesive quilt top. Here’s how you can attach the yo-yos:
- Starting with one fabric yo-yo, remove the straight pin holding it in place and position it on the quilt base.
- Thread your needle with a matching or contrasting thread, depending on the look you want to achieve.
- Secure the yo-yo by stitching through the back layer of the yo-yo and the quilt base. Make small stitches, going in and out of the fabric layers, at the edges of the yo-yo.
- Continue stitching around the perimeter of the yo-yo, spacing your stitches evenly. This will ensure that the yo-yo stays firmly attached to the quilt base.
- Move on to the next yo-yo and repeat the process, making sure to leave a small gap between each yo-yo for a visually pleasing effect.
- As you work, periodically step back and assess the overall appearance of the quilt top. Adjust the placement of any yo-yos if necessary.
- Continue attaching yo-yos to the quilt base until all of them are securely stitched in place.
Remember to take your time with this step and ensure that each yo-yo is firmly attached. The stitching should be strong enough to withstand regular handling and washing.
As you stitch the yo-yos, you may choose to use a single color thread for a seamless look or experiment with different thread colors to add an extra dimension to your quilt top. The choice is yours!
Once all the yo-yos are attached, stand back and admire your progress. The quilt top is taking shape beautifully, and you’re one step closer to completing your fabric yo-yo quilt!
Next up: sewing the yo-yos together to assemble the quilt top. Exciting times ahead!
Step 7: Sewing Yo-Yos Together
With the fabric yo-yos securely attached to the quilt base, it’s time to sew them together to create the quilt top. This step will give your quilt a cohesive and finished look. Here’s how you can sew the yo-yos together:
- Starting from one edge of the quilt, select two adjacent yo-yos that you want to sew together.
- Thread your needle with a matching or contrasting thread, depending on the look you want to achieve.
- Position the needle at the outer edge of the first yo-yo and insert it through the back layer of the yo-yo.
- Bring the needle through the back layer of the second yo-yo, aligning the edges of the two yo-yos.
- Make small stitches along the edges of the yo-yos, securing them together. Ensure that your stitches are neat and evenly spaced.
- Continue sewing adjacent yo-yos together, working your way across the quilt top. Take care to maintain consistent stitching and alignment.
- Once a row of yo-yos is sewn together, move on to the next row and repeat the process until all the yo-yos are connected.
- Make any necessary adjustments as you go along, ensuring that the quilt top lies flat and the yo-yos are securely stitched together.
Remember, the stitching should be strong and secure to withstand the wear and tear of use. Take your time and sew with precision to achieve a polished and professional finish.
As you sew the yo-yos together, you may choose to use a single color thread that matches the yo-yos for a seamless look. Alternatively, you can experiment with different thread colors to add an extra visual element to your quilt.
With each row and column sewn together, step back and admire the progress you’ve made. Your fabric yo-yo quilt top is taking shape and nearing completion!
Now, it’s time to add the finishing touches and care for your quilt. Let’s move on to the final step!
Step 8: Finishing Touches and Care Instructions
Congratulations on reaching the final step of creating your fabric yo-yo quilt! Now it’s time to add the finishing touches and ensure that your quilt stays beautiful for years to come. Here are some important considerations for this step:
1. Trim any excess fabric: After sewing the yo-yos together, inspect the quilt top for any excess fabric or loose threads. Carefully trim them with scissors to create a clean and polished appearance.
2. Add a quilt backing: To finish your fabric yo-yo quilt, you can add a backing fabric that complements the colors and style of your quilt top. Choose a fabric that is soft and durable for long-lasting quality.
3. Quilt the layers: Quilting refers to the process of stitching the quilt top, batting, and backing layers together. You can hand-quilt or use a sewing machine with a walking foot for this step. Choose a quilting pattern that enhances the design of your fabric yo-yo quilt.
4. Bind the edges: Binding is the process of enclosing the raw edges of the quilt with a fabric strip. It provides a clean and professional finish. Consider using a coordinating or contrasting fabric for the binding to add visual interest.
5. Care instructions: To keep your fabric yo-yo quilt looking its best, it’s important to follow proper care instructions. This will help maintain its shape, colors, and overall integrity. Here are some general care tips:
- Always wash your quilt using a gentle cycle with mild detergent.
- Consider using a color catcher sheet to prevent colors from bleeding.
- Avoid using harsh chemicals or bleach that can damage the fabric.
- Dry your quilt flat or hang it to air dry, avoiding direct sunlight.
- Store your fabric yo-yo quilt in a clean and dry space to prevent dust and moisture buildup.
By following these care instructions, your fabric yo-yo quilt will remain a cherished keepsake for years to come.
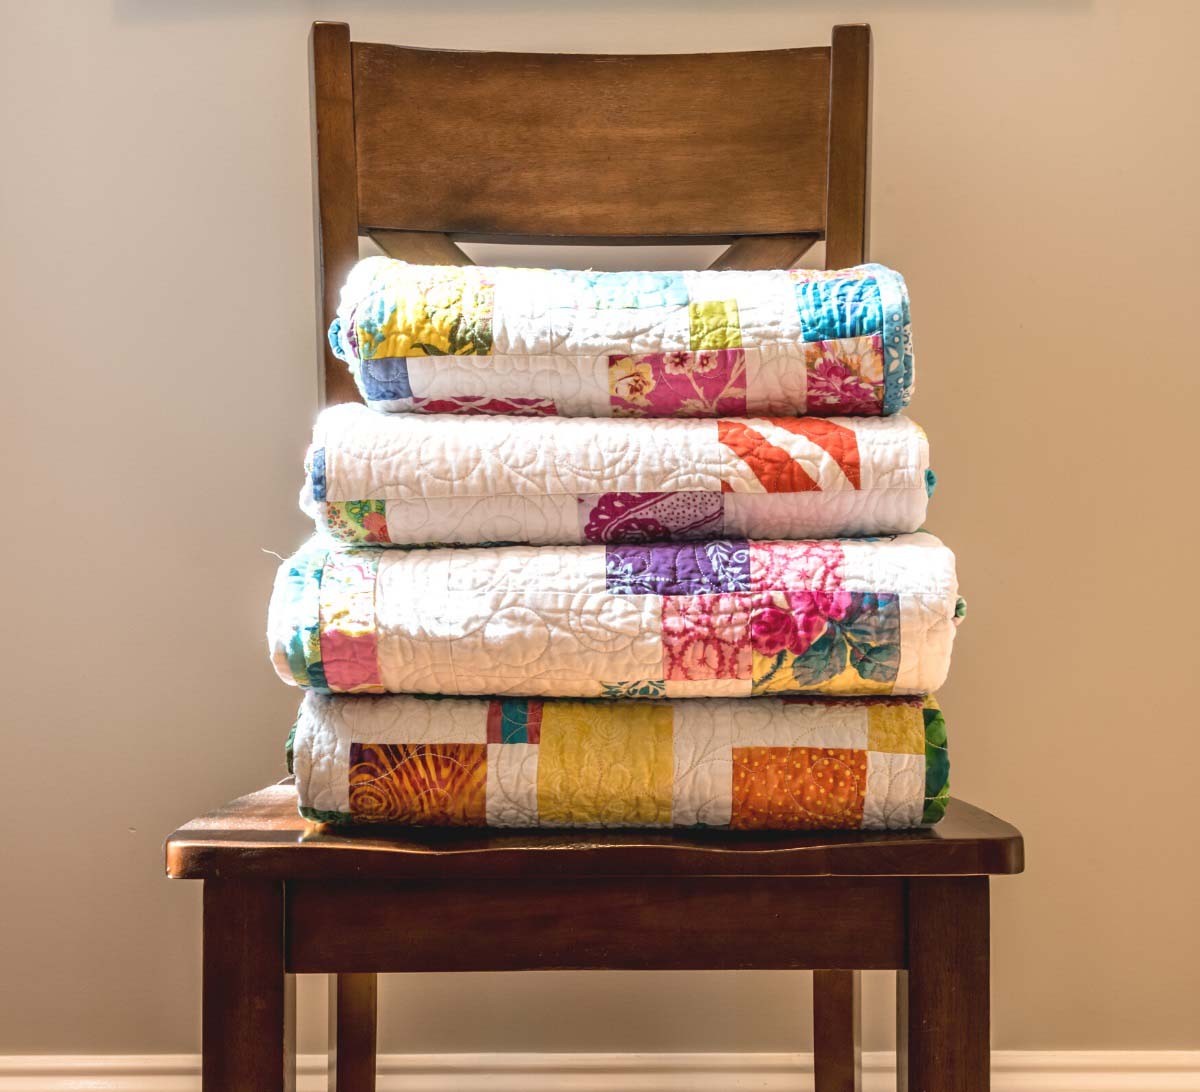
Congratulations once again on completing your fabric yo-yo quilt! Take a step back and admire your creation. It’s a testament to your creativity, patience, and skill. Enjoy the warmth and beauty that your quilt brings to your home or gift it to a loved one to cherish.
Thank you for joining us on this fabric yo-yo quilting journey. Happy quilting!
Conclusion
Creating a fabric yo-yo quilt is a delightful and fulfilling journey that allows you to showcase your creativity and passion for quilting. With each step, from gathering the supplies to sewing the yo-yos together, you have transformed simple fabric circles into a beautiful and unique quilt top. It’s a testament to your skill, patience, and artistic vision.
Throughout this article, we’ve explored the materials needed for the project, the process of choosing and cutting fabric, creating fabric yo-yos, planning the quilt design, arranging the yo-yos, attaching them to the quilt base, sewing them together, and adding the finishing touches. Each step has brought you closer to completing your fabric yo-yo quilt and creating a timeless piece of art.
Along the way, you’ve had the opportunity to experiment with colors, patterns, and textures, allowing your quilt to reflect your personal style and creativity. Your fabric yo-yo quilt is not just a beautiful and functional piece, but also a representation of your love for quilting and the time and effort you’ve invested in its creation.
As you complete your fabric yo-yo quilt, remember to cherish the process and the memories created while working on it. Whether you plan to keep it as a treasured heirloom or gift it to someone special, your quilt will undoubtedly bring warmth, comfort, and joy for years to come.
Thank you for joining us on this fabric yo-yo quilting adventure. We hope this article has provided you with the guidance and inspiration you need to create your very own fabric yo-yo quilt. Enjoy the journey and happy quilting!
Frequently Asked Questions about How To Make A Fabric Yo-Yo Quilt
Was this page helpful?
At Storables.com, we guarantee accurate and reliable information. Our content, validated by Expert Board Contributors, is crafted following stringent Editorial Policies. We're committed to providing you with well-researched, expert-backed insights for all your informational needs.

0 thoughts on “How To Make A Fabric Yo-Yo Quilt”