Maple Leaf Quilt-Along, Step 2
Posted on September 20, 2021 by prairiemoonquilts in Brunswick Forest, Quilt-Alongs & BeesHere we go!
Have you picked out and gathered up your fabrics for your Maple Leaves? It’s time to get cutting and stitching!
Let’s get right to it . . .
CUTTING:
The instructions are for cutting ONE block only. This way it’s a lot easier for you to make the blocks scrappy.
For ONE block:
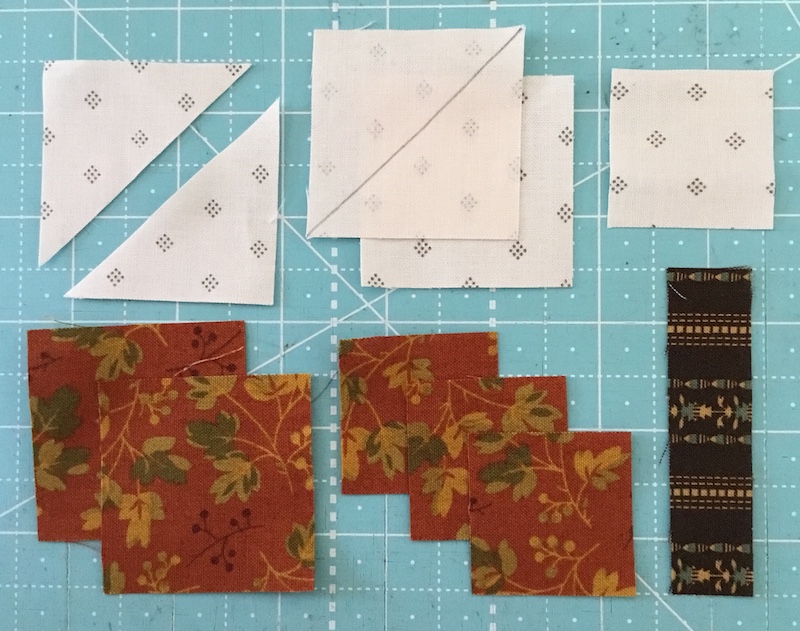
From background, cut:
(3) 2″ squares — Draw a diagonal line on the back of two of these squares; cut the third square in half diagonally to make 2 triangles.
(1) 1 1/2″ square
From a print (or multiple prints), cut:
(2) 2″ squares
(3) 1 1/2″ squares
From stem fabric, cut:
(1) 3/4″ x 3″ strip
SEWING:
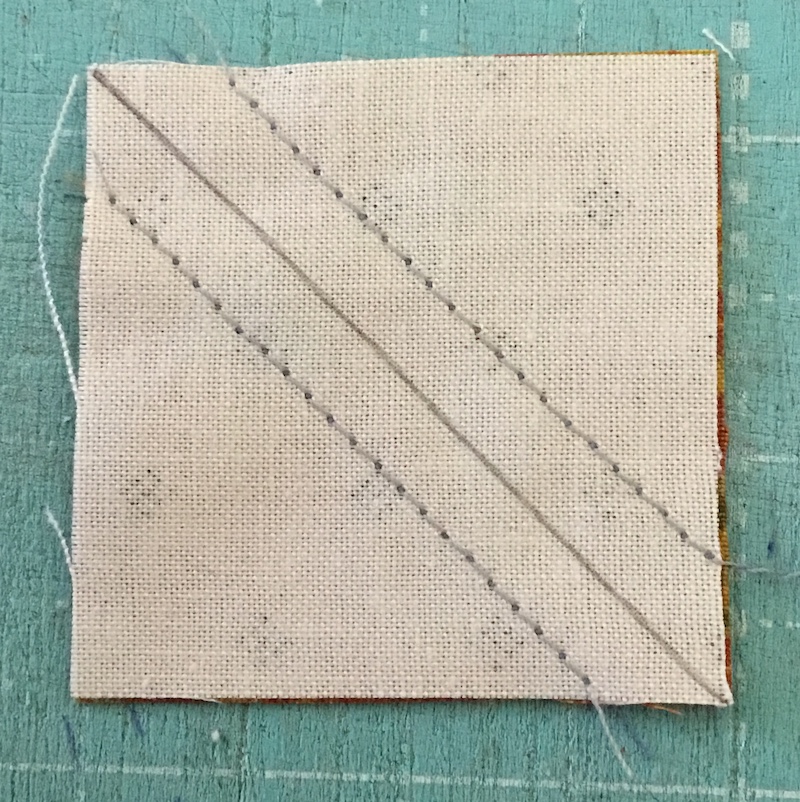
Match up a print 2″ square with a background 2″ square, right sides together, with the background square on top so you can see the drawn line. Stitch 1/4″ on each side of the drawn line.
Cut ON the drawn line.
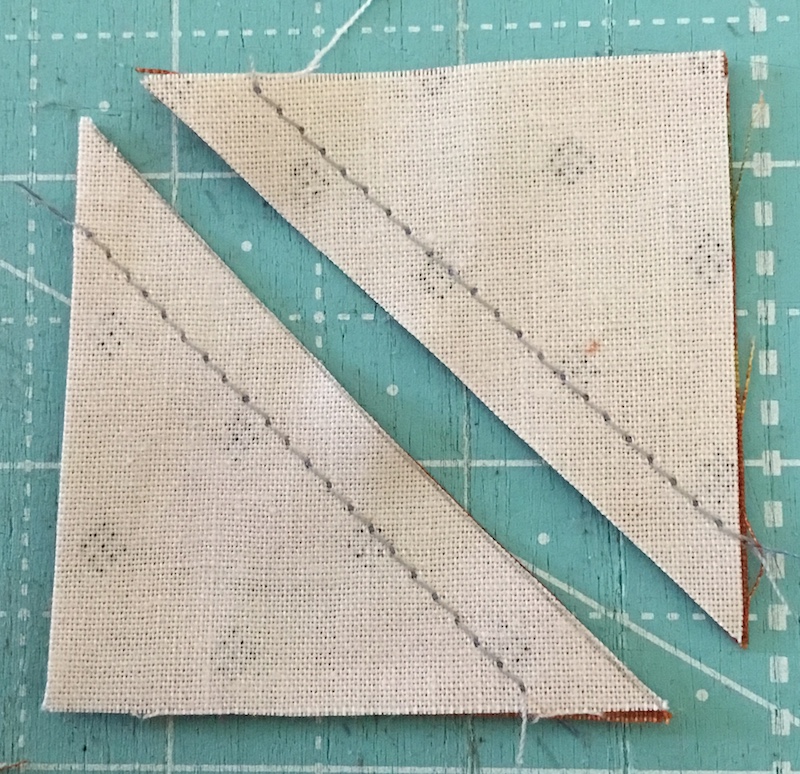
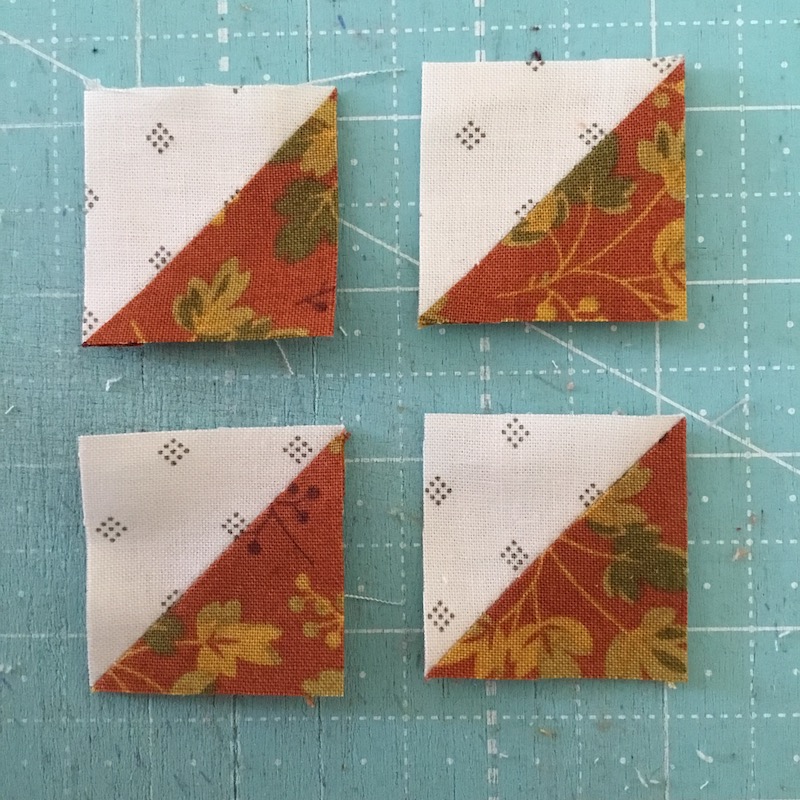
Press the units open, pressing toward the darker fabric. Repeat with the two remaining 2″ squares, so that you have FOUR triangle-square units.

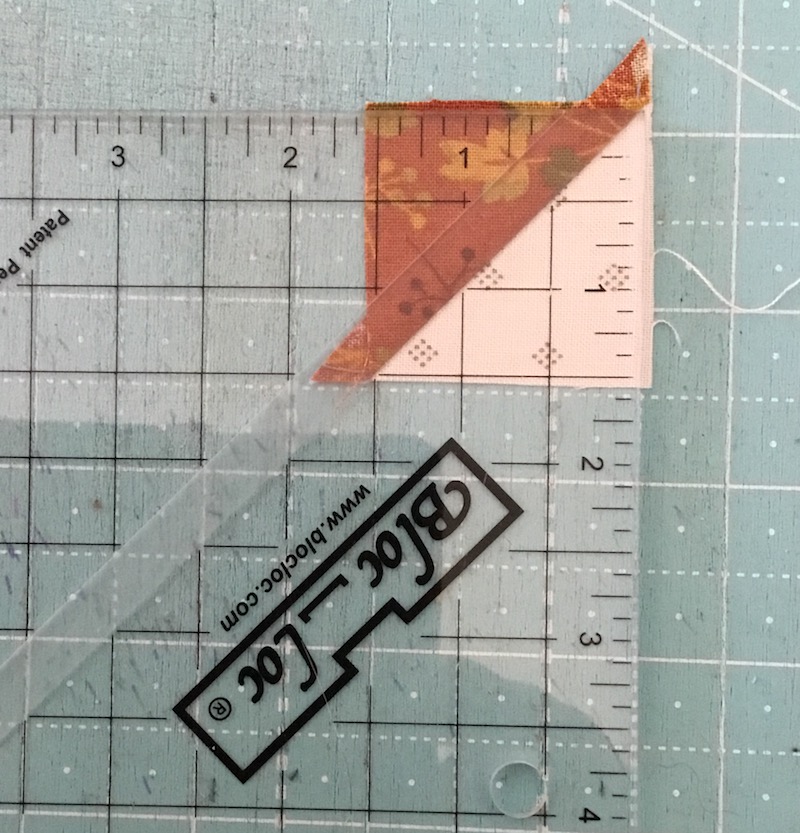
Using a Bloc-Loc ruler, or your favorite method of trimming triangle squares, trim these units to measure 1 1/2″ square.
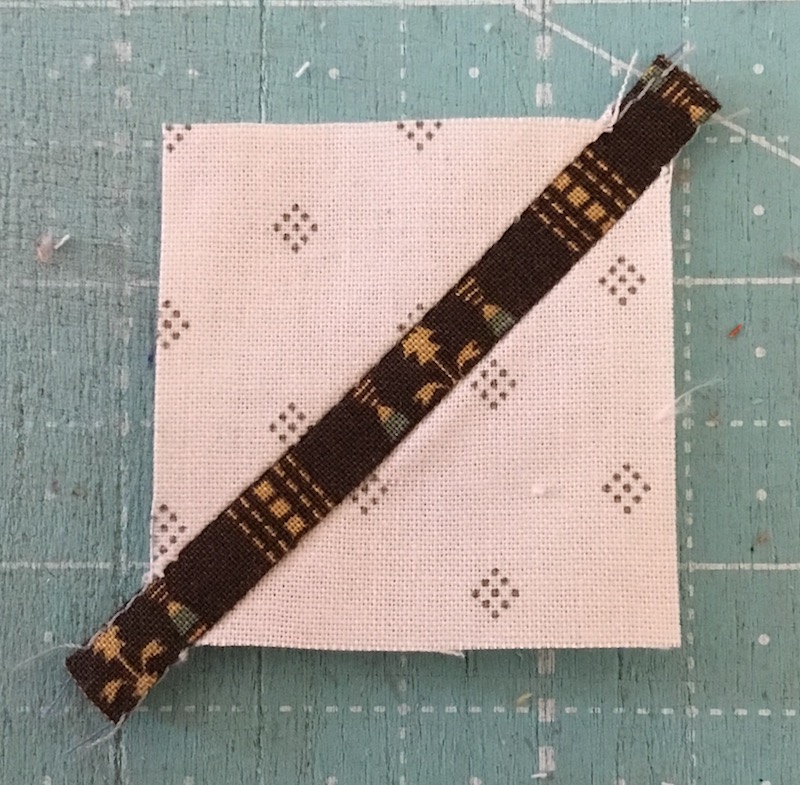
To make the stem unit, sew the stem strip to the long side of one of the background triangles.

Sew the long side of the other background triangle to the other side of the strip.
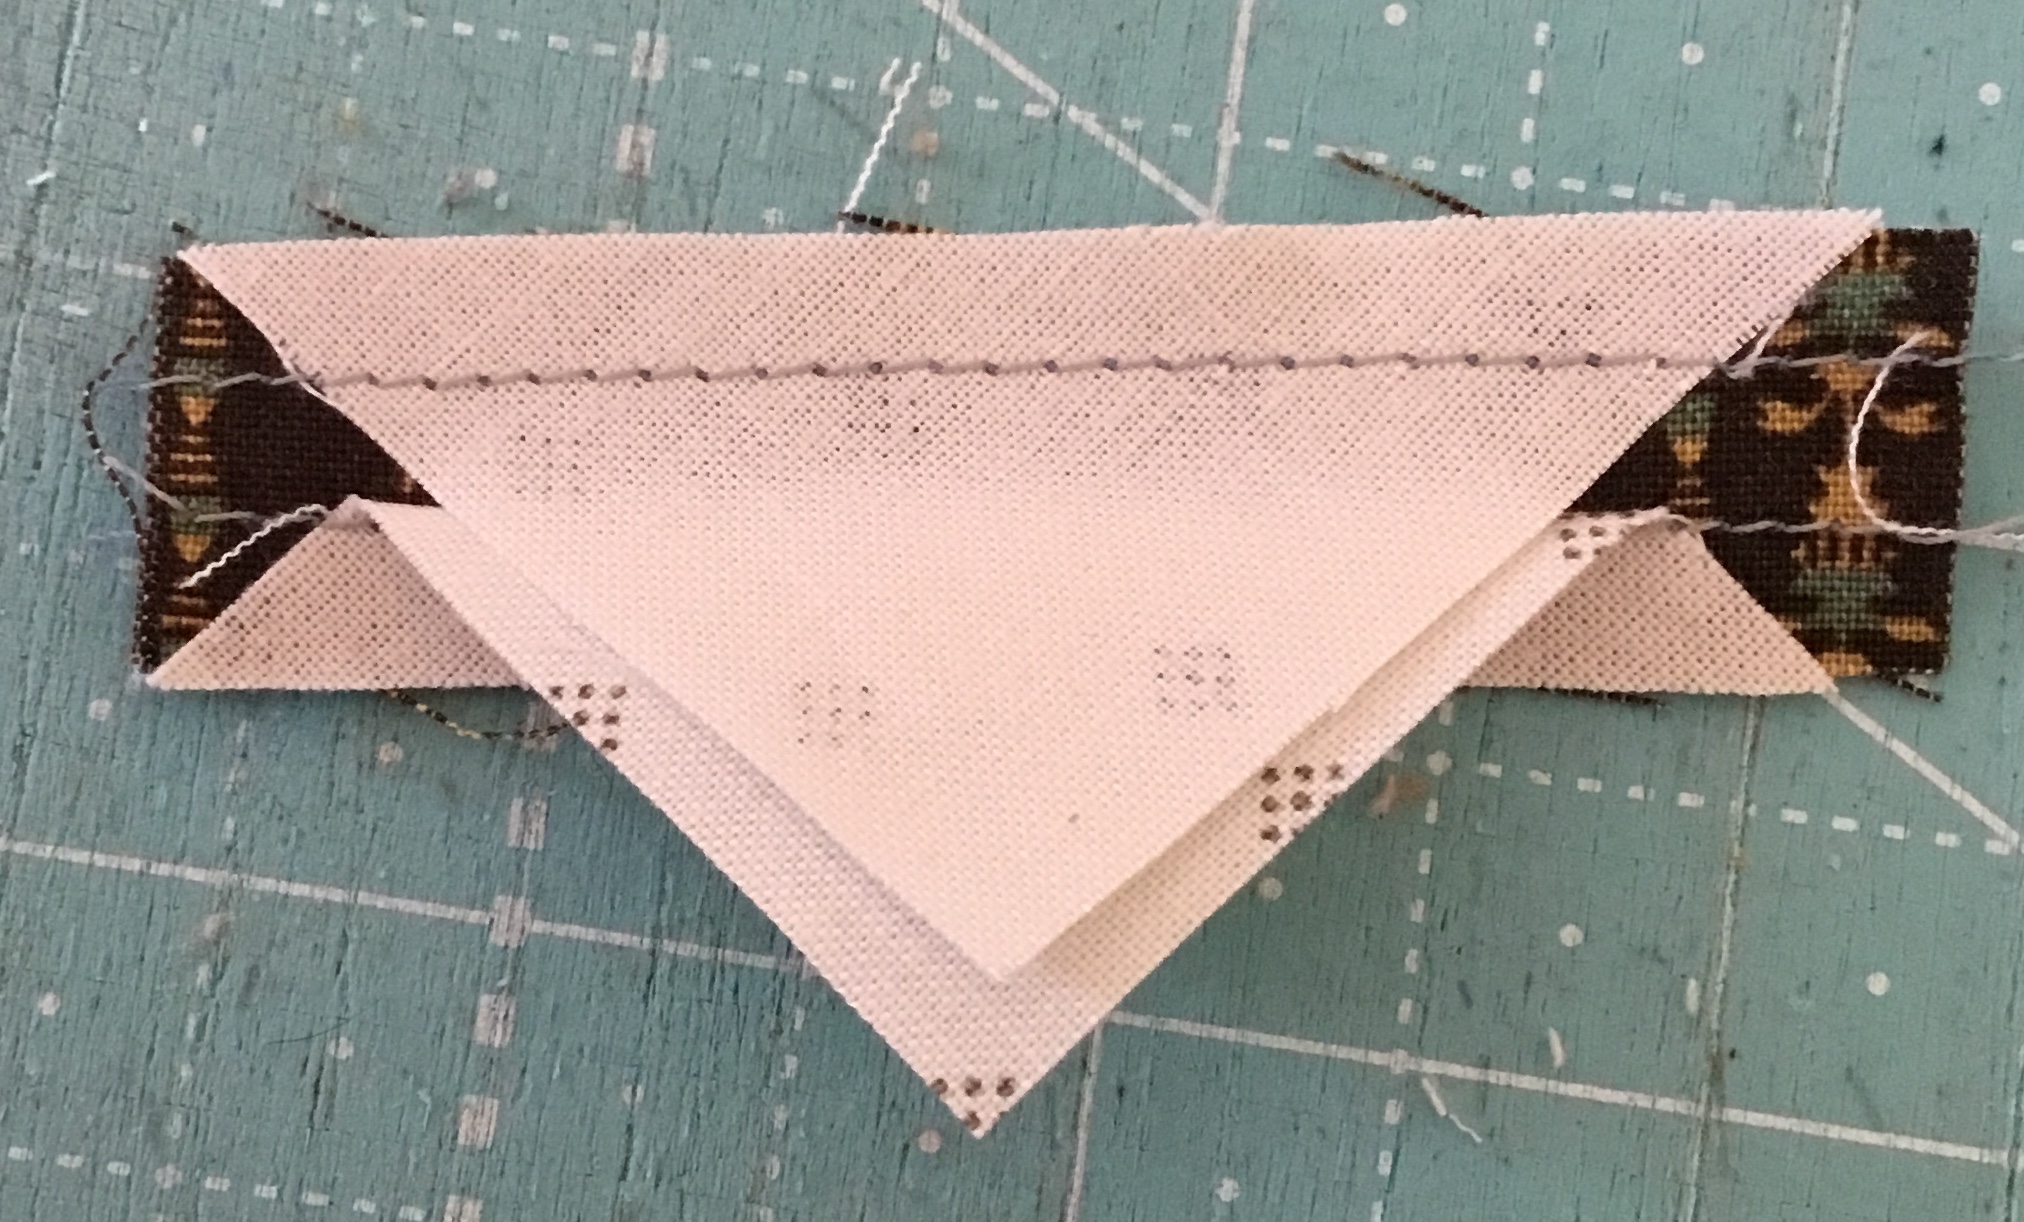
Press the seams however you wish.
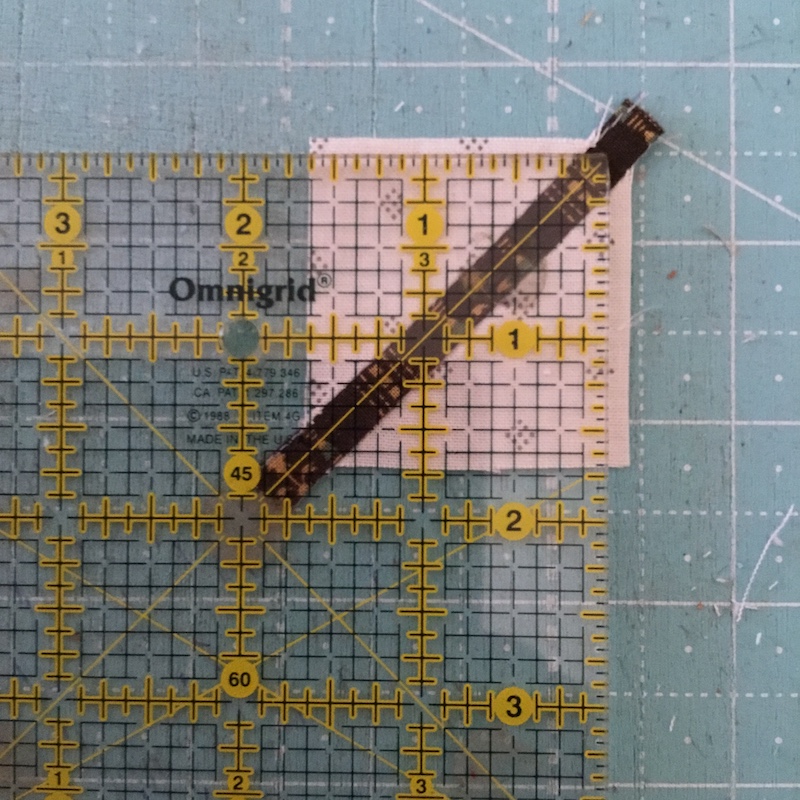
Making sure to keep the stem strip centered on the diagonal, trim to square this unit to 1 1/2″ square.

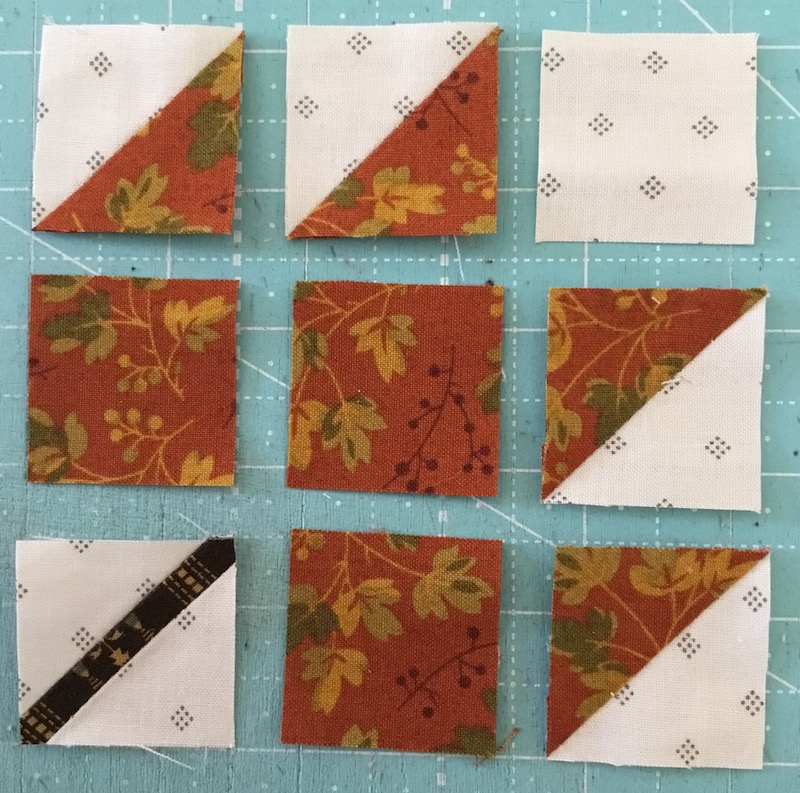
Now that you have all the units made, you can assemble the leaf. Lay all the units and pieces out as shown:
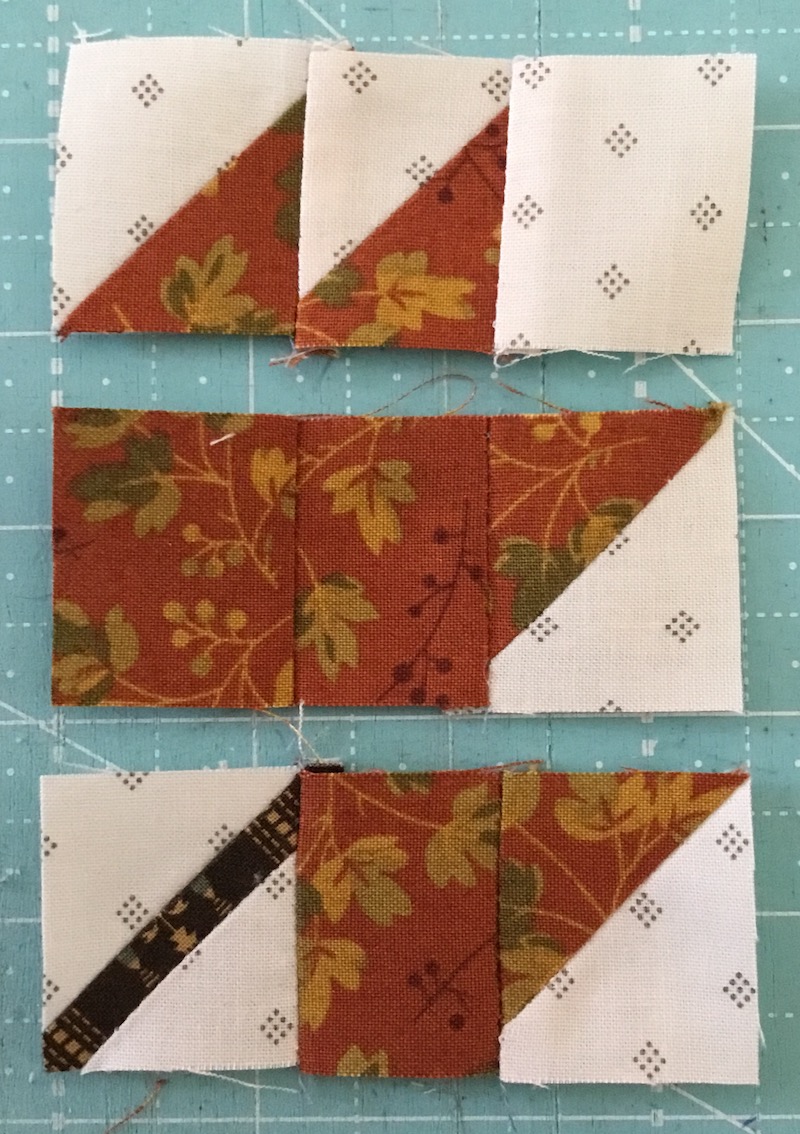
Sew them together into rows, making sure to keep everything turned correctly. Press seams in the top and bottom rows to the right, and seams in the middle row to the left.
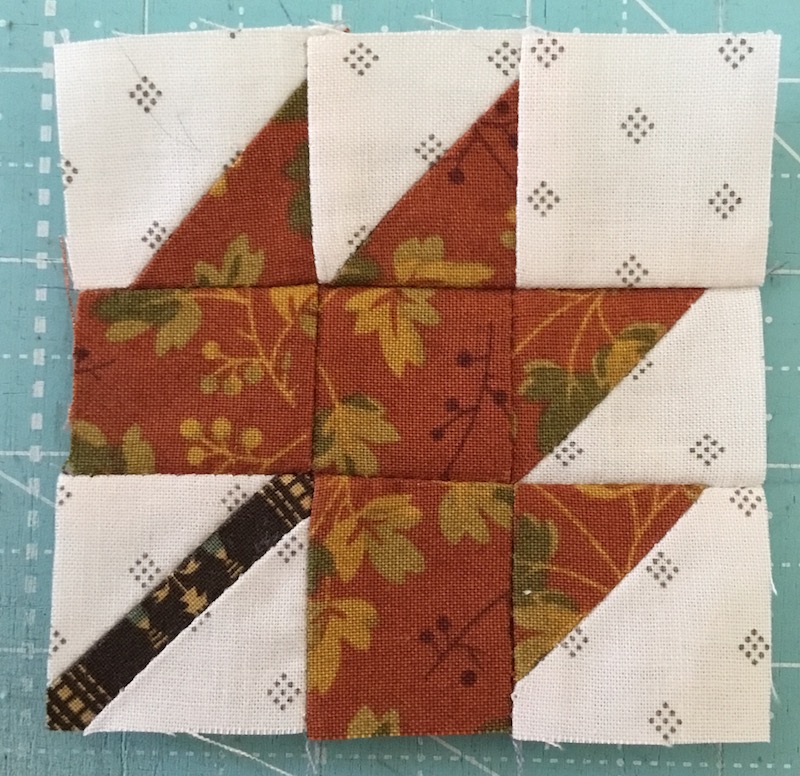
Sew the rows together to complete the block, pressing seams however you wish. It should measure 3 1/2″ square, unfinished. Isn’t it adorable?
Now, you just need to repeat that several times! The number you need to make will depend on the setting you choose. I’ll be introducing a new setting each week for the next four weeks, and I’ll let you know how many leaves you’ll need for each one. Or you can make as many as you feel like making, and incorporate them into a different project, or make up your very own setting!
If you’re making the Brunswick Forest quilt from the BOM, then you’ll need 64 leaves. Since we’ll be making leaves over a 5-week period, you’ll need to make at least 13 leaves each week. Then you’ll have them all ready to set into your bigger quilt when you’re ready.
If you cut several leaves at once and have them ready beside your sewing machine, they make great leader-ender pieces, and as you’re sewing on another project, you’ll have several leaves made without even trying very hard! I made all the leaves for my large Brunswick Forest quilt this way.
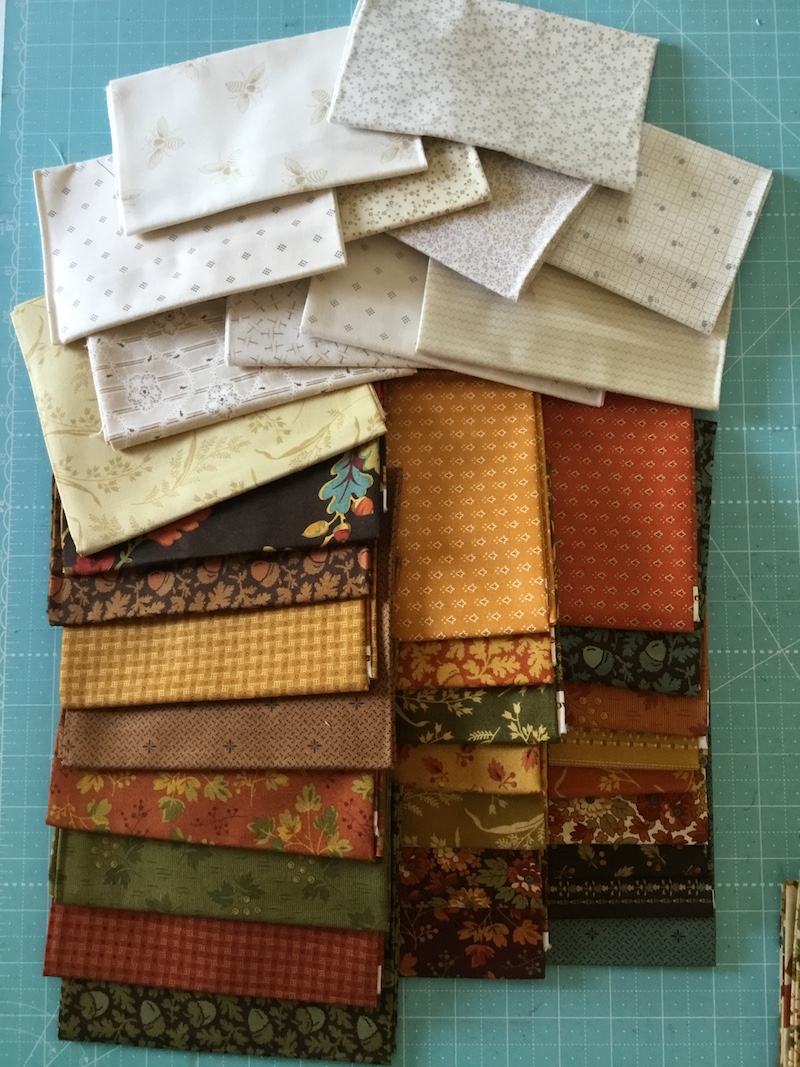
Here’s what I ended up choosing for my main quilt (I may or may not be making more than one version, since I can’t get enough of these leaves!).
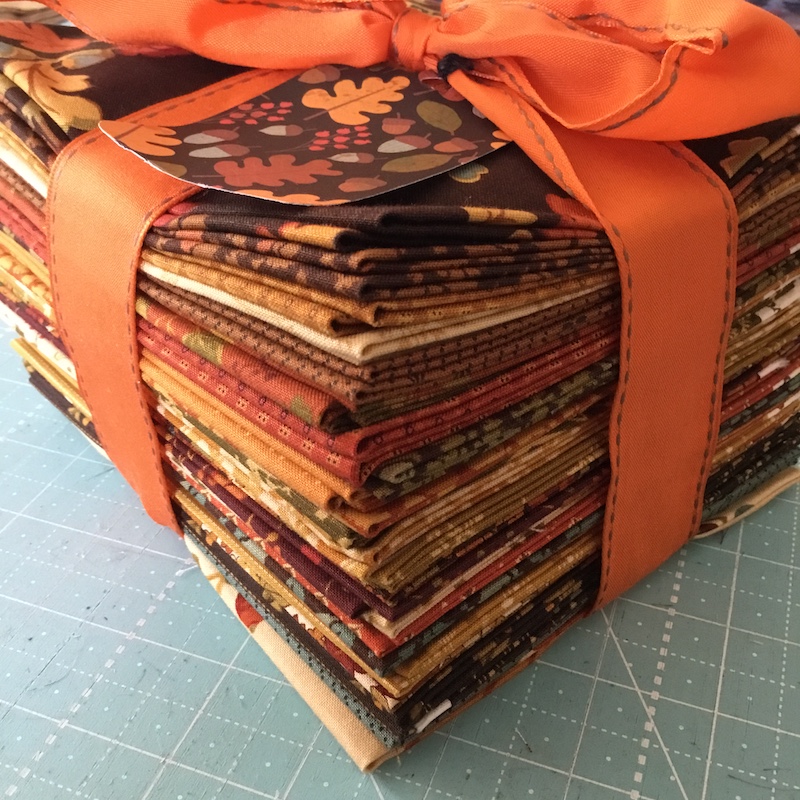
It’s the Acorn Harvest bundle by Renee Nanneman for Need’l Love. She heard I broke my elbow, and sent me this bundle as a cheer-me-up, and boy, did it ever! I have THE best friends! Plus, I happened to have on hand a bundle of her Linen Closet backgrounds that I had previously purchased from her, and they’re gonna be perfect for my backgrounds. If you need fabrics like this, you can shop Renee’s offerings HERE — you’re gonna have a tough time choosing!
Before I introduce the first setting option next week, you’ll have plenty of time to cut and sew several leaves and have a good head start on your project! Happy stitching!
Can’t wait to get started!
Great instructions and a wonderful gift.
Be careful.
argh… I don’t need a new project… You temptress you
Love it–thank you!!
I can’t get started today because I’m making flowers for arrow rock camp quilt. I will get started soon though. I’ve started my basket of fabrics for this one. I do really like Renee’s fabrics though.
These are so cute and fun to make. I have no idea what I will do with them, but I think I may end up with a lot of them.
This will be fun! Thx for the block pattern 🙂
So cute and your instructions are so clear and easy to follow. Thanks for posting!
Thank you, Shelly. These little leaves are so cute!!! I can’t wait to get started.
Hope your are is healing and you are feeling a little better.
Those fall fabrics are beautiful – what a lovely gift.
i am just a little behind on this one….as i was finishing up a quilt that i needed to get sent to the long arm to be ready for a birthday next week……
but i did get my fabric all picked out and today i will be getting it all cut out……
thanks for the step by steps